Contributed by Mark Keck.
With the Master’s Championship of Amateur Brewing calendar year 2014 championship coming up, I had to re-brew a lager that I competed with in the Fall of 2014 that qualified for entry into the competition. The original beer was a Munich Dunkel that I brewed in August 2014 for which I conducted a double decoction mash. Due to the club’s recent desire to have more educational resources available, I decided to record my brew day via photo and post my process here. I would first like to say that I used Kai’s decoction mashing tutorial and his video on YouTube, and read Greg Noonan’s “New Brewing Lager Beer” as my resources to teach myself this process, and I would definitely suggest looking those up to get more/better information than what you’ll get from this single post.
Style Notes
Munich Dunkel is categorized by the BJCP as a dark lager. It is a German lager originated in Munich, and can be summarized as a rich, malt-forward, cleanly fermented beer that usually showcases Munich malt. Reading the style guidelines, you can come up with the following characterizations:
- Aroma: Rich Munich malt character (bready/toasty), hints of chocolate, toffee acceptable. No more than low hop aroma, and no esters
- Appearance: copper to brown, should be crystal clear usually.
- Flavor: Munich malt richness, melanoidins, bready. May be sweet, but cannot be cloying. Mild caramel, nutty, chocolate flavors may be present. No roast, bitterness low, hop flavor low, medium-dry finish. Diacetyl and/or esters are not acceptable
- Mouthfeel: Medium/medium-full body, moderate carbonation.
- OG: 1.048 – 1.056
- SRM: 14-28
- IBUS: 18-28
- ABV: 4.5% – 5.6%
I use these types of descriptions to try to formulate my recipes. Given this description, plus the traditional ingredients listed, I know for sure that I need a good portion of my grist to be Munich malt, and the rest should probably be Pilsner malt with potentially some cara malts for some mild caramel notes. Normally, that type of grist in a single infusion mash will not get you to the color required by the style, so I use debittered roast malt (Carafa) to adjust for that. Because I’ve iterated on this style a few times, I know that I prefer it without any caramel malts, so I decided to go with a grist that’s only a split of German Pilsner, Munich and Carafa malts. The only remaining question on grist is trying to compute the actual amounts of each grain, knowing I want about a 50-50 split between Munich and Pils. To choose these amounts, I know that for a recipe this size, I get approximately 80% efficiency on my system, so I start with this grist:
- 5 lbs Munich Malt, Type 2 (10 L)
- 4.5 lbs German Pilsner (1.8 L)
- 4 oz Carafa type I (337 L)
This gives me an approximate O.G. of 1.052 in 5.5 gallons out of the kettle. To get a more accurate estimate, I try to predict my efficiency using Kai’s batch sparge simulation spreadsheet. The way Kai’s spreadsheet works is that you put in your mash water and grain amounts, and it will predict and measure your lauter and brewhouse efficiency. This means we need to decide on a mash schedule before using it, and this brings us to our main topic, decoction mashing.
Decoction Mashing
Decoction mashing is a technique for hitting multiple rest temperatures throughout the mashing process that also encourages melanoidin formation. This is a technique that is not widely used in the American craft brewing scene, nor in the homebrew scene, but (as Eric Warner states in his book on German wheat beer) decoction mashing is still the rule, not the exception, in professional German breweries.
The general concept of decoction mashing is that the initial infusion of strike water to grain in your mash tun will start the mash at a relatively low temperature (100 F – 135 F) which will activate enzymes that would normally be denatured in a standard single infusion mash. These different enzymes break down starches in different ways. For instance, many decoction schedules have a beta amylase saccharification rest in the 140 F-146 F range to encourage maltose production, followed by a dextrinization rest in the 158 F-162 F range to ensure complete conversion.
The way that multiple rests are reached is by pulling part of the mash out (grains and liquor), called a decoction, and raising the temperature of that portion of the mash to a boil, then re-introducing the decoction to the main mash. Further, the boiling of the decoction encourages Maillard reactions, which results in the formation of melanoidins.
The primary pro of decoction mashing, in my opinion, is that it provides a way to hit multiple rests that does not require infusion of additional brewing liquor. I think this is a great technique to have in your repertoire in the case you miss a mash temperature on a big beer, where you cannot simply add more hot water to the mash tun because it’s already full. Additionally, melanoidin formation is encouraged in the decoction process, which adds a unique sweetness and richness to beers.
The primary con of decoction mashing is the increased time and labor involved. As opposed to a traditional single-infusion mash, which often takes at most 90 minutes, decoction mashing takes multiple hours. While this process may have been critical before well-modified malts were available, it is no longer needed for starch conversion. Further, as melanoidin malt is available as a specialty malt to simulate the melanoidin character that would get from boiling decoctions, this technique is seen as an unnecessary waste of time by many at the homebrew level. However, I enjoy learning new ways to do things and practicing different techniques, so I do employ decoction mashing on amber and dark lagers.
Munich Dunkel: Designing the Mash
I generally follow the Hochkurz double decoction method, which can be found on Kai’s website. In this case one will dough-in around 131 F to hit a protein rest first (which improves head retention and clarity), then raise the temperature to 146 F with the first decoction, and finally hit the dextrinization rest at 158 F.
Decoction mashing generally requires a bit more strike water than a single infusion mash; this is so that the decoctions have a proportion of grain and water that encourages Maillard reactions without scorching the grain. I usually use a 2 quart per pound of grain dough-in ratio. Given my total grain bill is 9.75 pounds of grain, this would be in the neighborhood of 5 gallons, which is what I go with. However, my previous experience with decoction mashing has led me to the following conclusion:
>Pro Tip: Do not include crystal and roasted malts in your mash until the decoctions are complete.
The reason is that decoctions add a non-trivial amount of color to your beer. Note that my original recipe has an estimated SRM color value of between 12 and 13, which is actually outside of the style guidelines. However, that estimate is for single infusion mashes. Decoction mashes, due to the boiling of the grain, come out much darker. The last time I made this beer, a very similar recipe/procedure was used, with an estimated color of 12 SRM, but the final beer was approximately 18 SRM. Thus we will be mashing in 9.5 pounds of grain with 5 gallons of water, holding the .25 pounds of Carafa out until sparging. I use Kai’s spreadsheet to estimate my efficiency more accurately, shown here as a screen shot:

This tells me that if I dough-in with 5 gallons, I should get about 3.8 gallons of 1.056 wort out of the first runnings. Thus if I add 3.5 gallons for a single round of batch sparging, I will get a total of 7.3 gallons out. This is about what I want, since I’ll be doing a 90-minute boil, and over that time I should boil off about 1.8 gallons, leaving me with 5.5 gallons wort in the kettle. I chose to do a 90-minute boil here due to the large amount of Pilsner malt. Since it is known to have more SMM (pre-cursor to DMS), it’s wise to boil wort for 90 minutes, which drives this volatile compound off.
The next step in mash design, now that I have my brewing liquor estimates, it to determine any water adjustments. MWRA water is extremely soft, and does not have much calcium. Calcium is important for mash conversion, so I usually add calcium sulfate and/or calcium chloride to the mash. To estimate the amounts, I use the EZ Water spreadsheet. I got the December 2014 water report from MWRA to estimate my starting water profile, shown at the top of this screen shot:
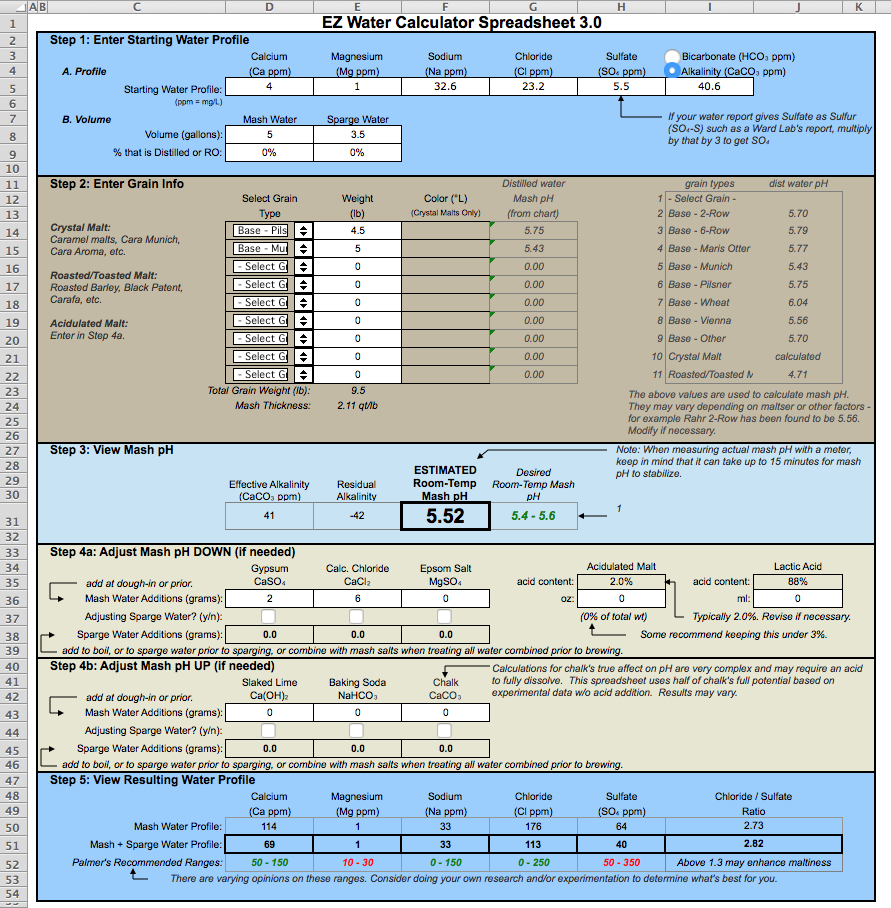
I then put in my grain bill, and played with the salt adjustments for gypsum and and calcium chloride until I had around 100 ppm of calcium in the mash, and a final water profile with a big chloride to sulfate ratio, which enhances the perception of maltiness in beer. My final adjustment was 2 grams of gypsum and 6 grams of calcium chloride.
Munich Dunkel: Rounding Out the Recipe
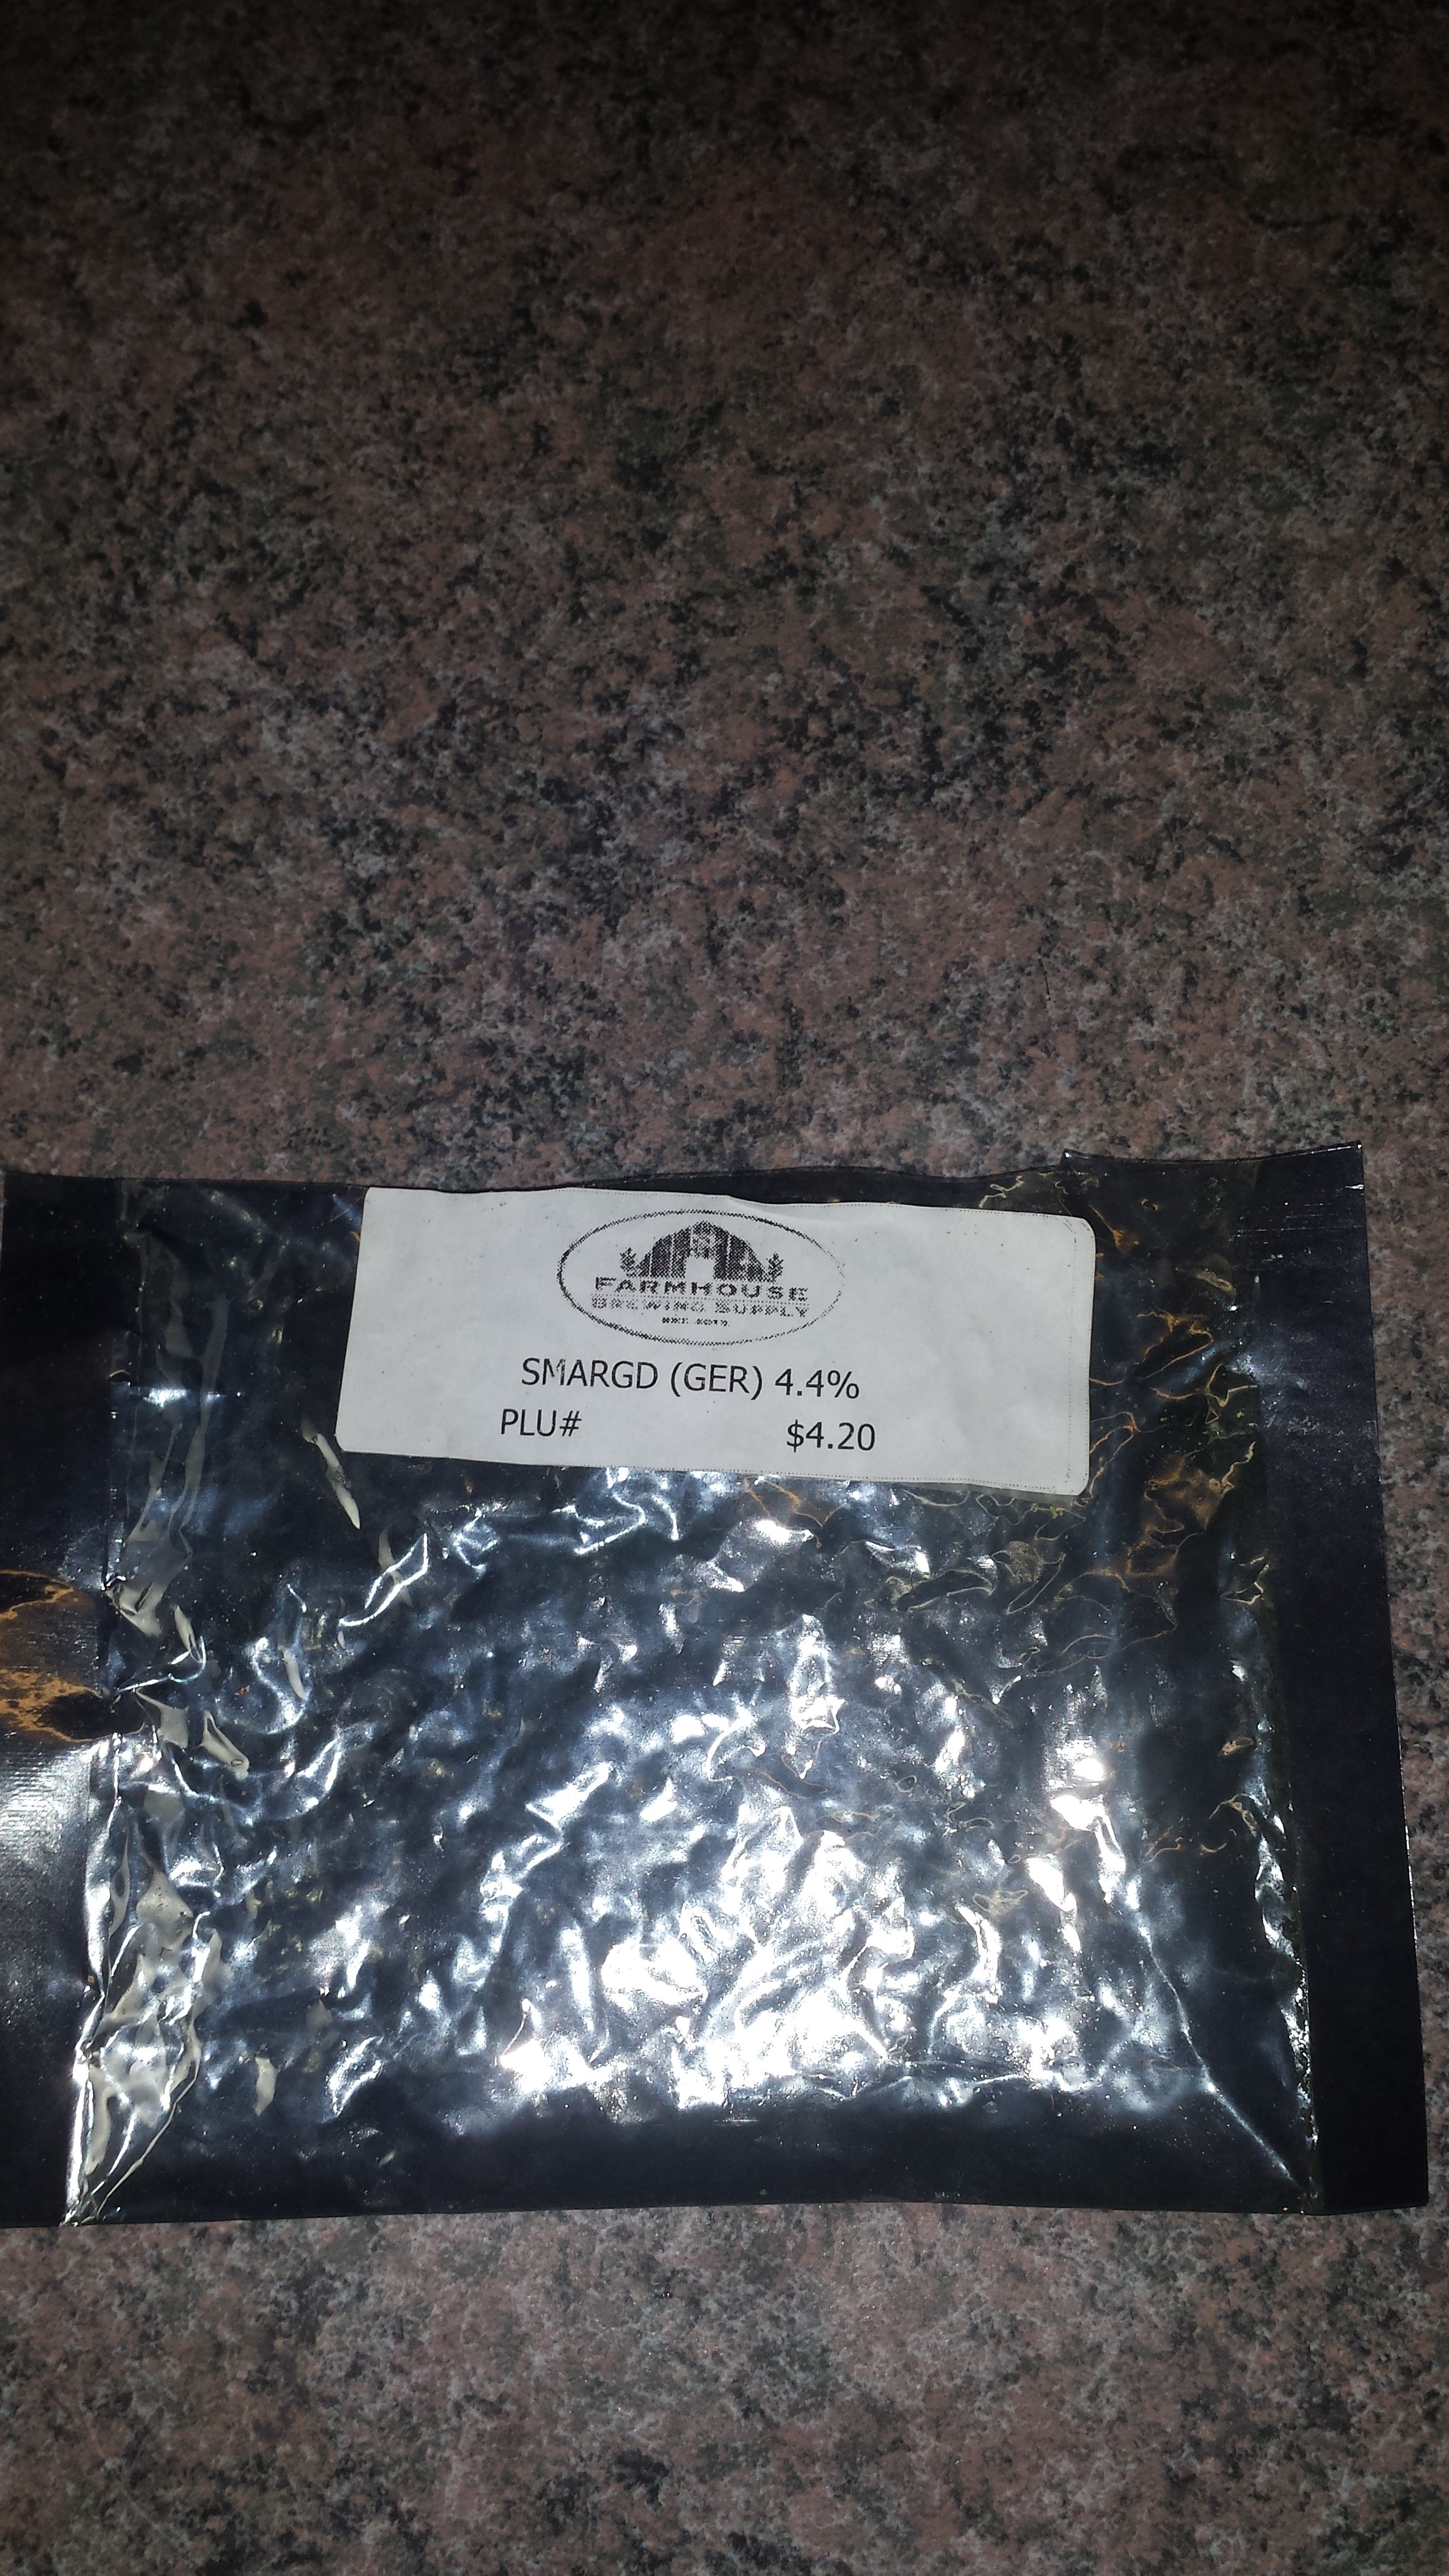
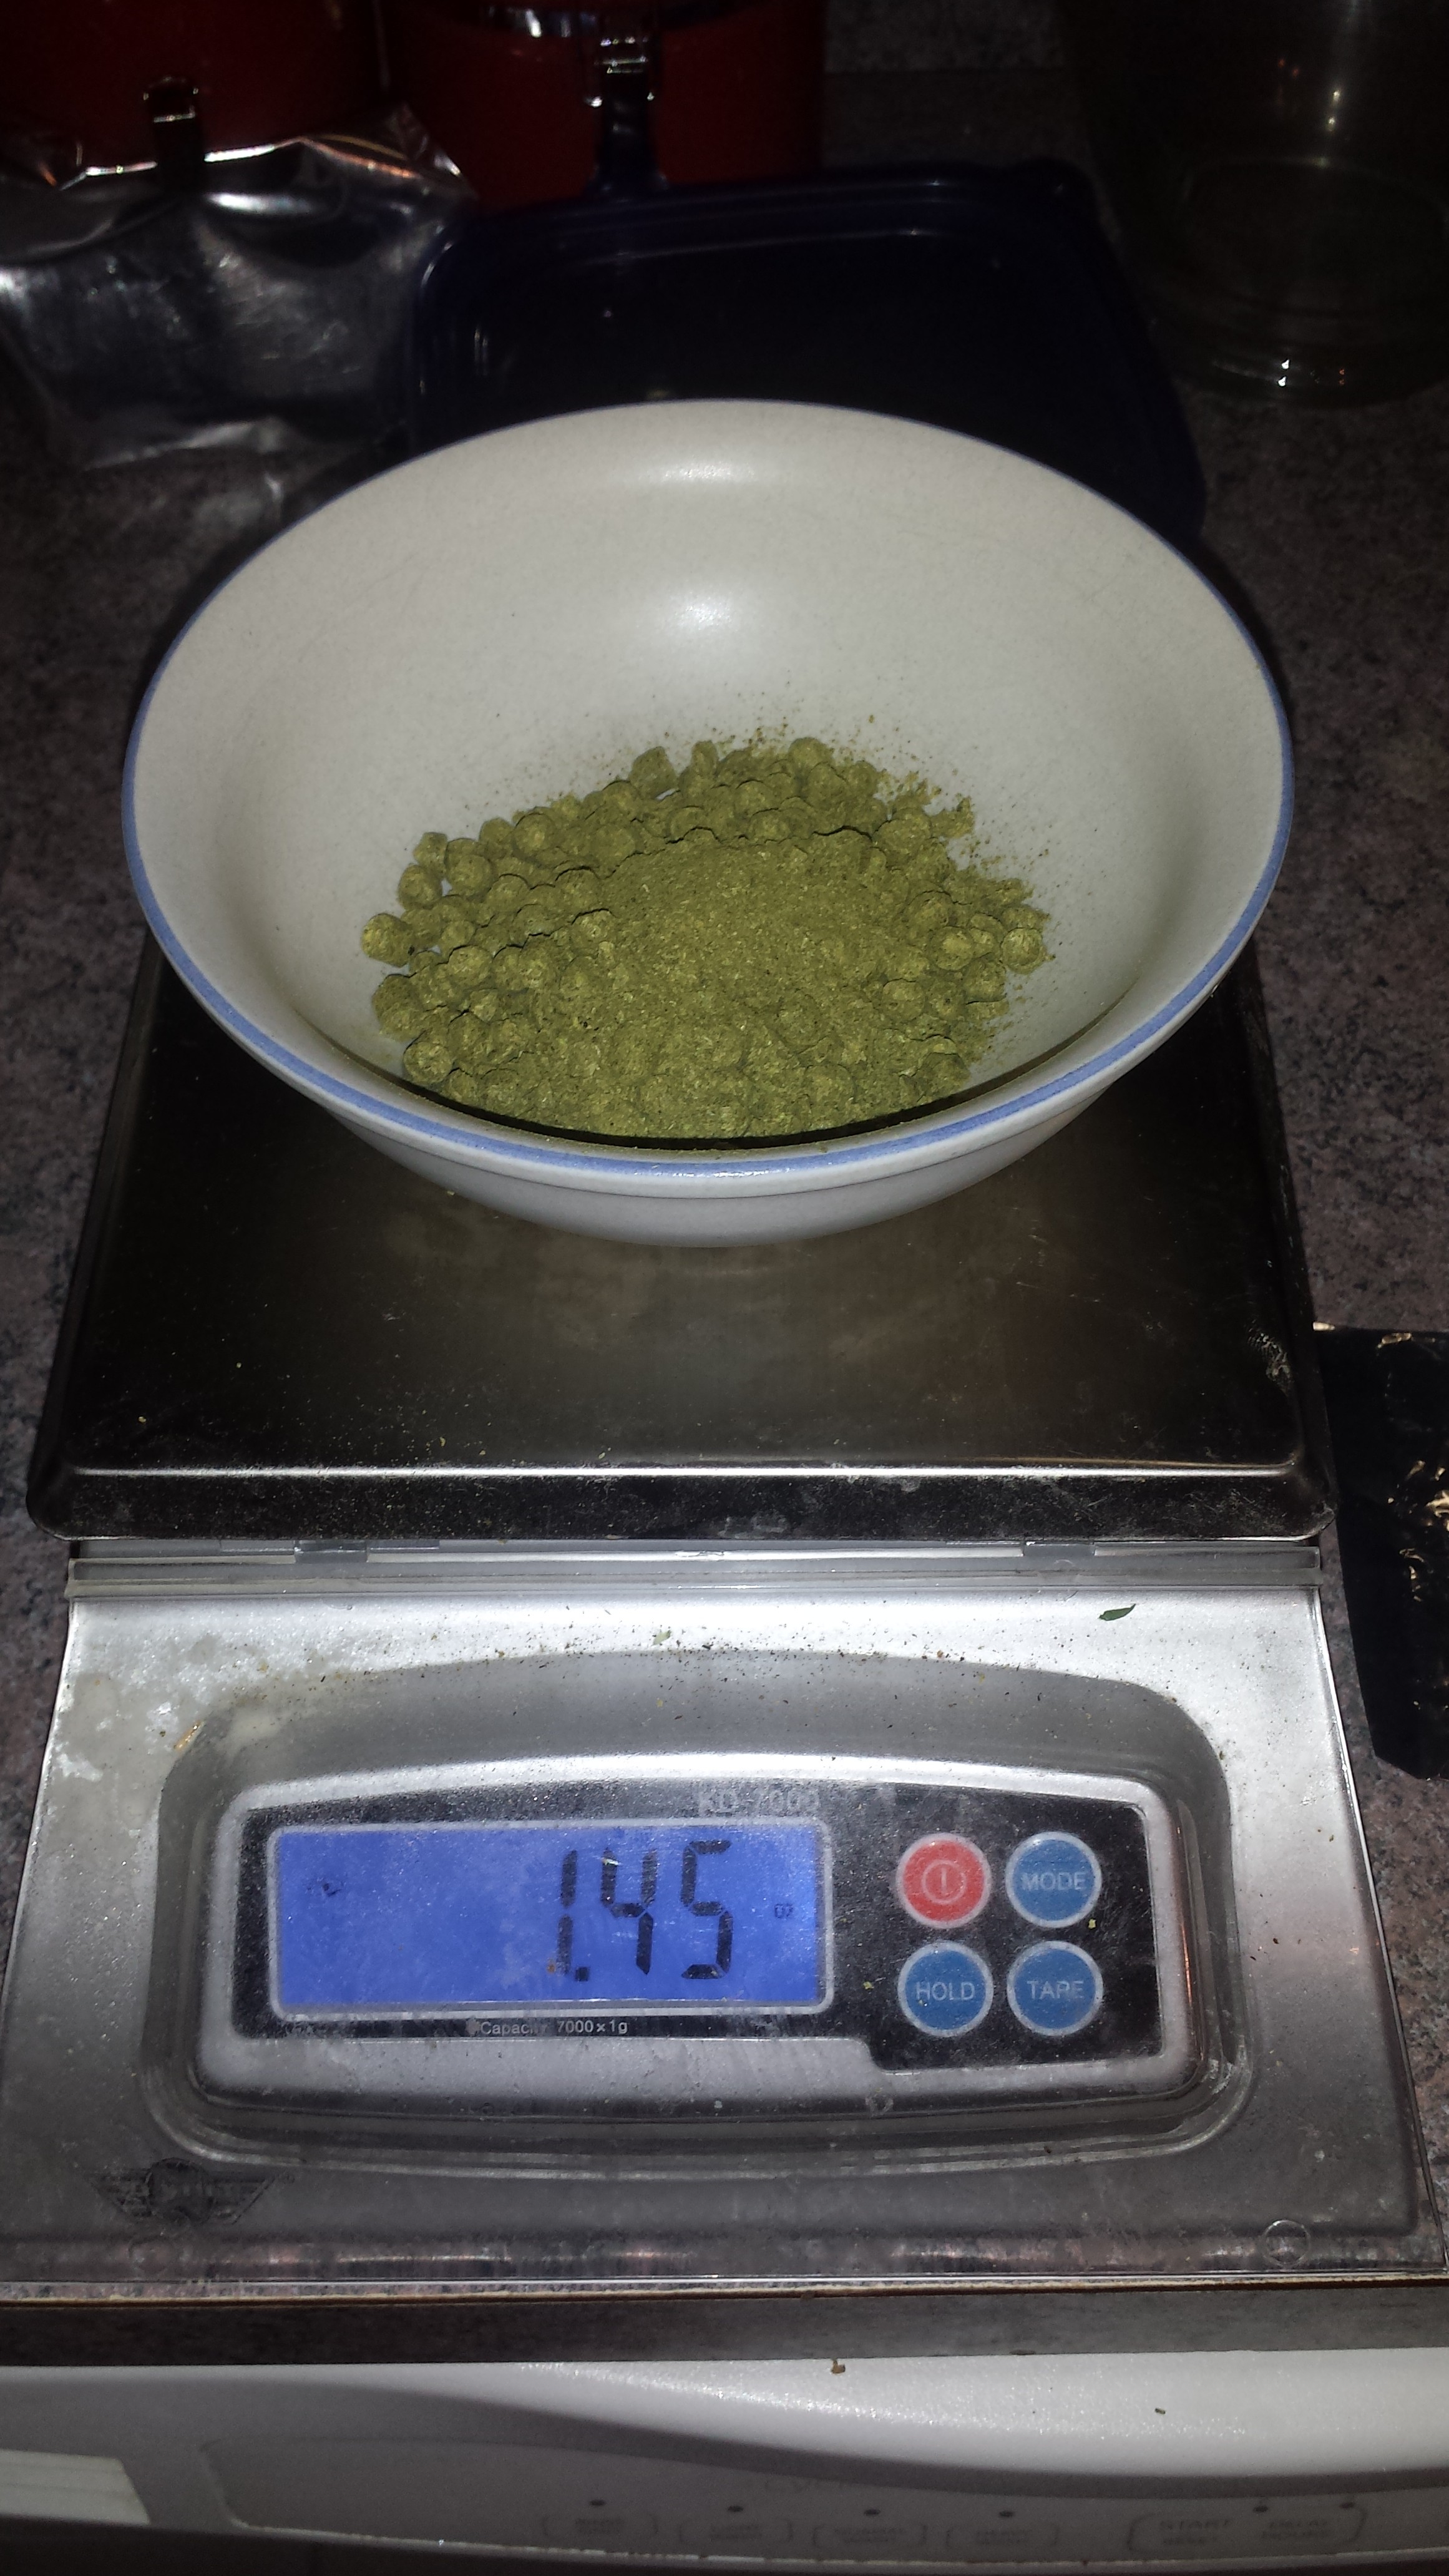
We still have not decided on yeast and hops. Since we want a pretty subtle bitterness and virtually no hop flavor to be in style, I aim for around 20 IBUs. I had German Smaragd hops (4.4% AA) on hand as my bittering addition at 60 minutes, which was 1.45 oz of hops.
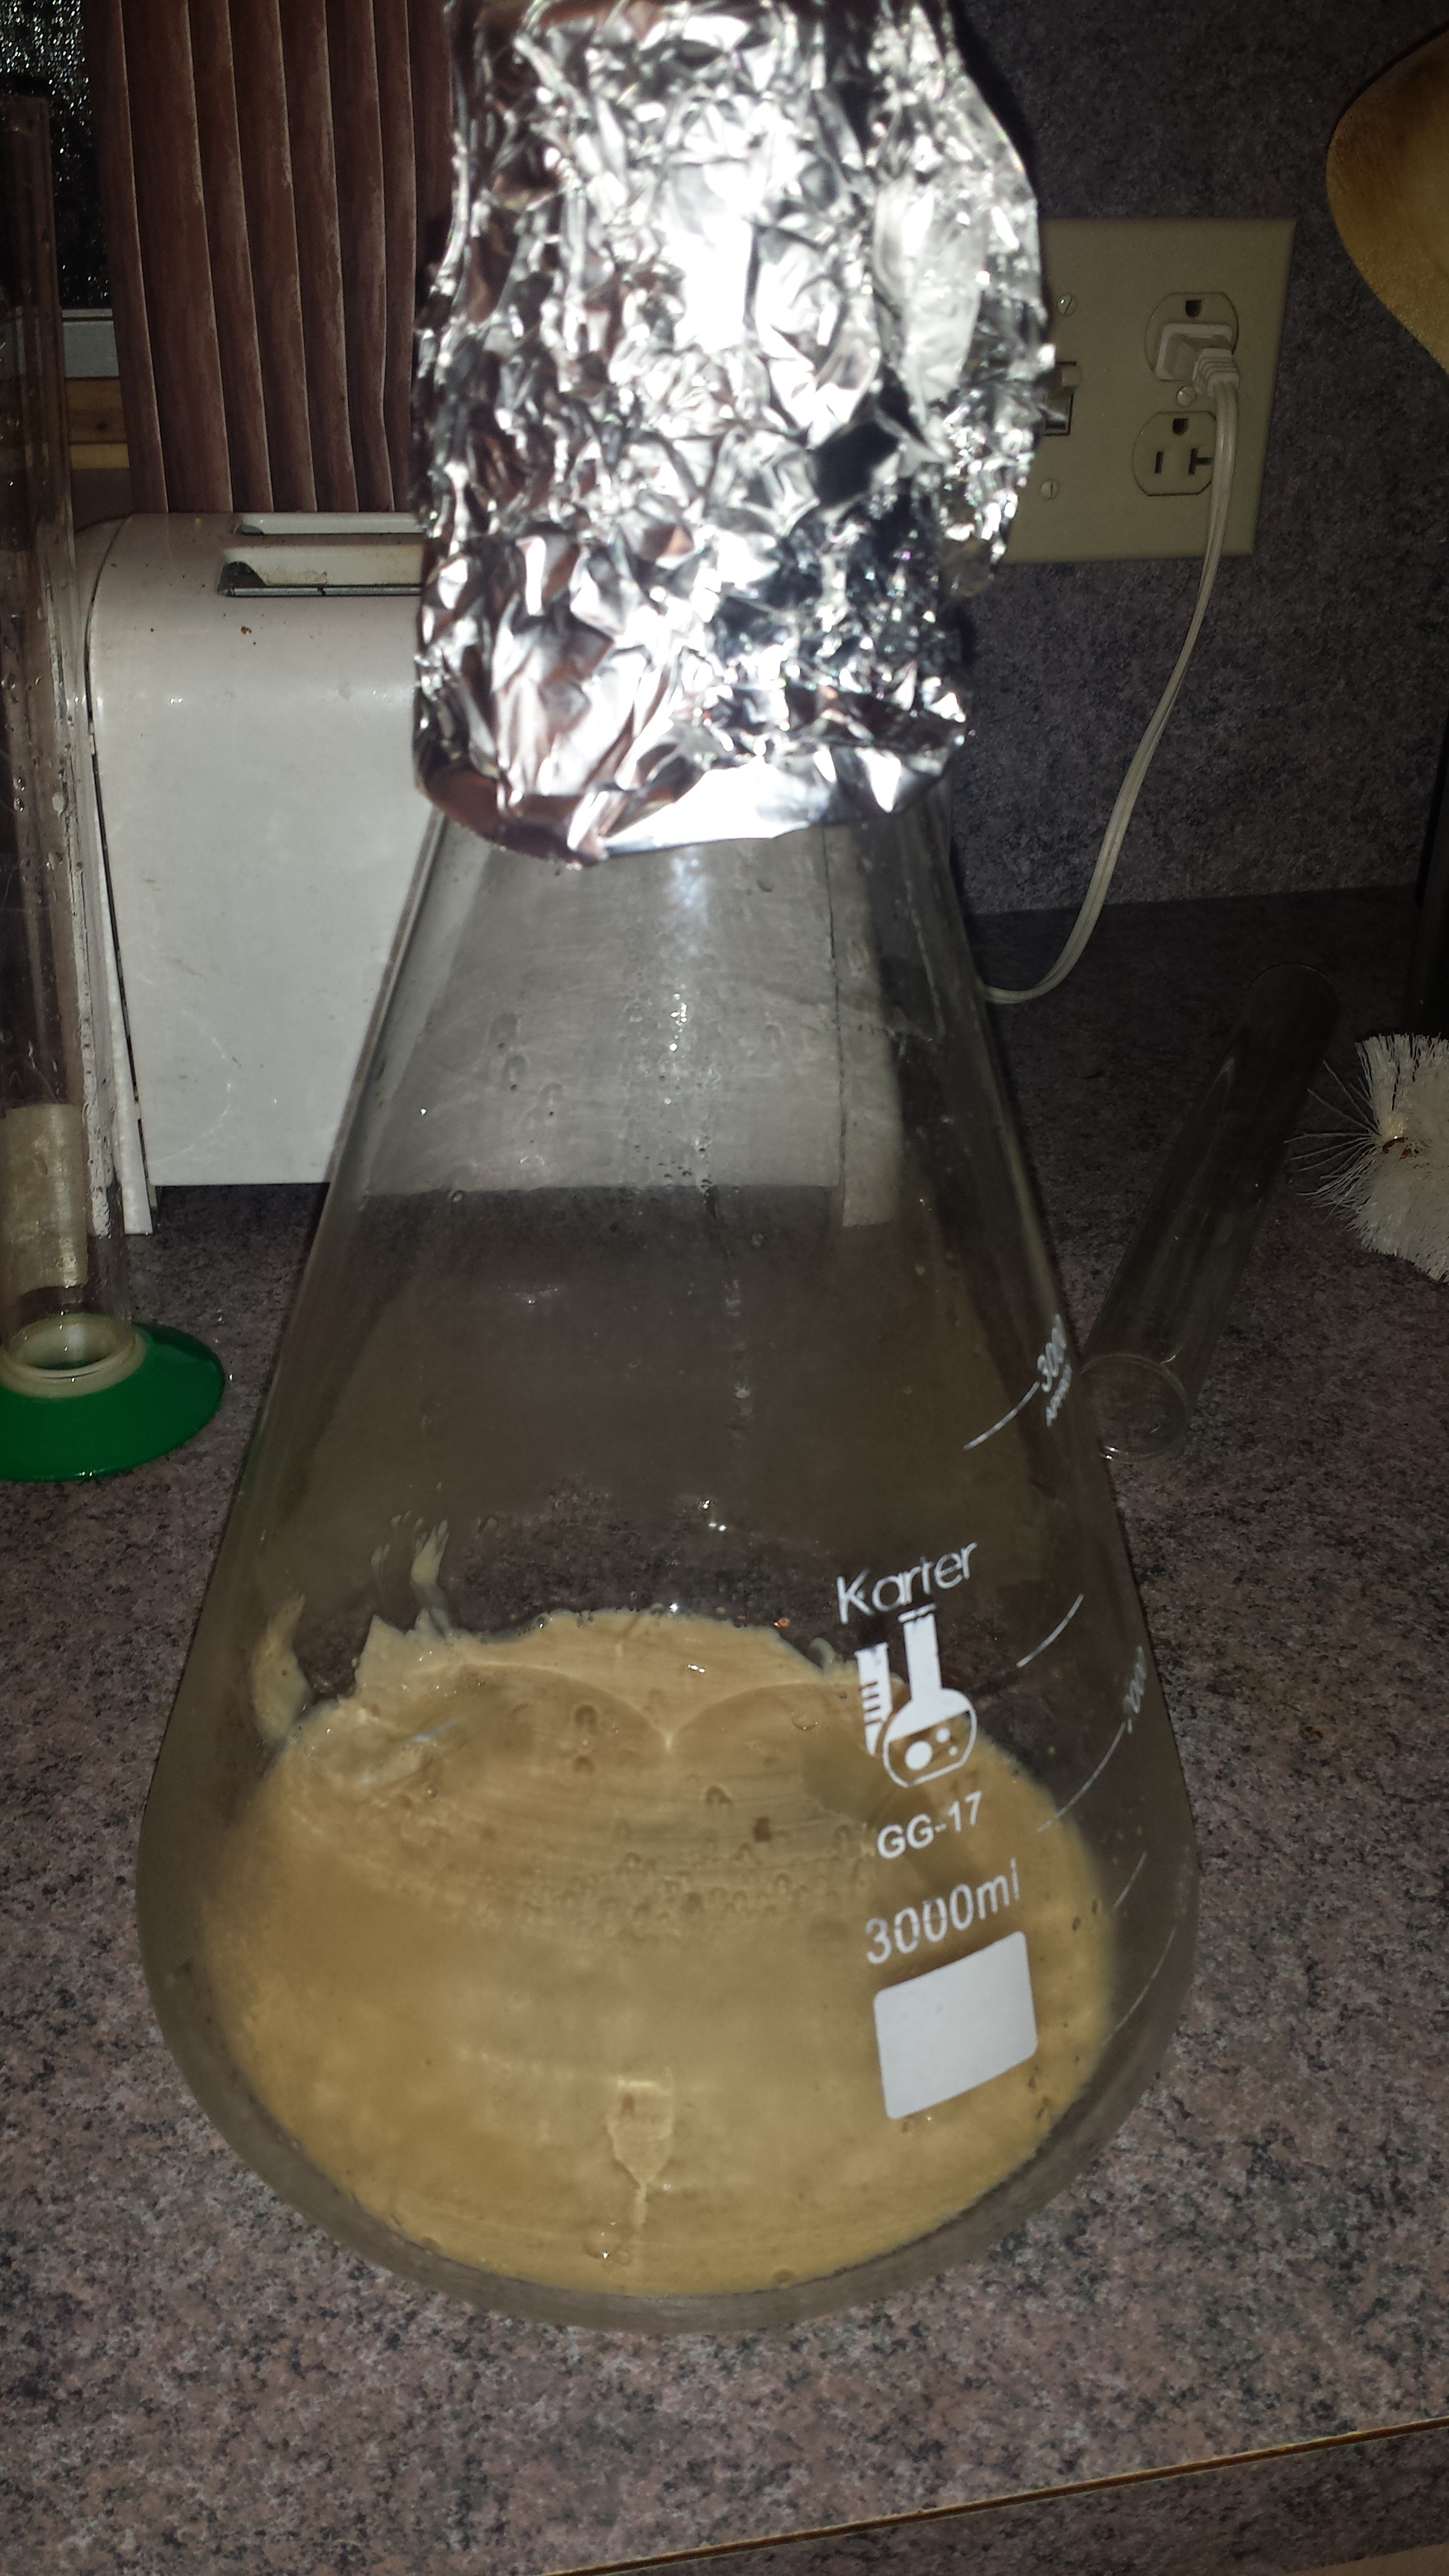
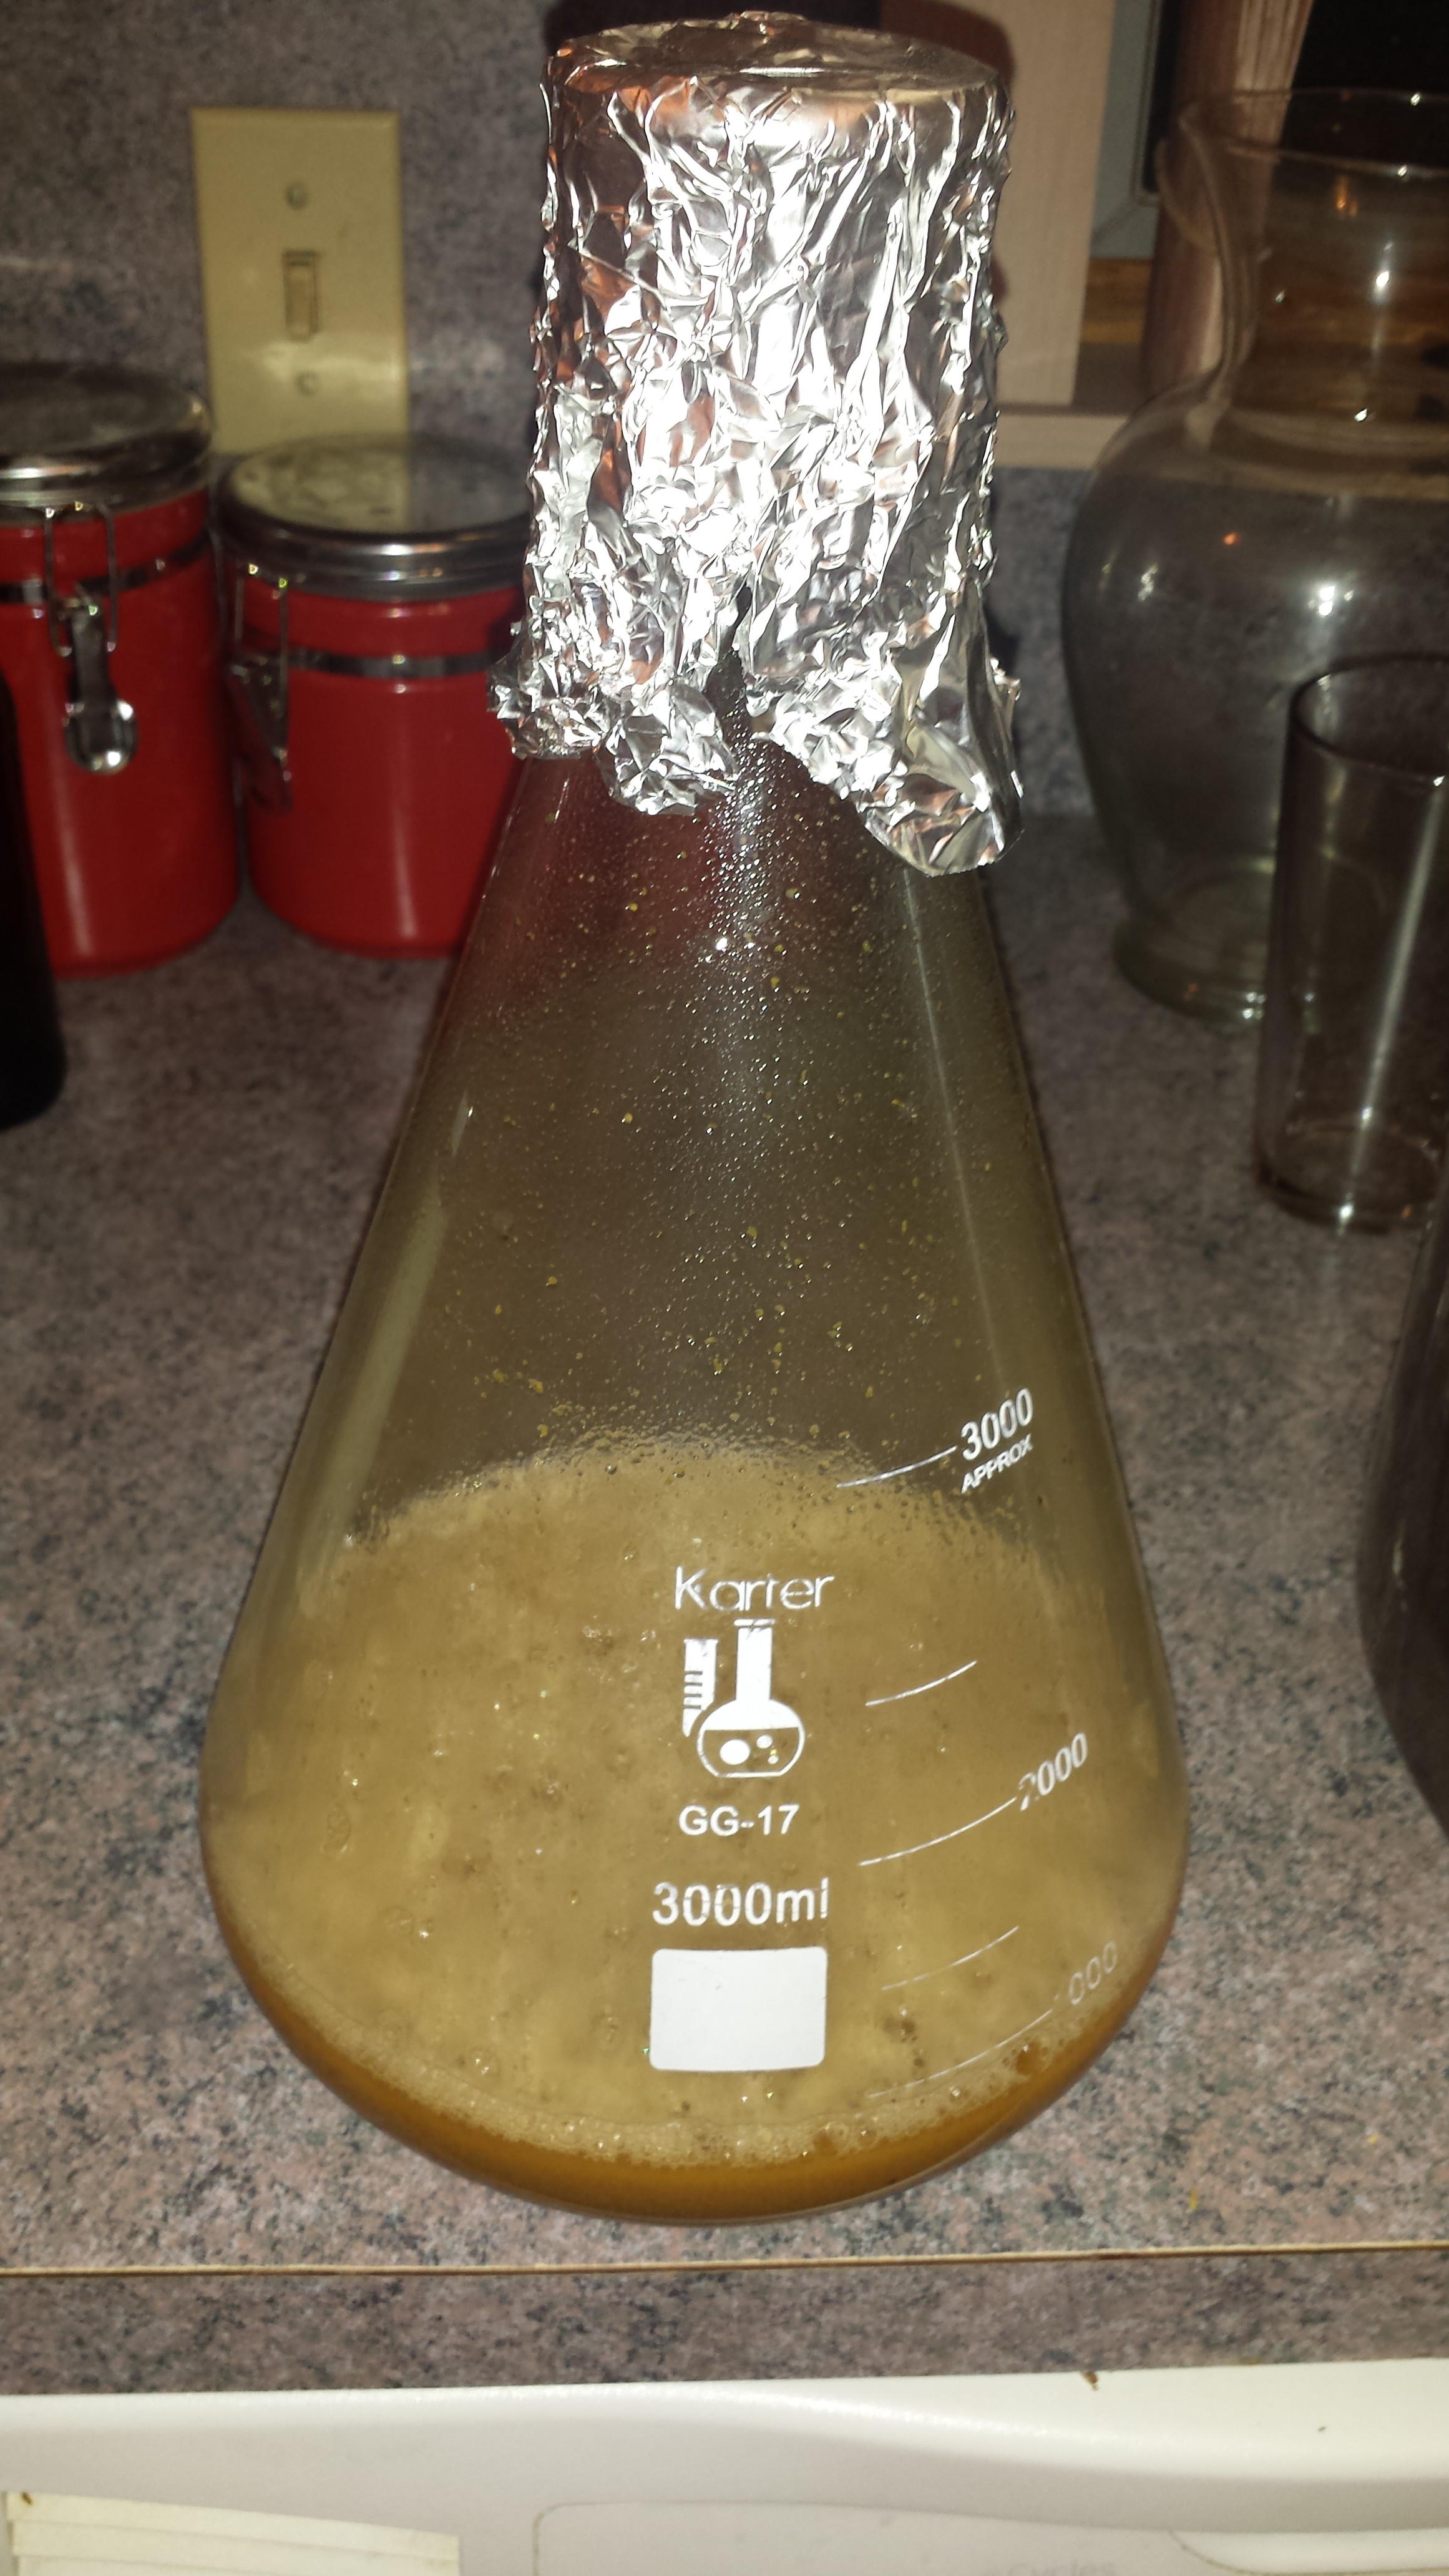
As far as yeast, my personal favorite example of the style is made by Ayinger, so I decided to use their lager yeast strain. This is available year-round as White Labs’ WLP833. This yeast finishes a little maltier than most of the other lager yeast, and is very well behaved. I picked up a relatively fresh vial (about two weeks old) the week before brewing to make a starter. I use Brewer’s Friend’s yeast starter calculator, and aim for about 1.5 million cells per milliliter per degree Plato. The calculator indicated that, on my stir plate, a 2.5 liter starter would suffice. I made that the Thursday night before brewing, and cold-crashed in my fridge on Saturday.
Munich Dunkel: Brew Day!
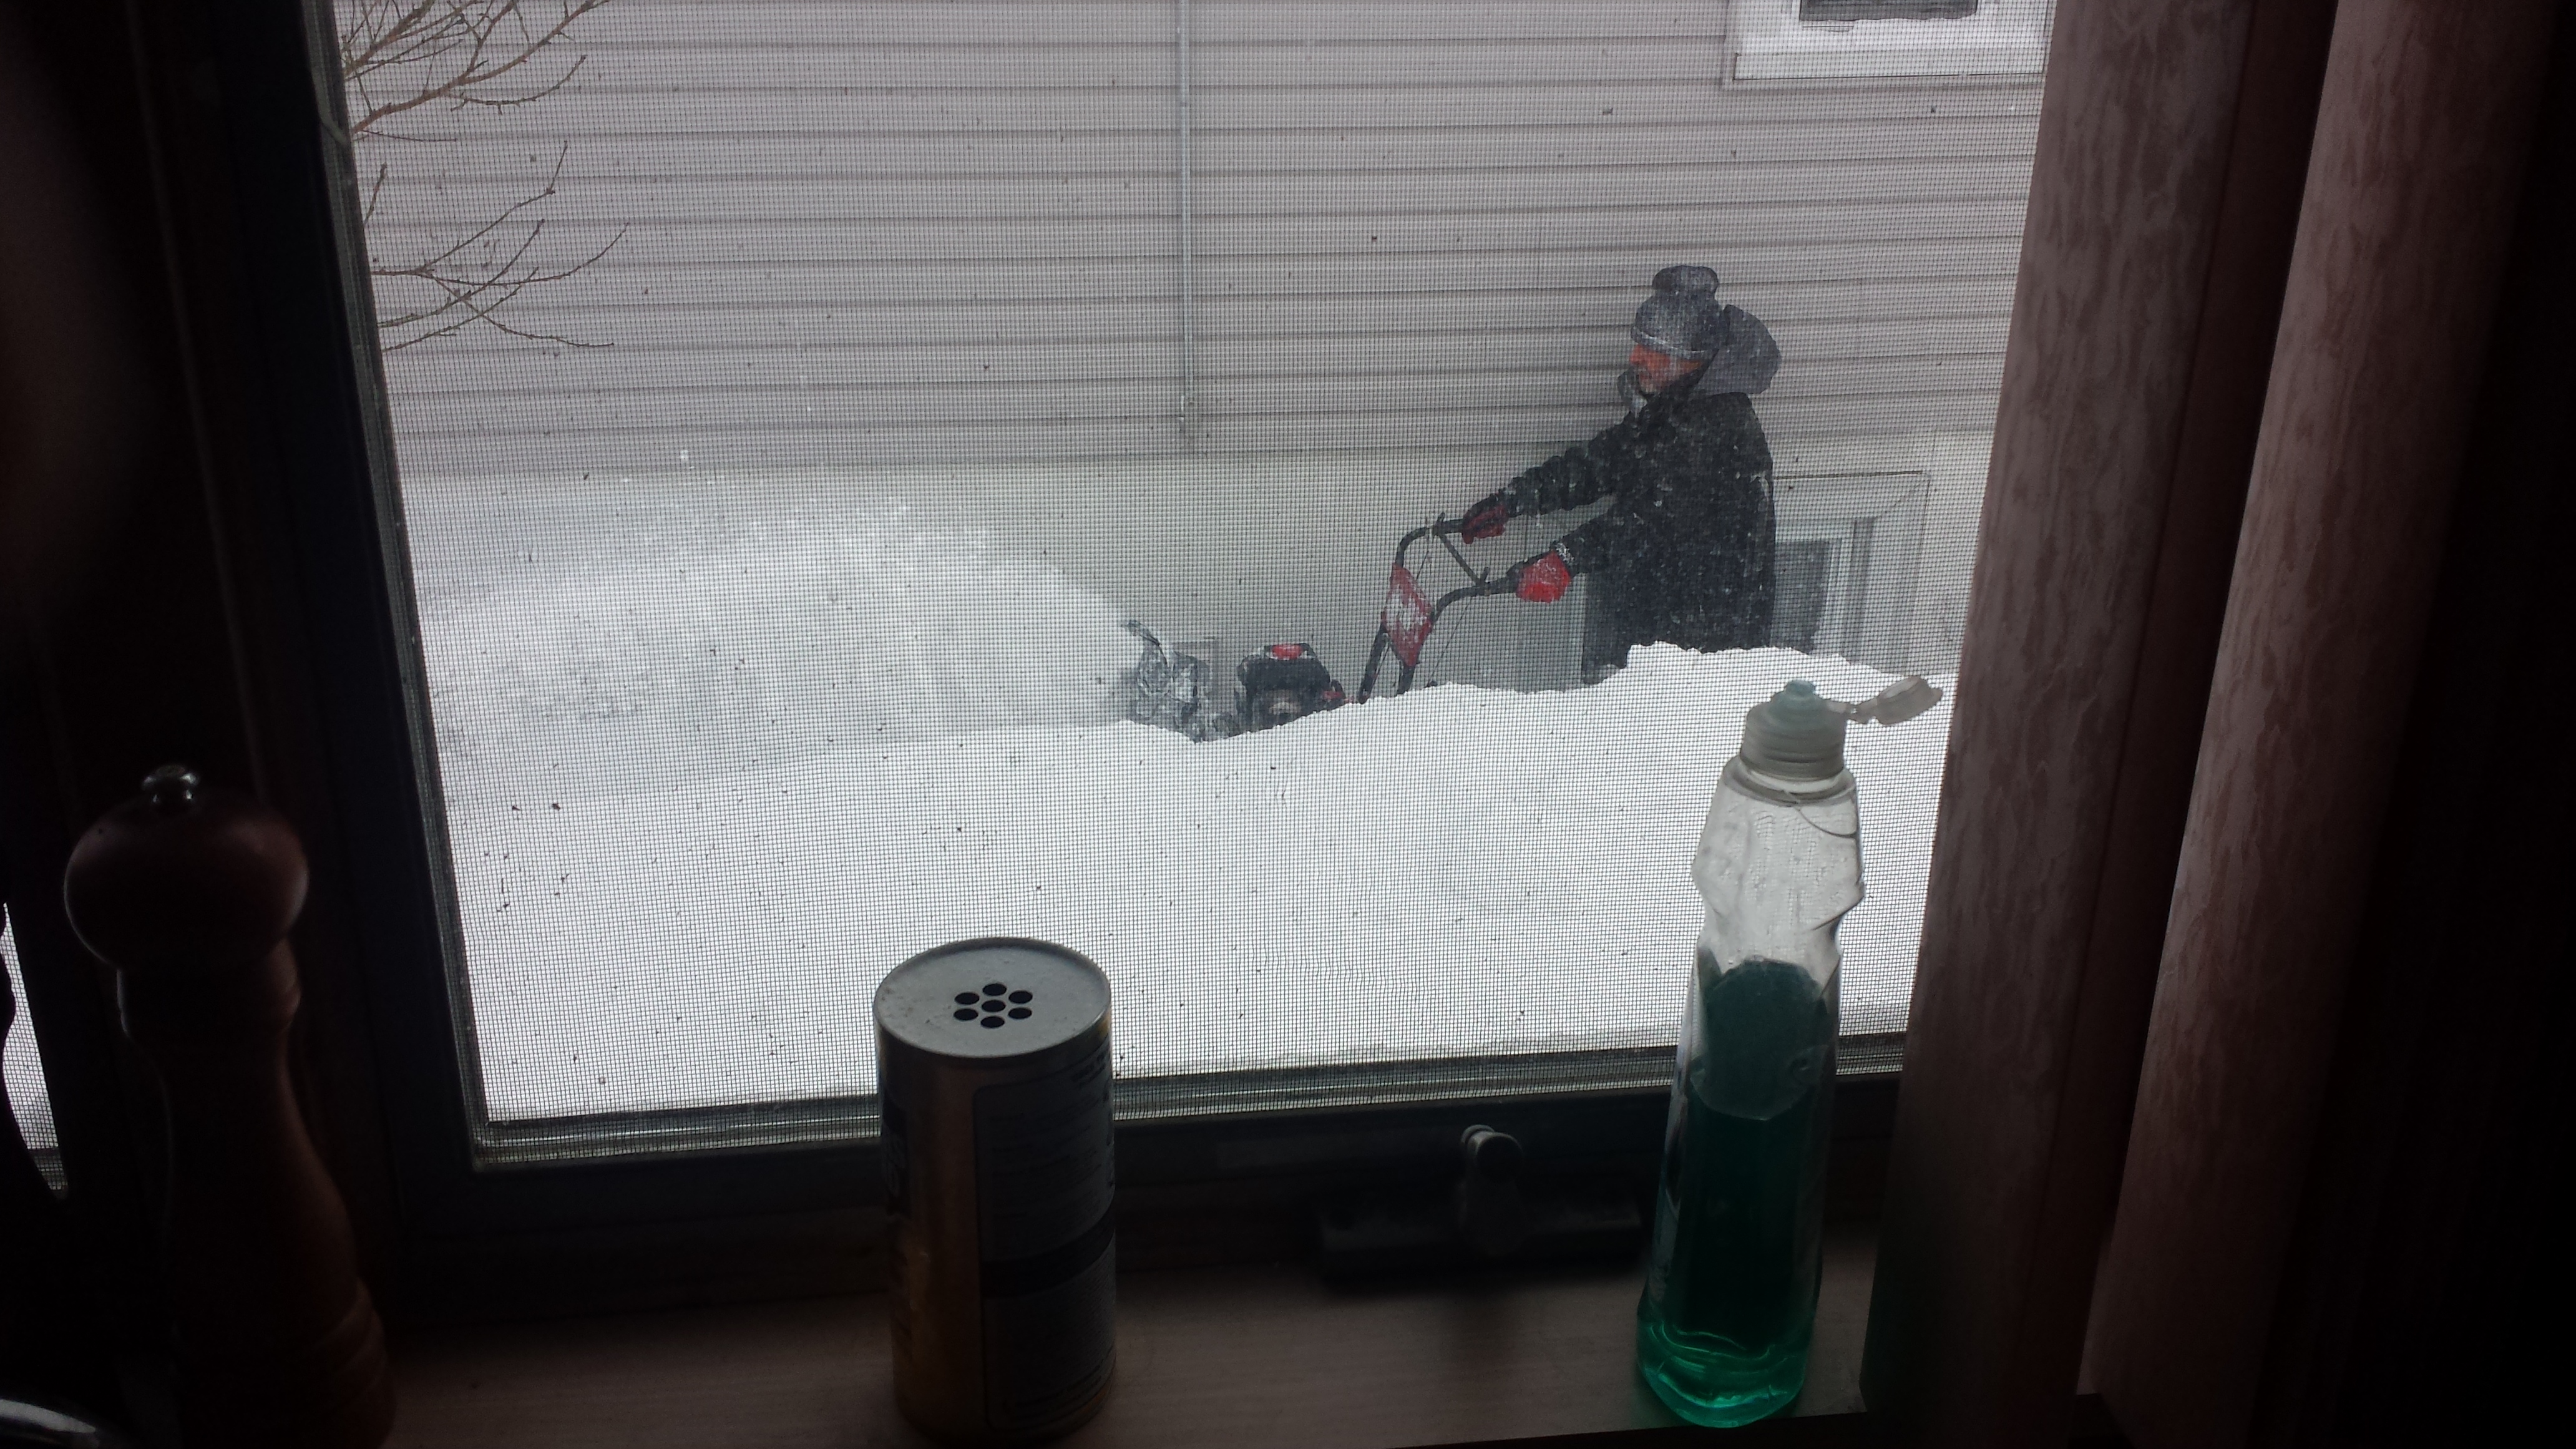
Brew day for this beer was February 15, 2015. This has been a particularly terrible year as far as Boston weather, as indicated by what this poor chump was doing while I was setting up:
I started by milling all of the grain, again separating the roast malt from the base malts.

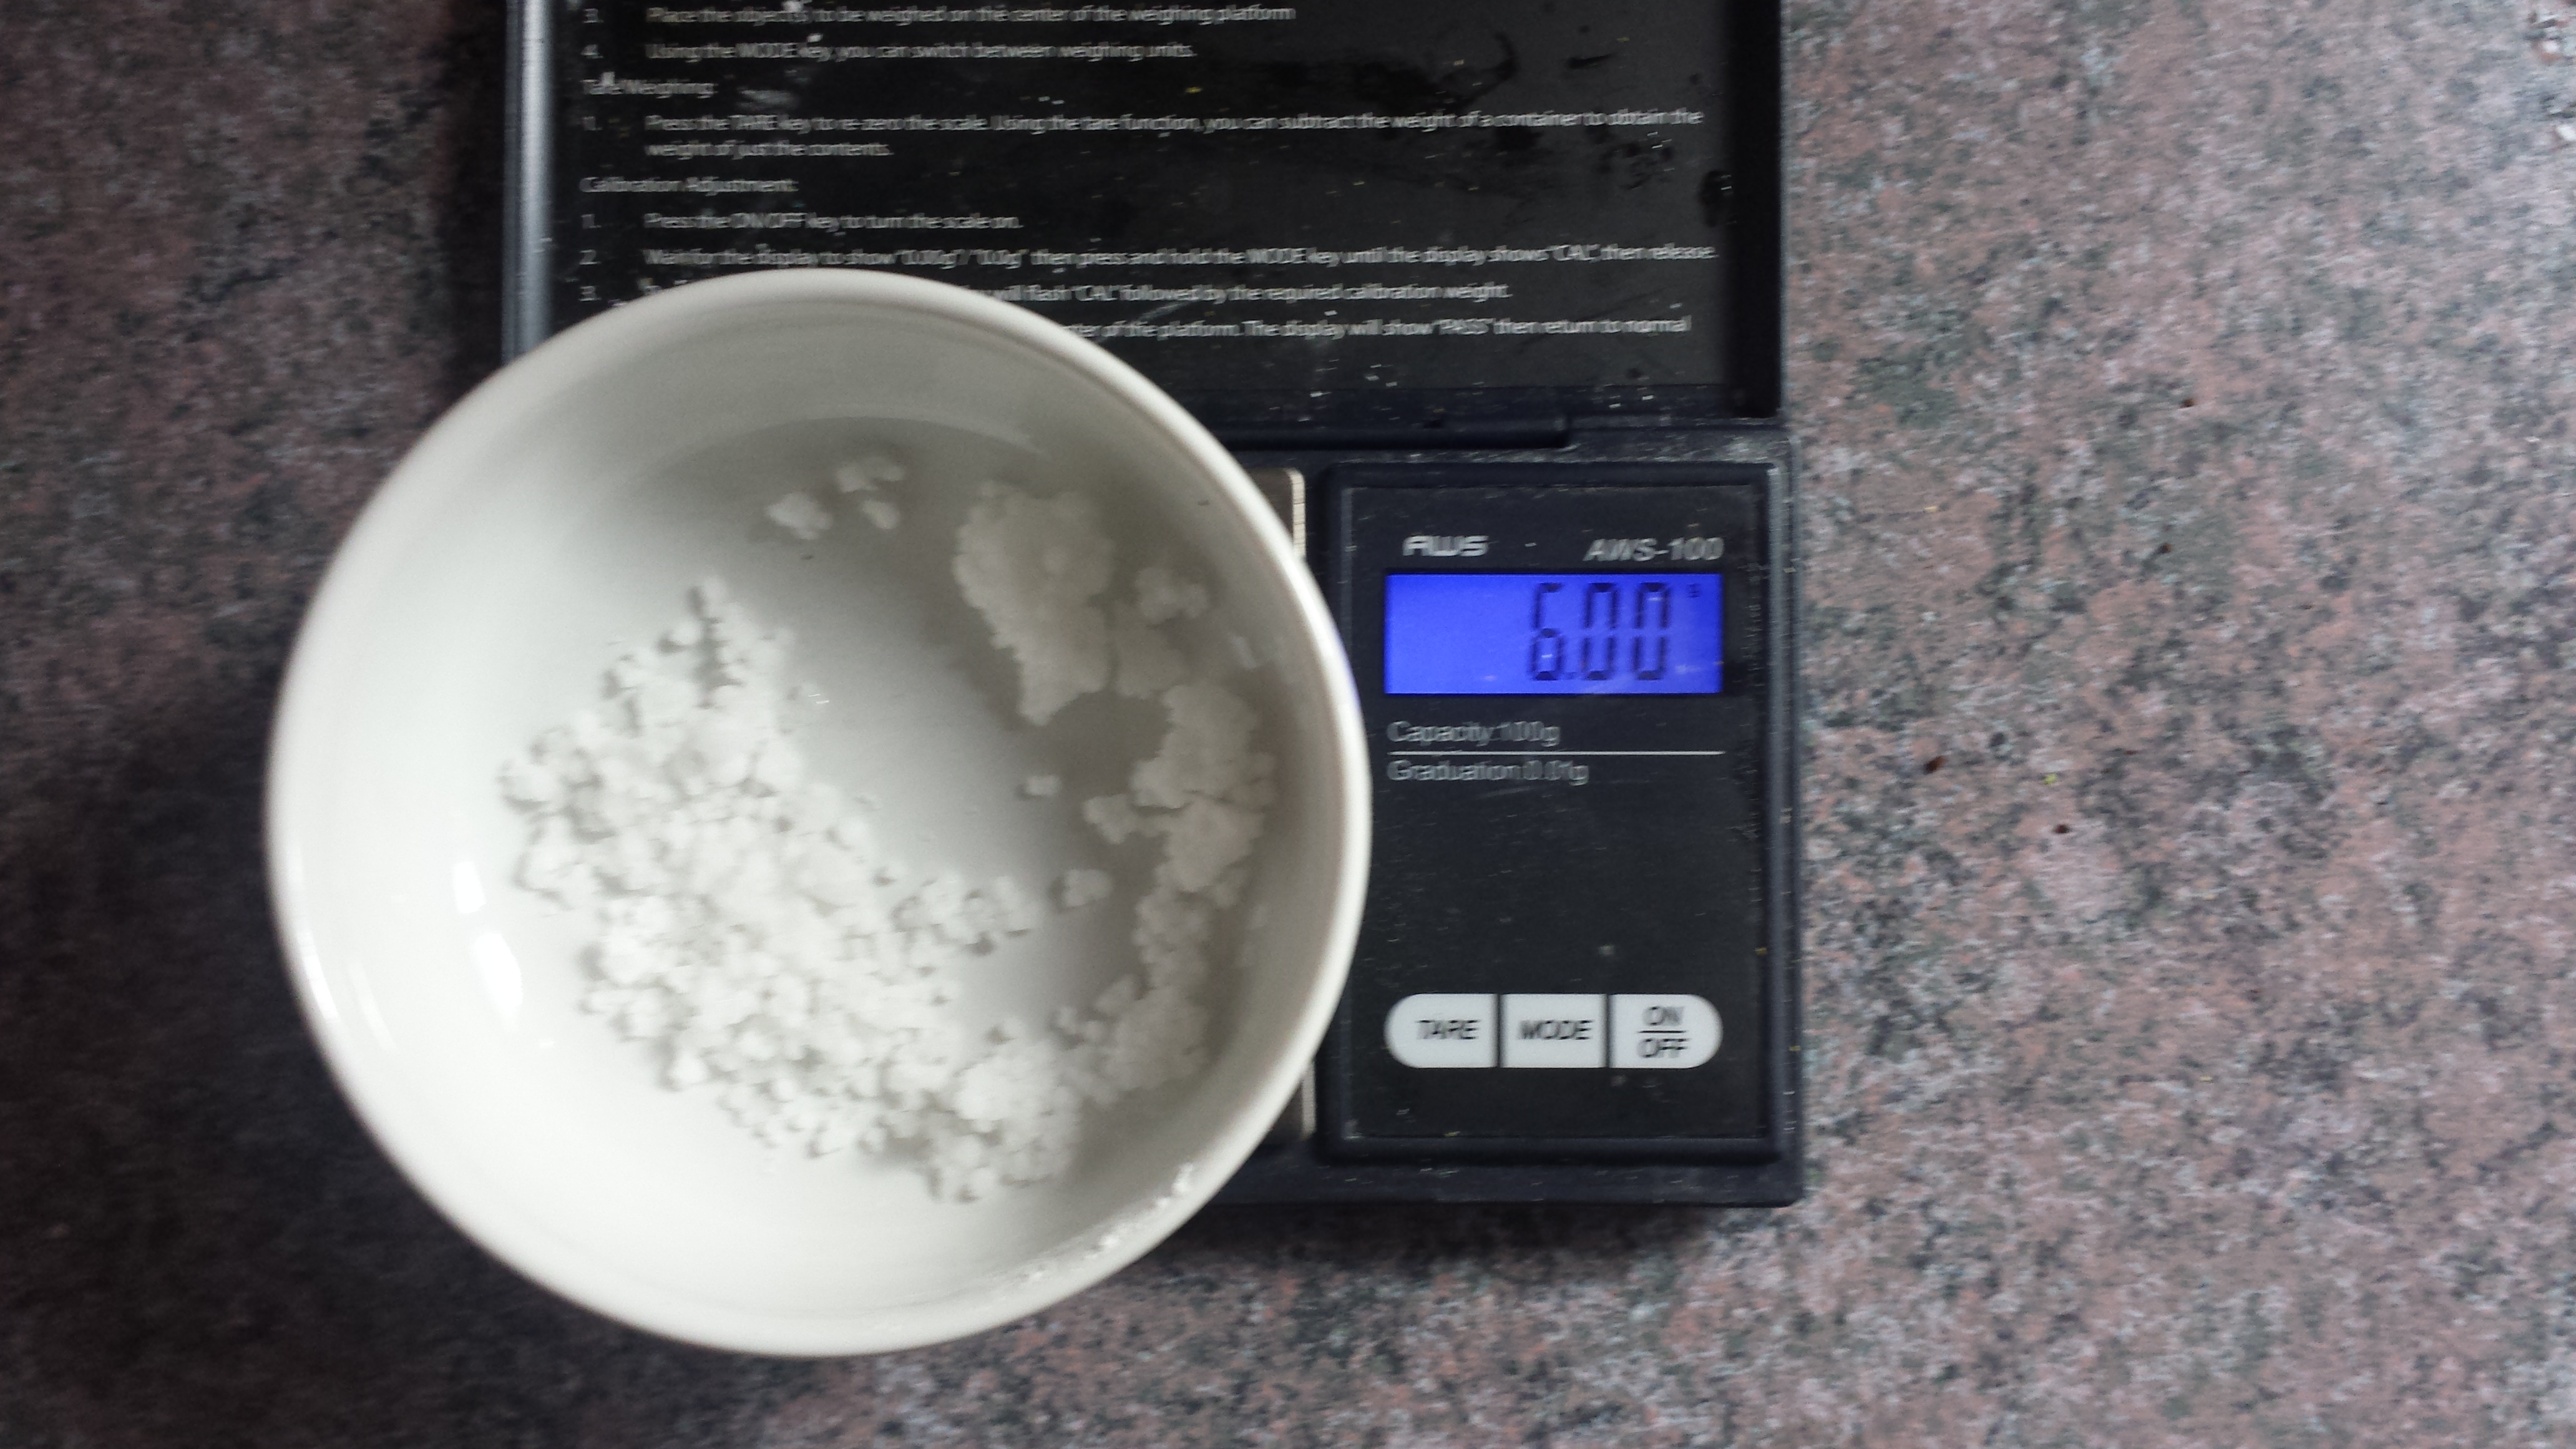
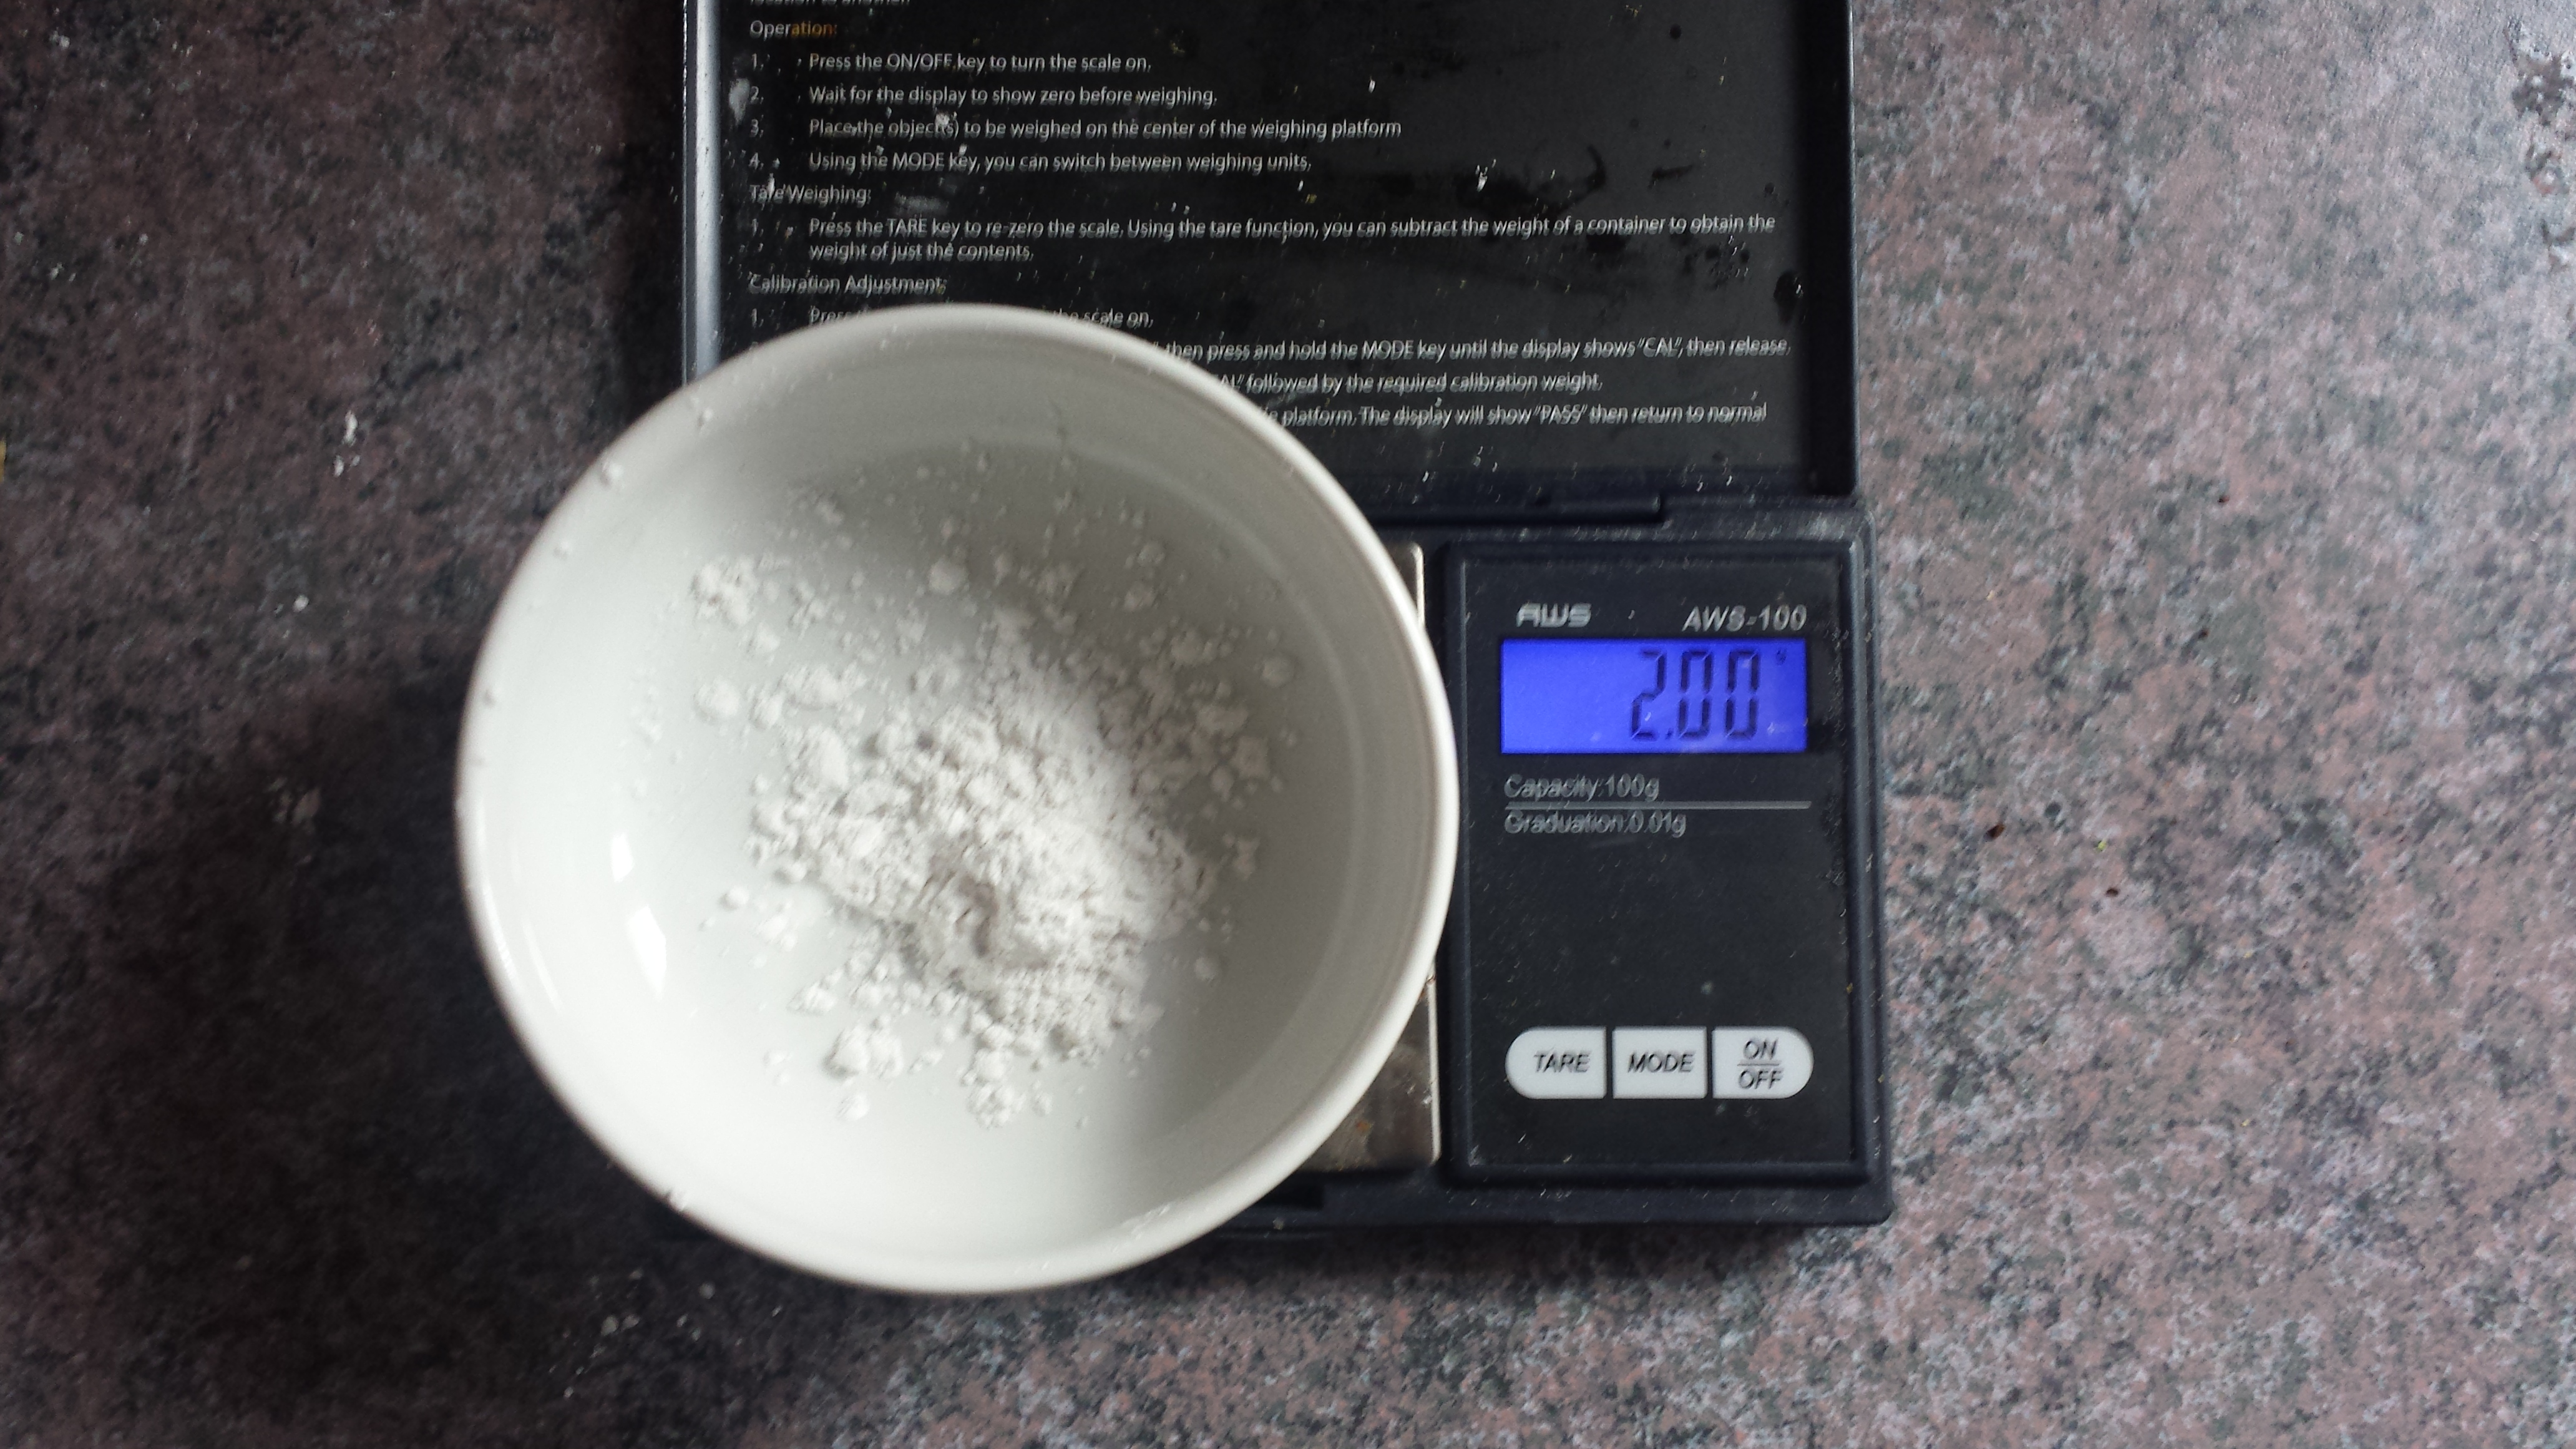
Then I measured out my salt additions, and added them to the base grains.
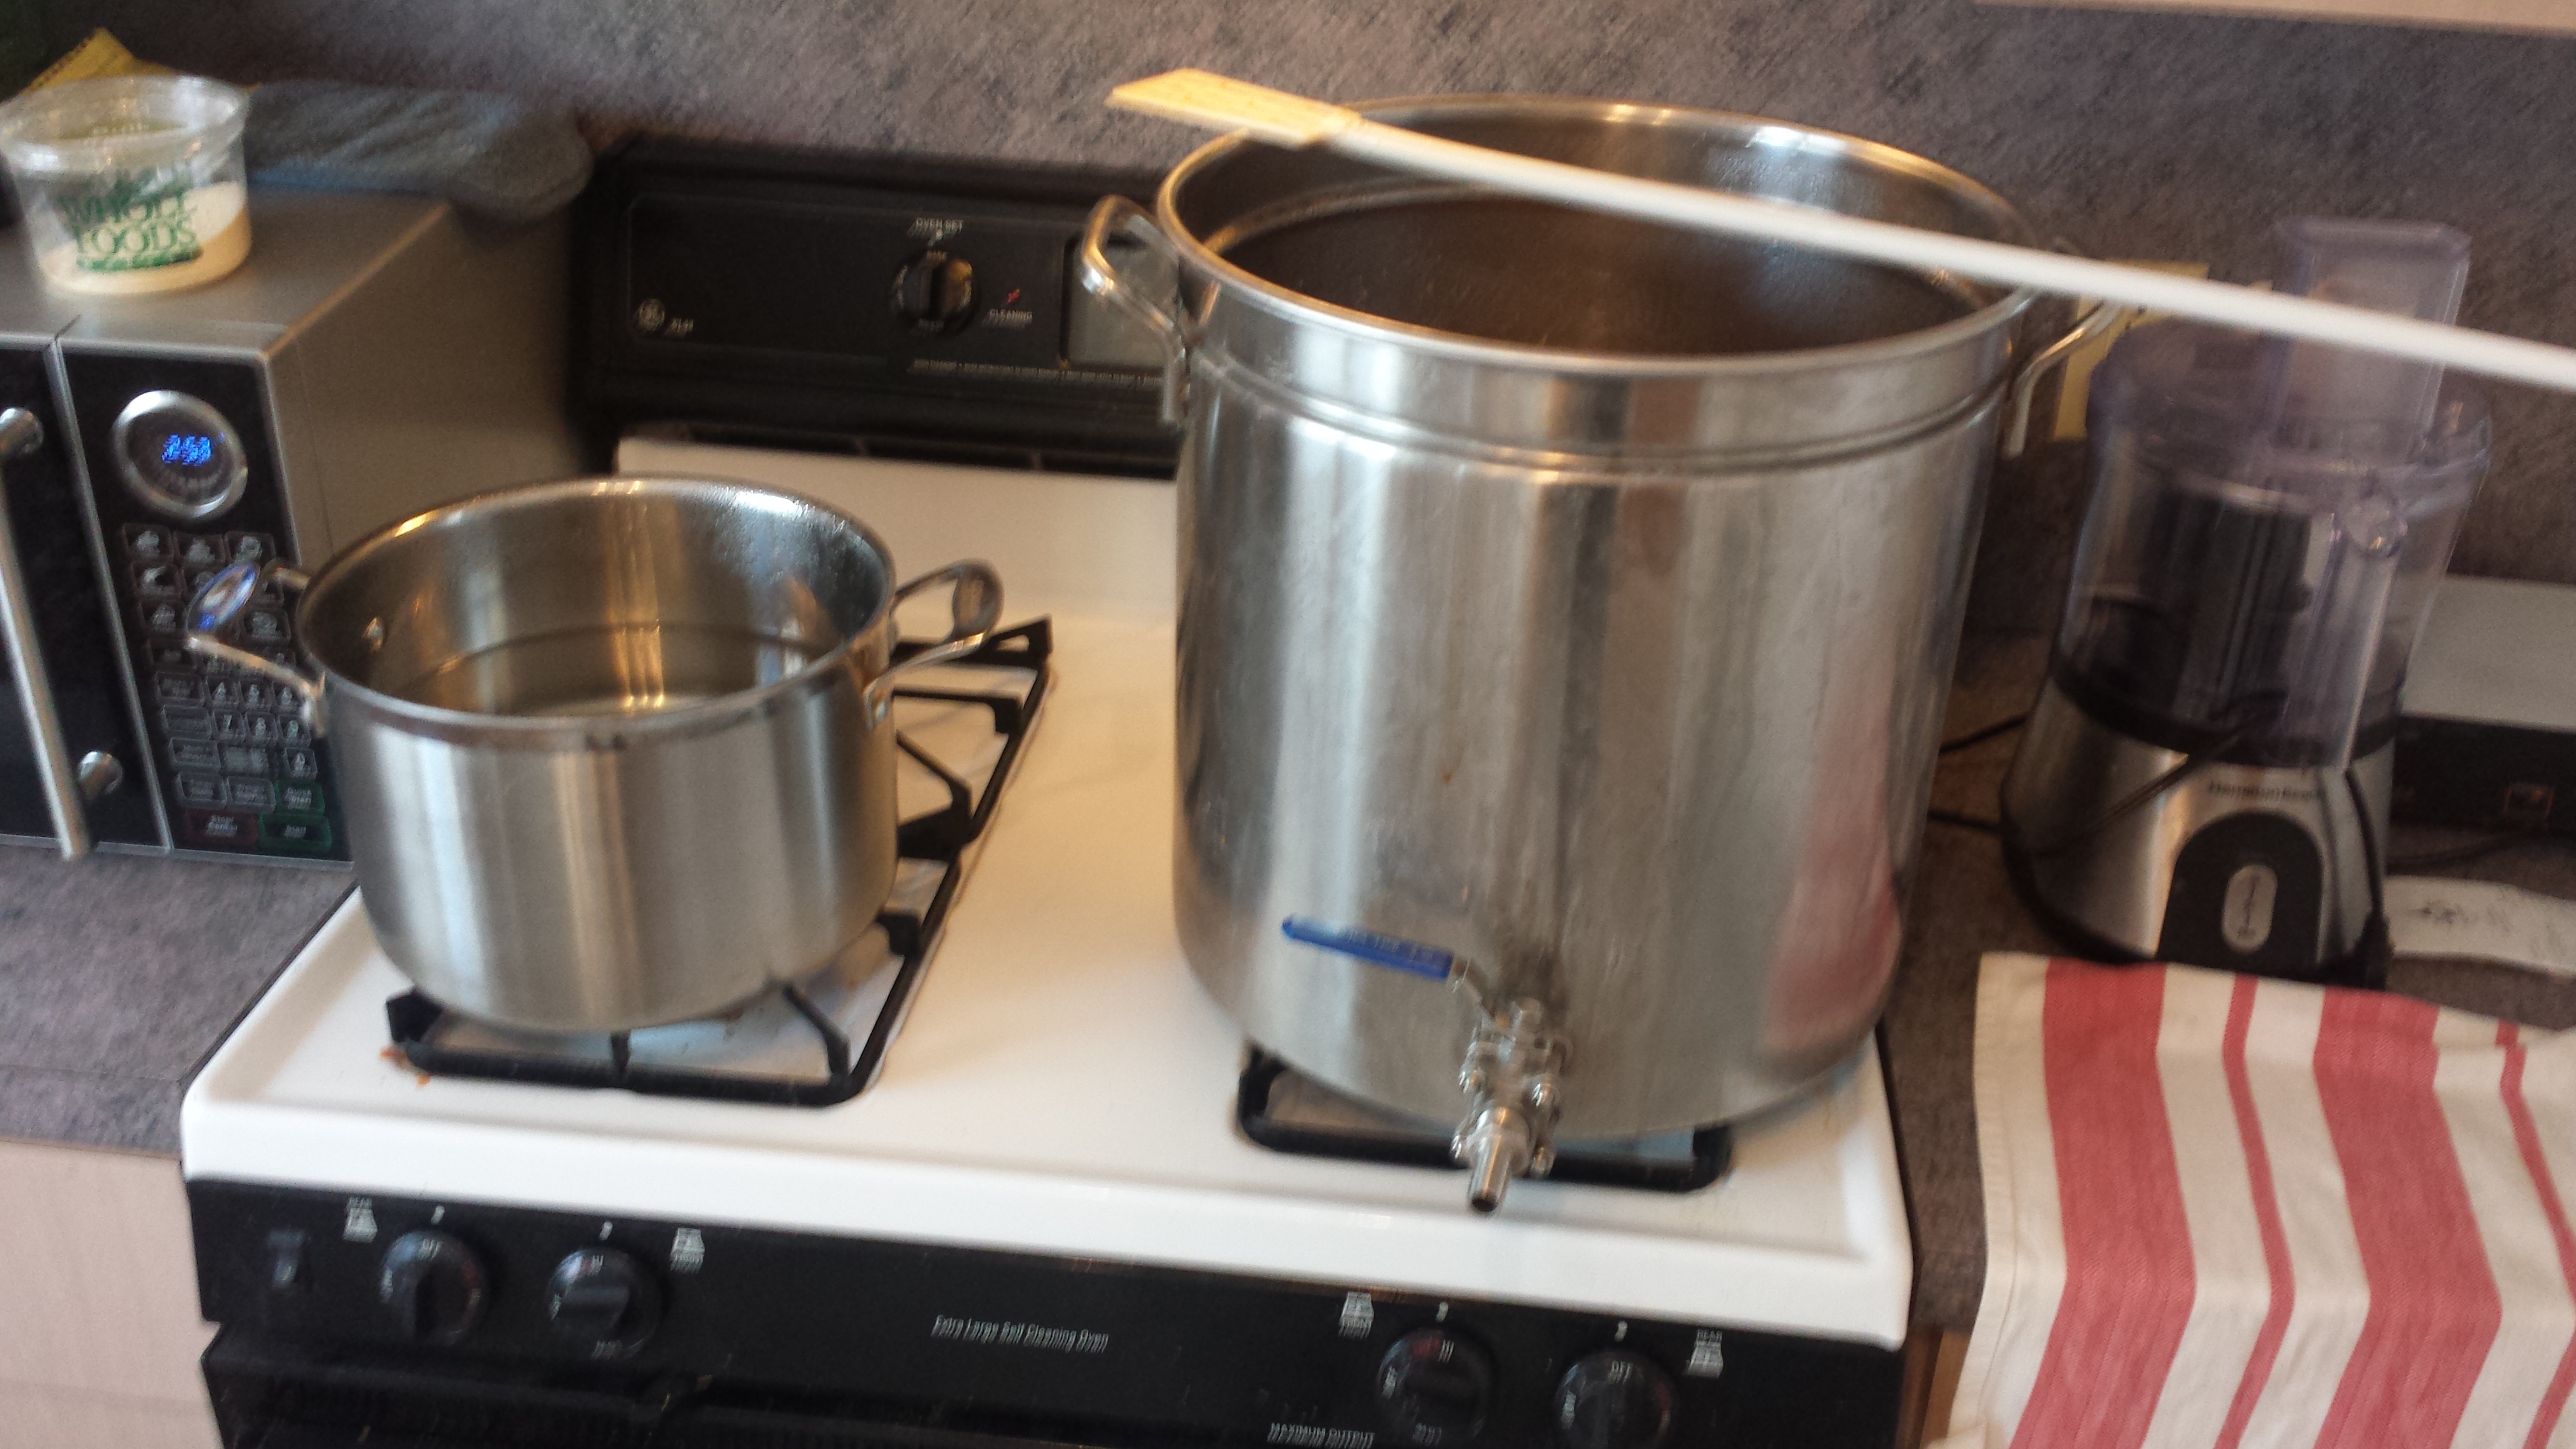
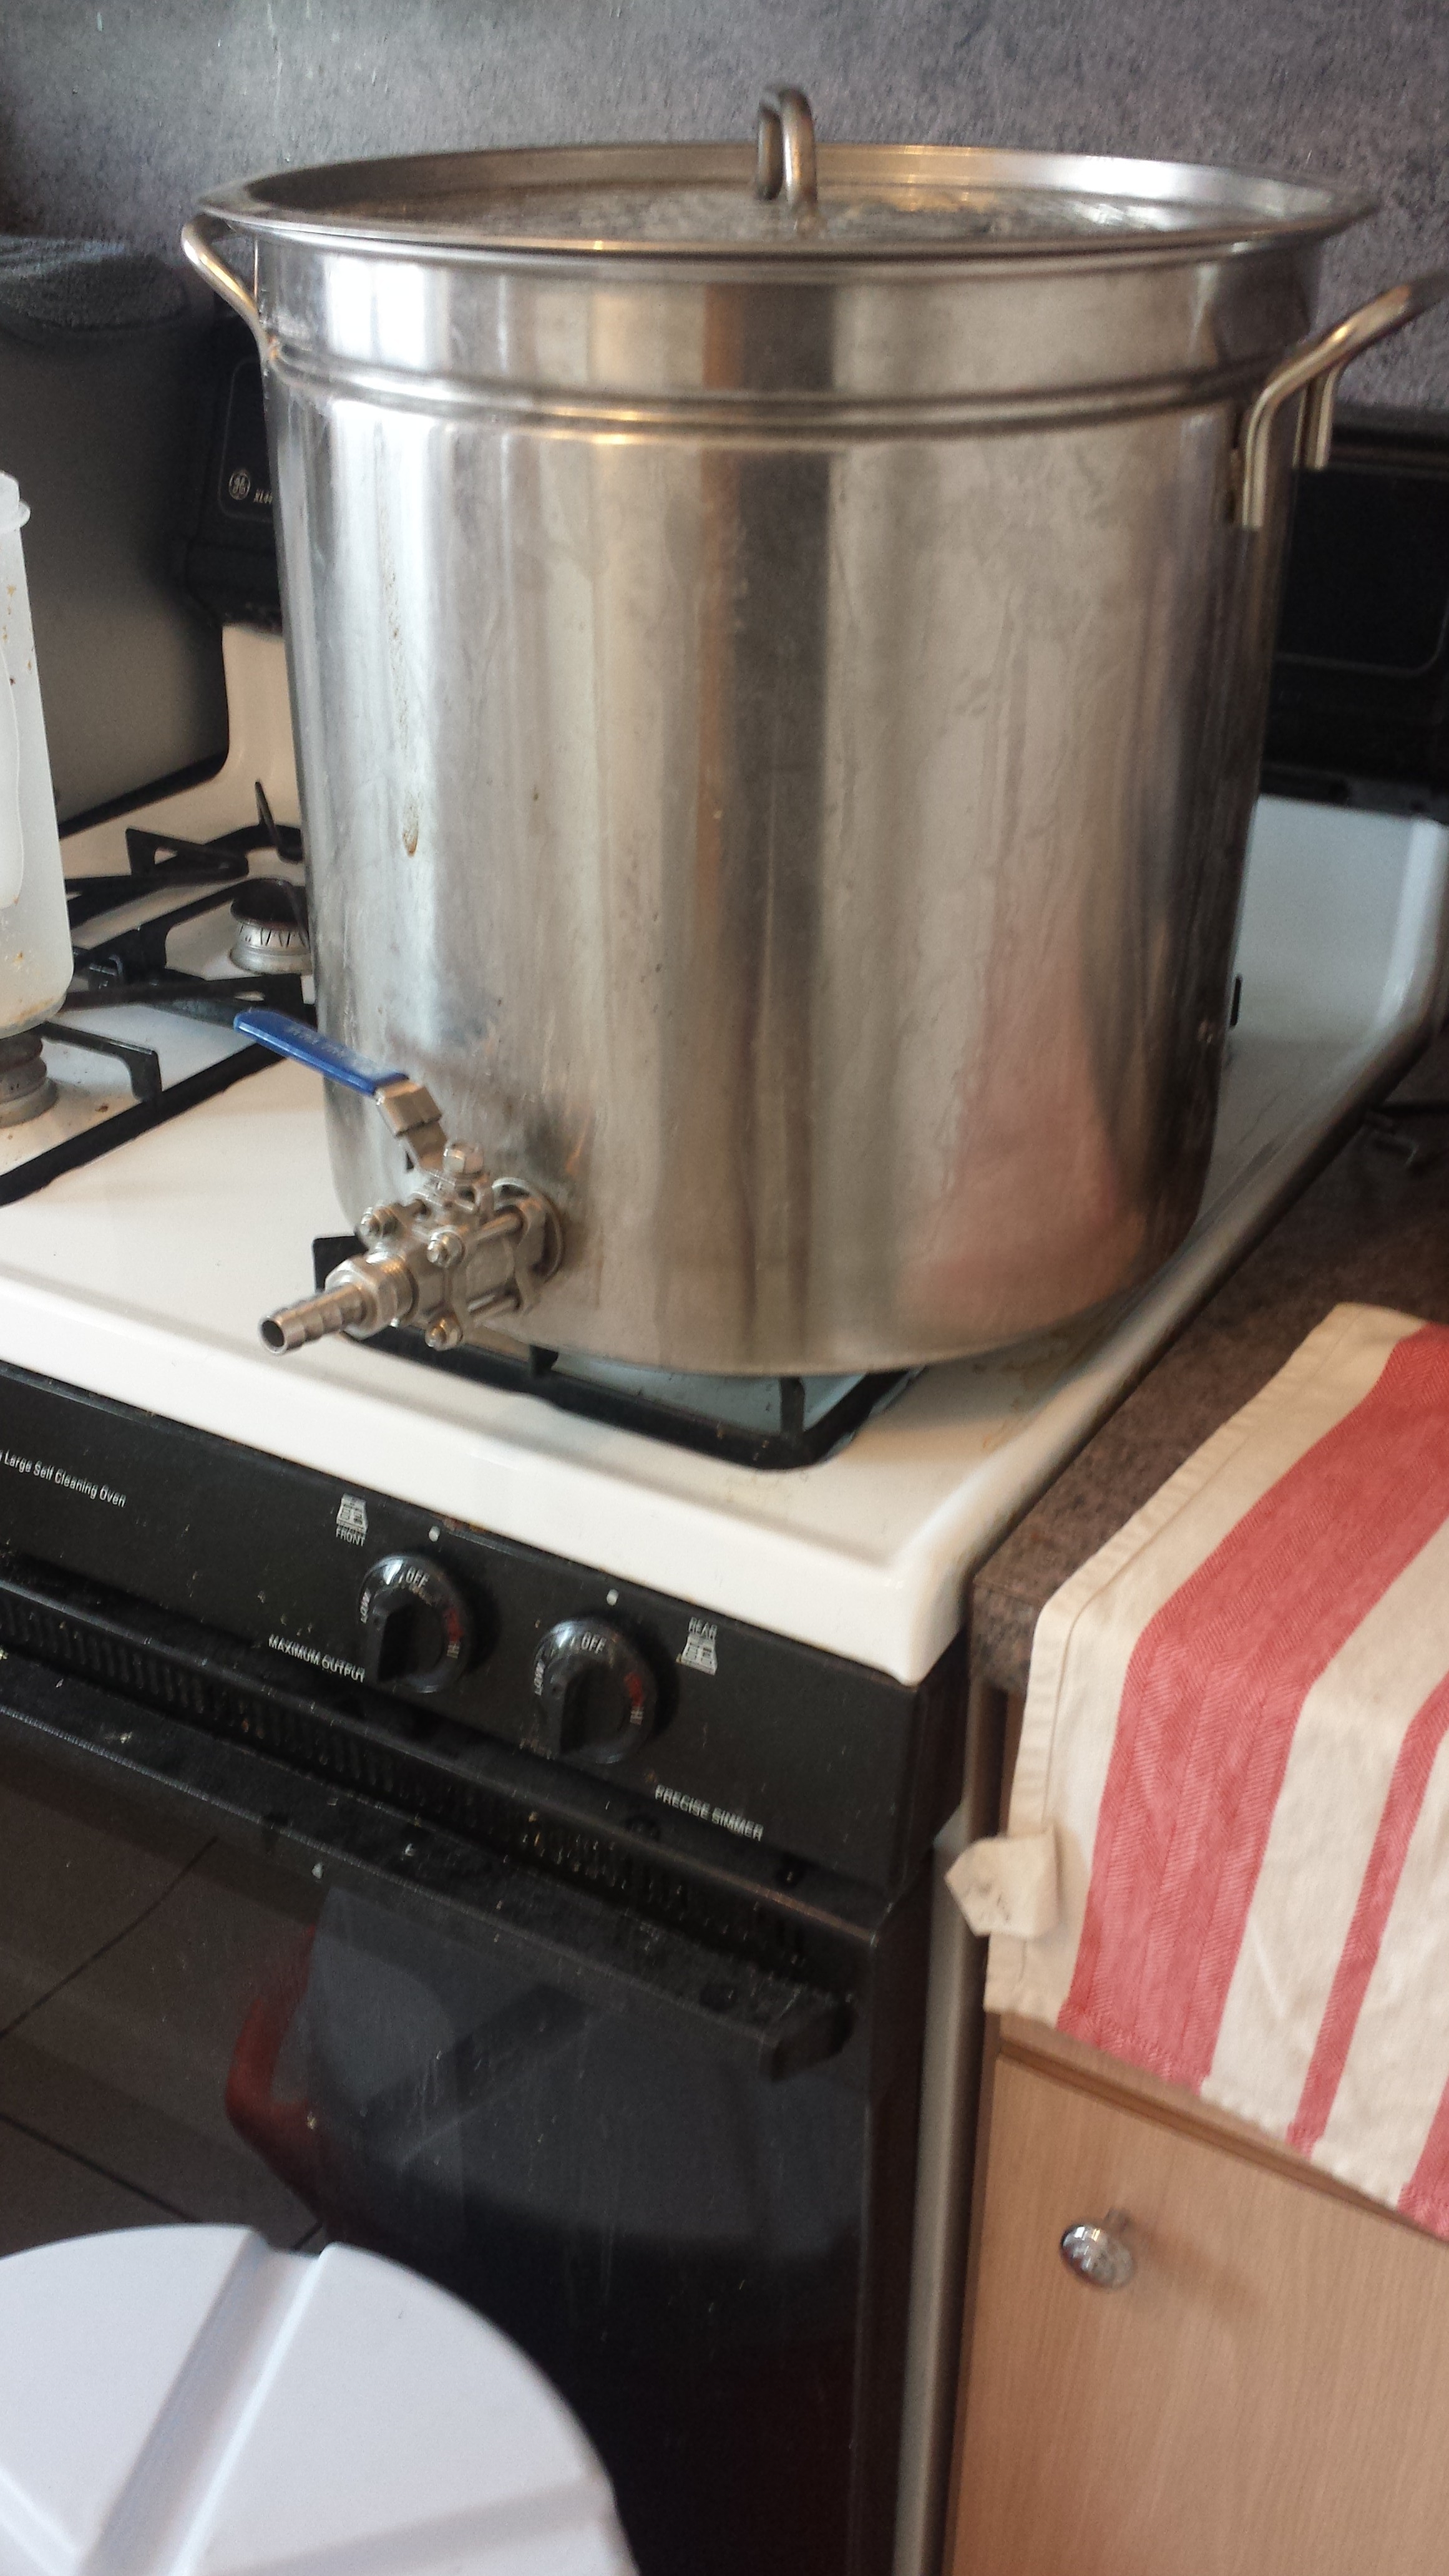
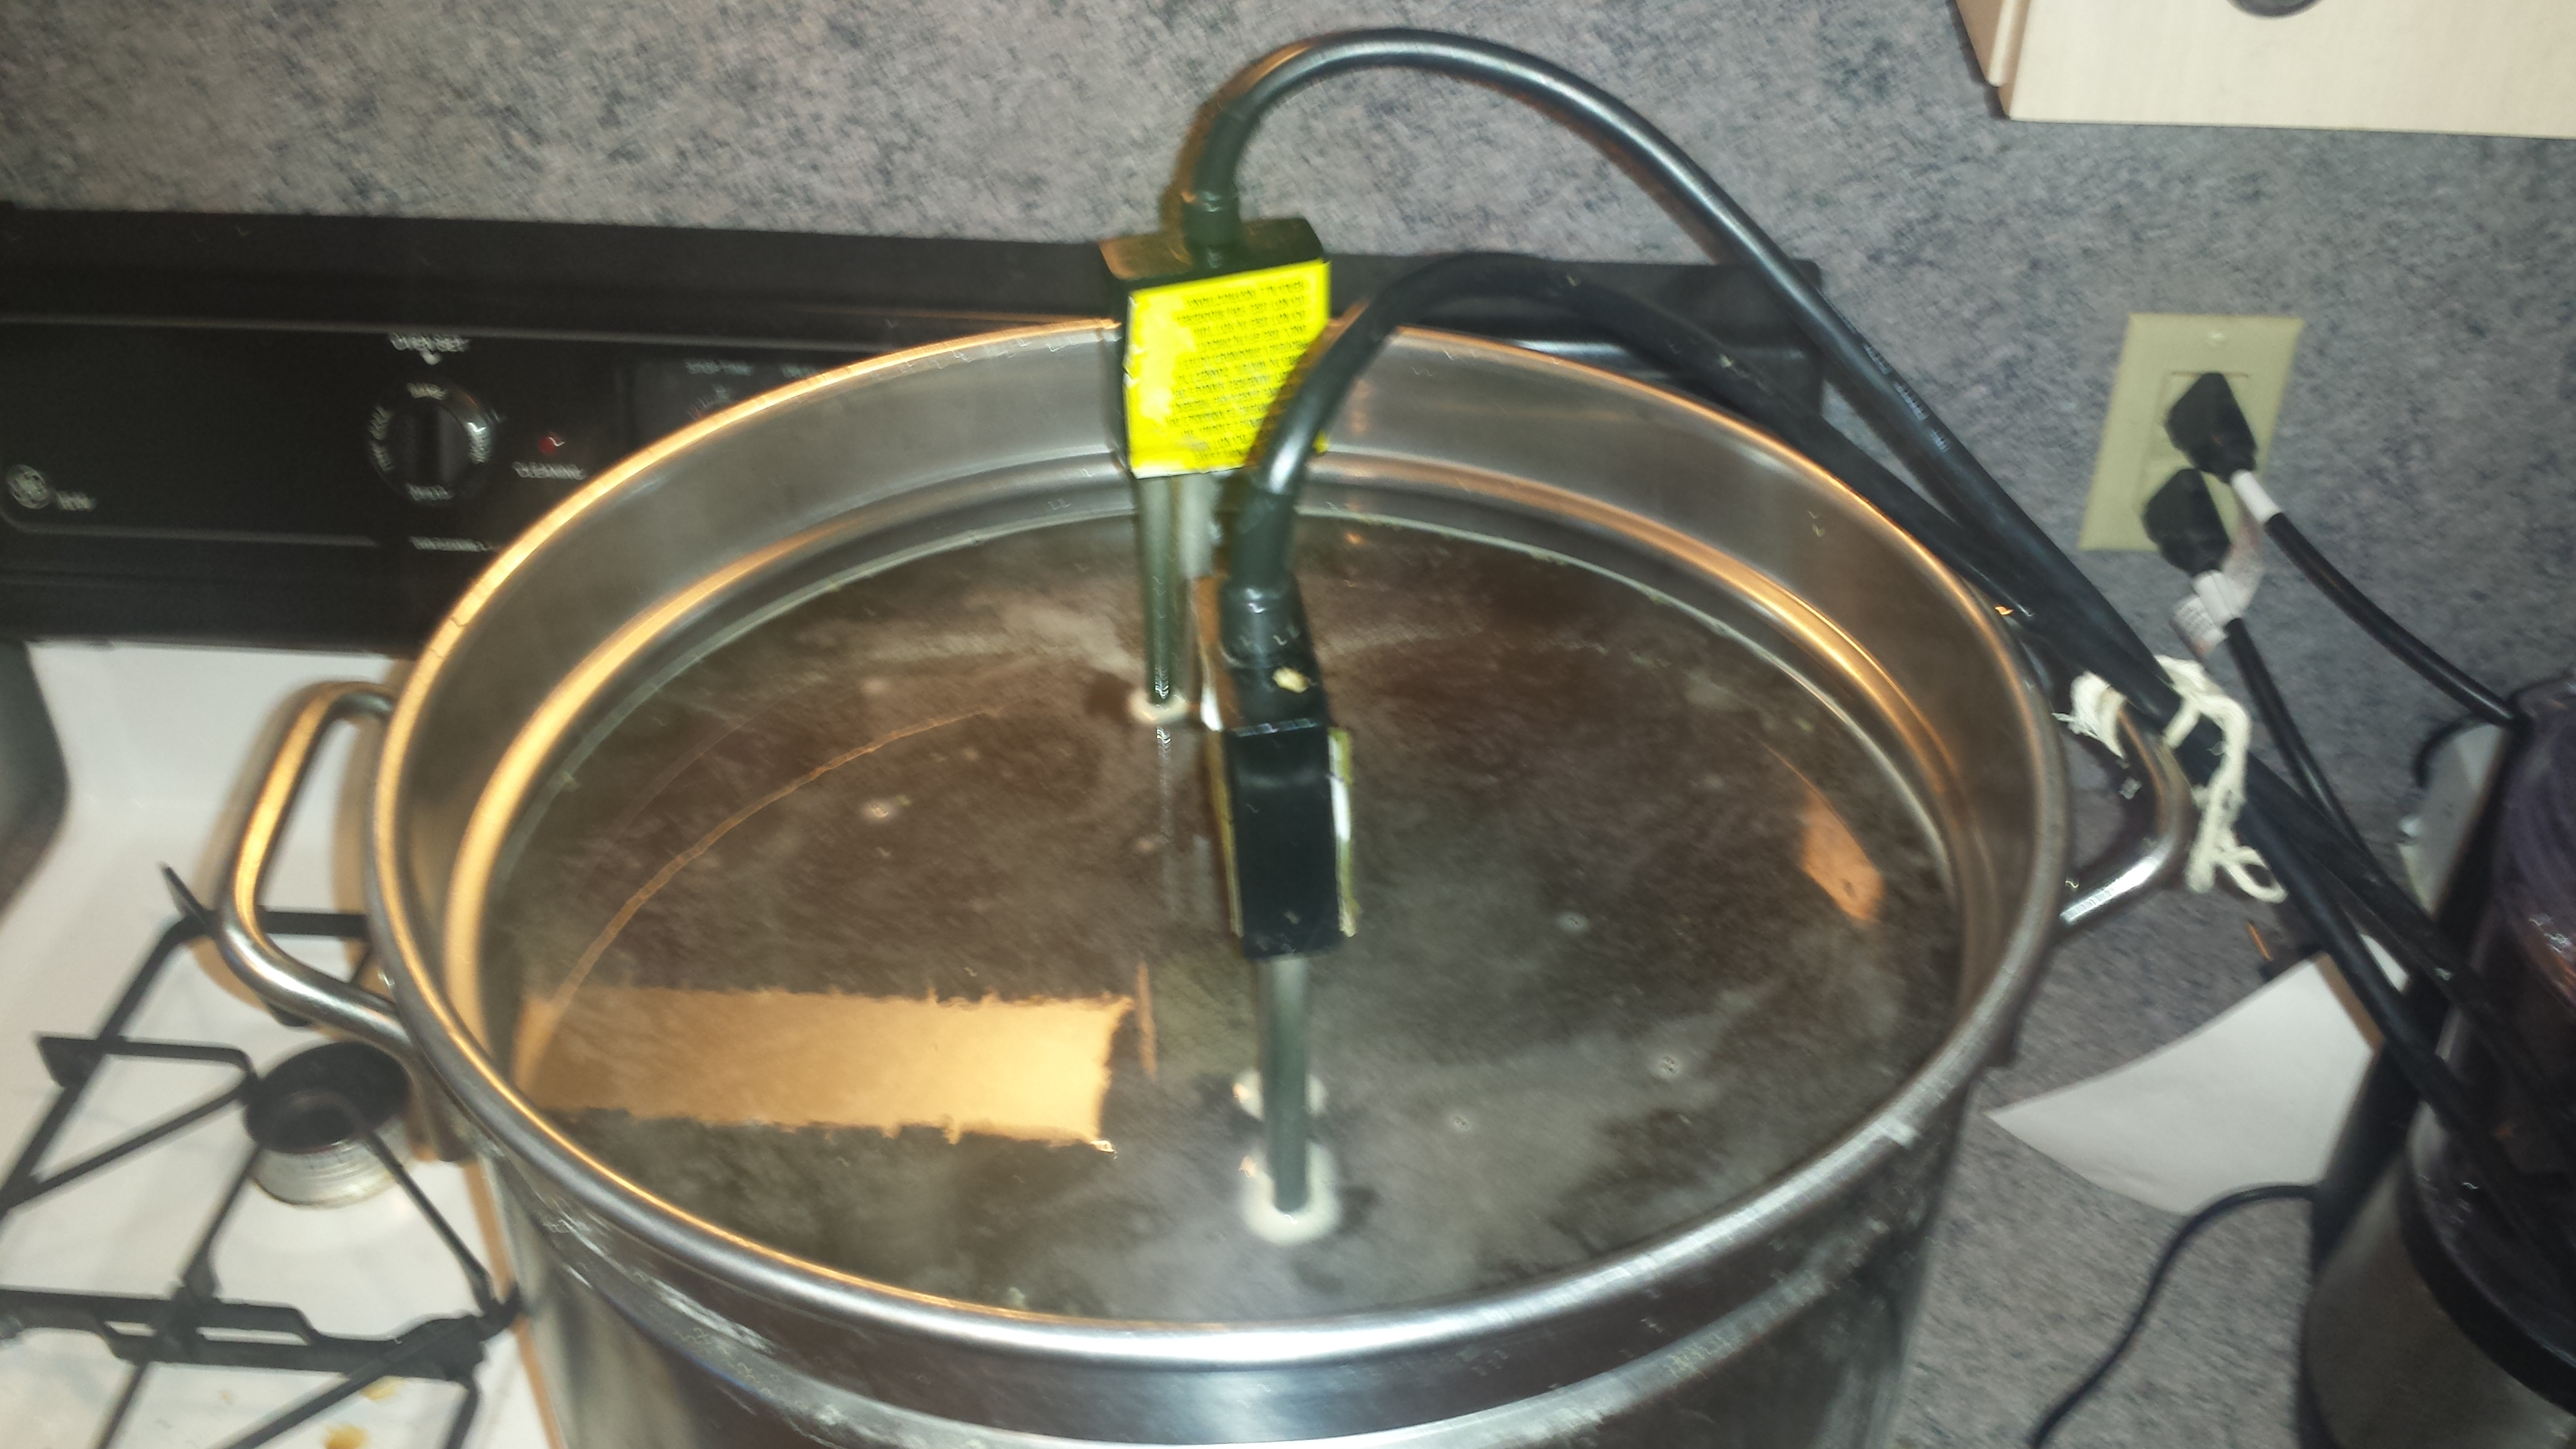
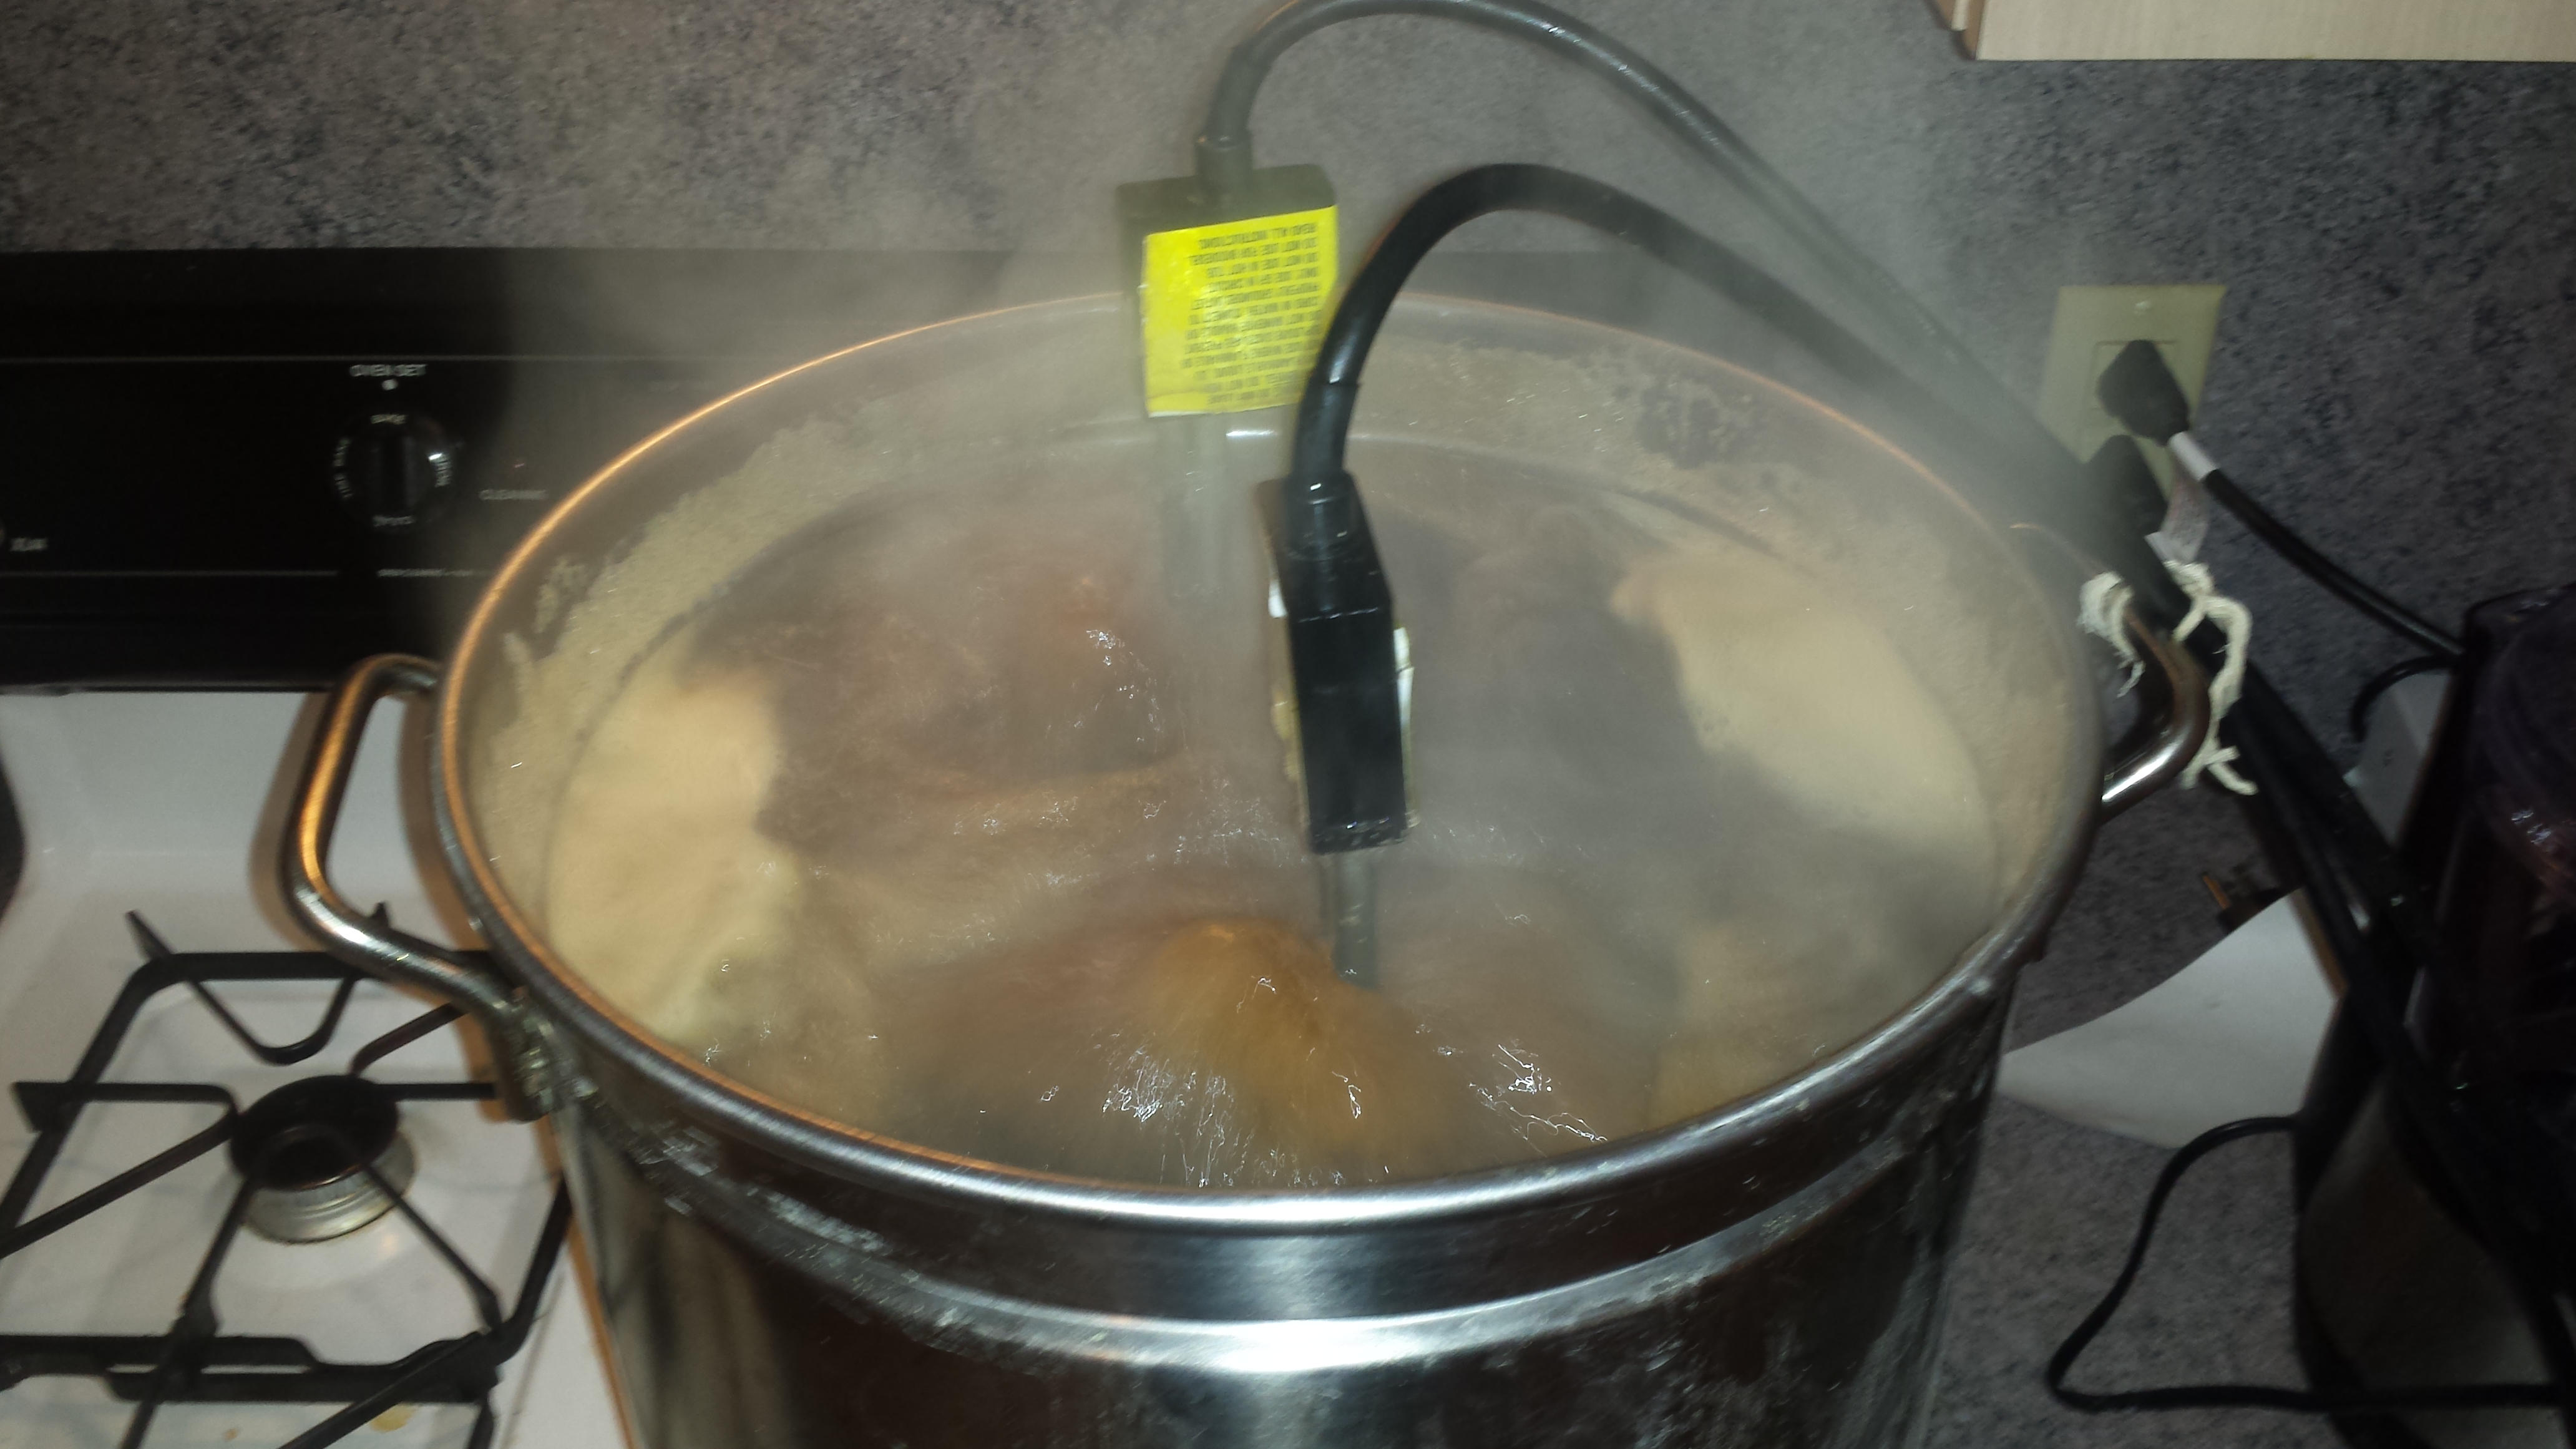
Next I heated up my five gallons of strike water, which BeerSmith calculated would need to be at 136 F to hit my desired temperature of 131 F. Once the strike water hit 136, I ran it off into my mash tun, and then added the grain (sorry about all the blurry photos; they looked decent on my phone).

I actually hit 132 F here, which is not a problem. I let this rest for 30 minutes at that temperature before pulling the first decoction. There are a number of calculators online for determining how much to pull out of the main mash. In my experience I have found that these calculators all pretty much suck. I first found that BeerSmith’s was just awful, and was sure that other tools online must be better, but alas no. I cannot be sure, but I think the issue is that these calculators do not account for the boil-off of liquid during the decoction process. My experience was that my rest temperature often ended up quite a bit lower than I wanted when I re-infused the decoction with the main mash. Thus, I adjust the size that these online calculators give me by about 20-30%. For instance, if the online calculator tells me to take 4.5 quarts from the main mash, I’ll pull around 6 quarts. Still, this can be inaccurate; thus I feel like the safest thing to do is the following:
>Pro Tip: Always have water boiling during the decoction process to make sure you can quickly adjust your rest temperatures if you do not hit them perfectly.
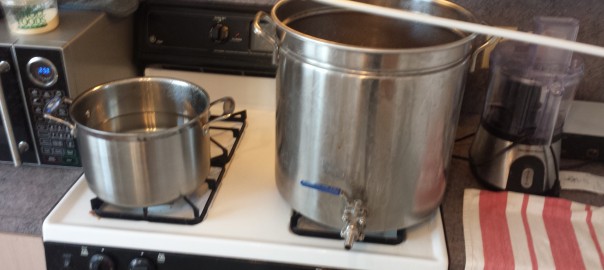
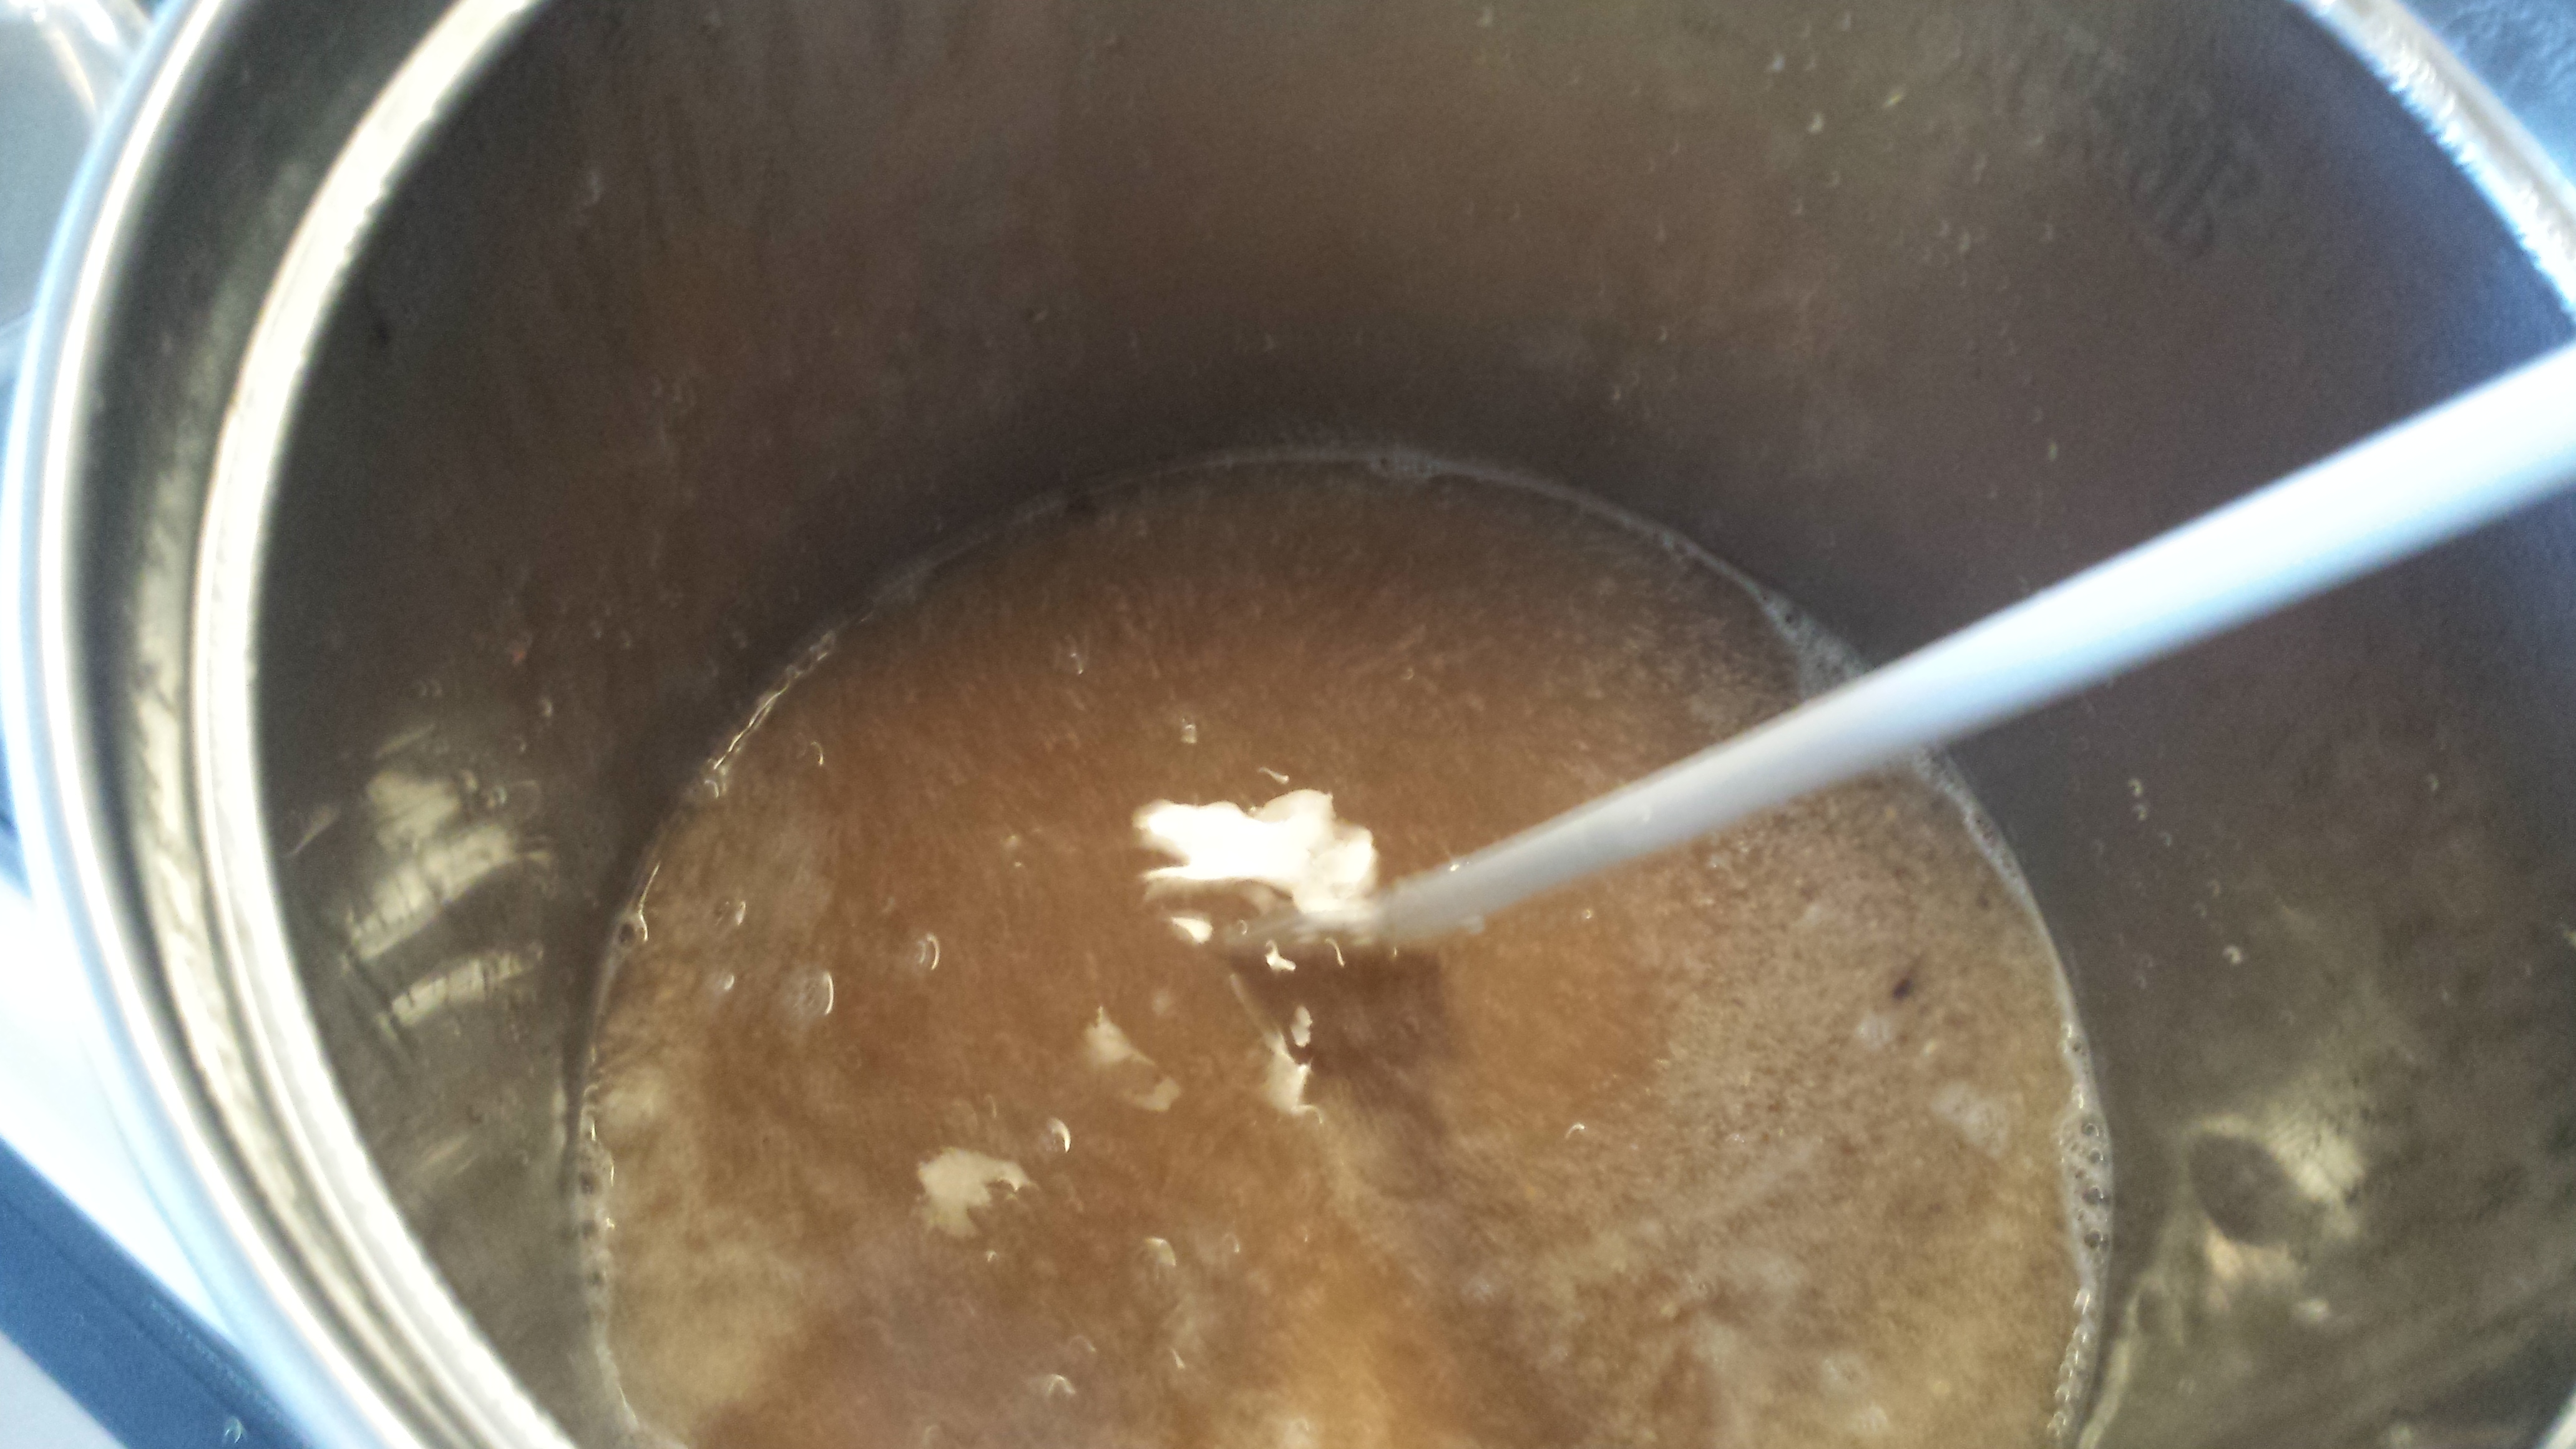
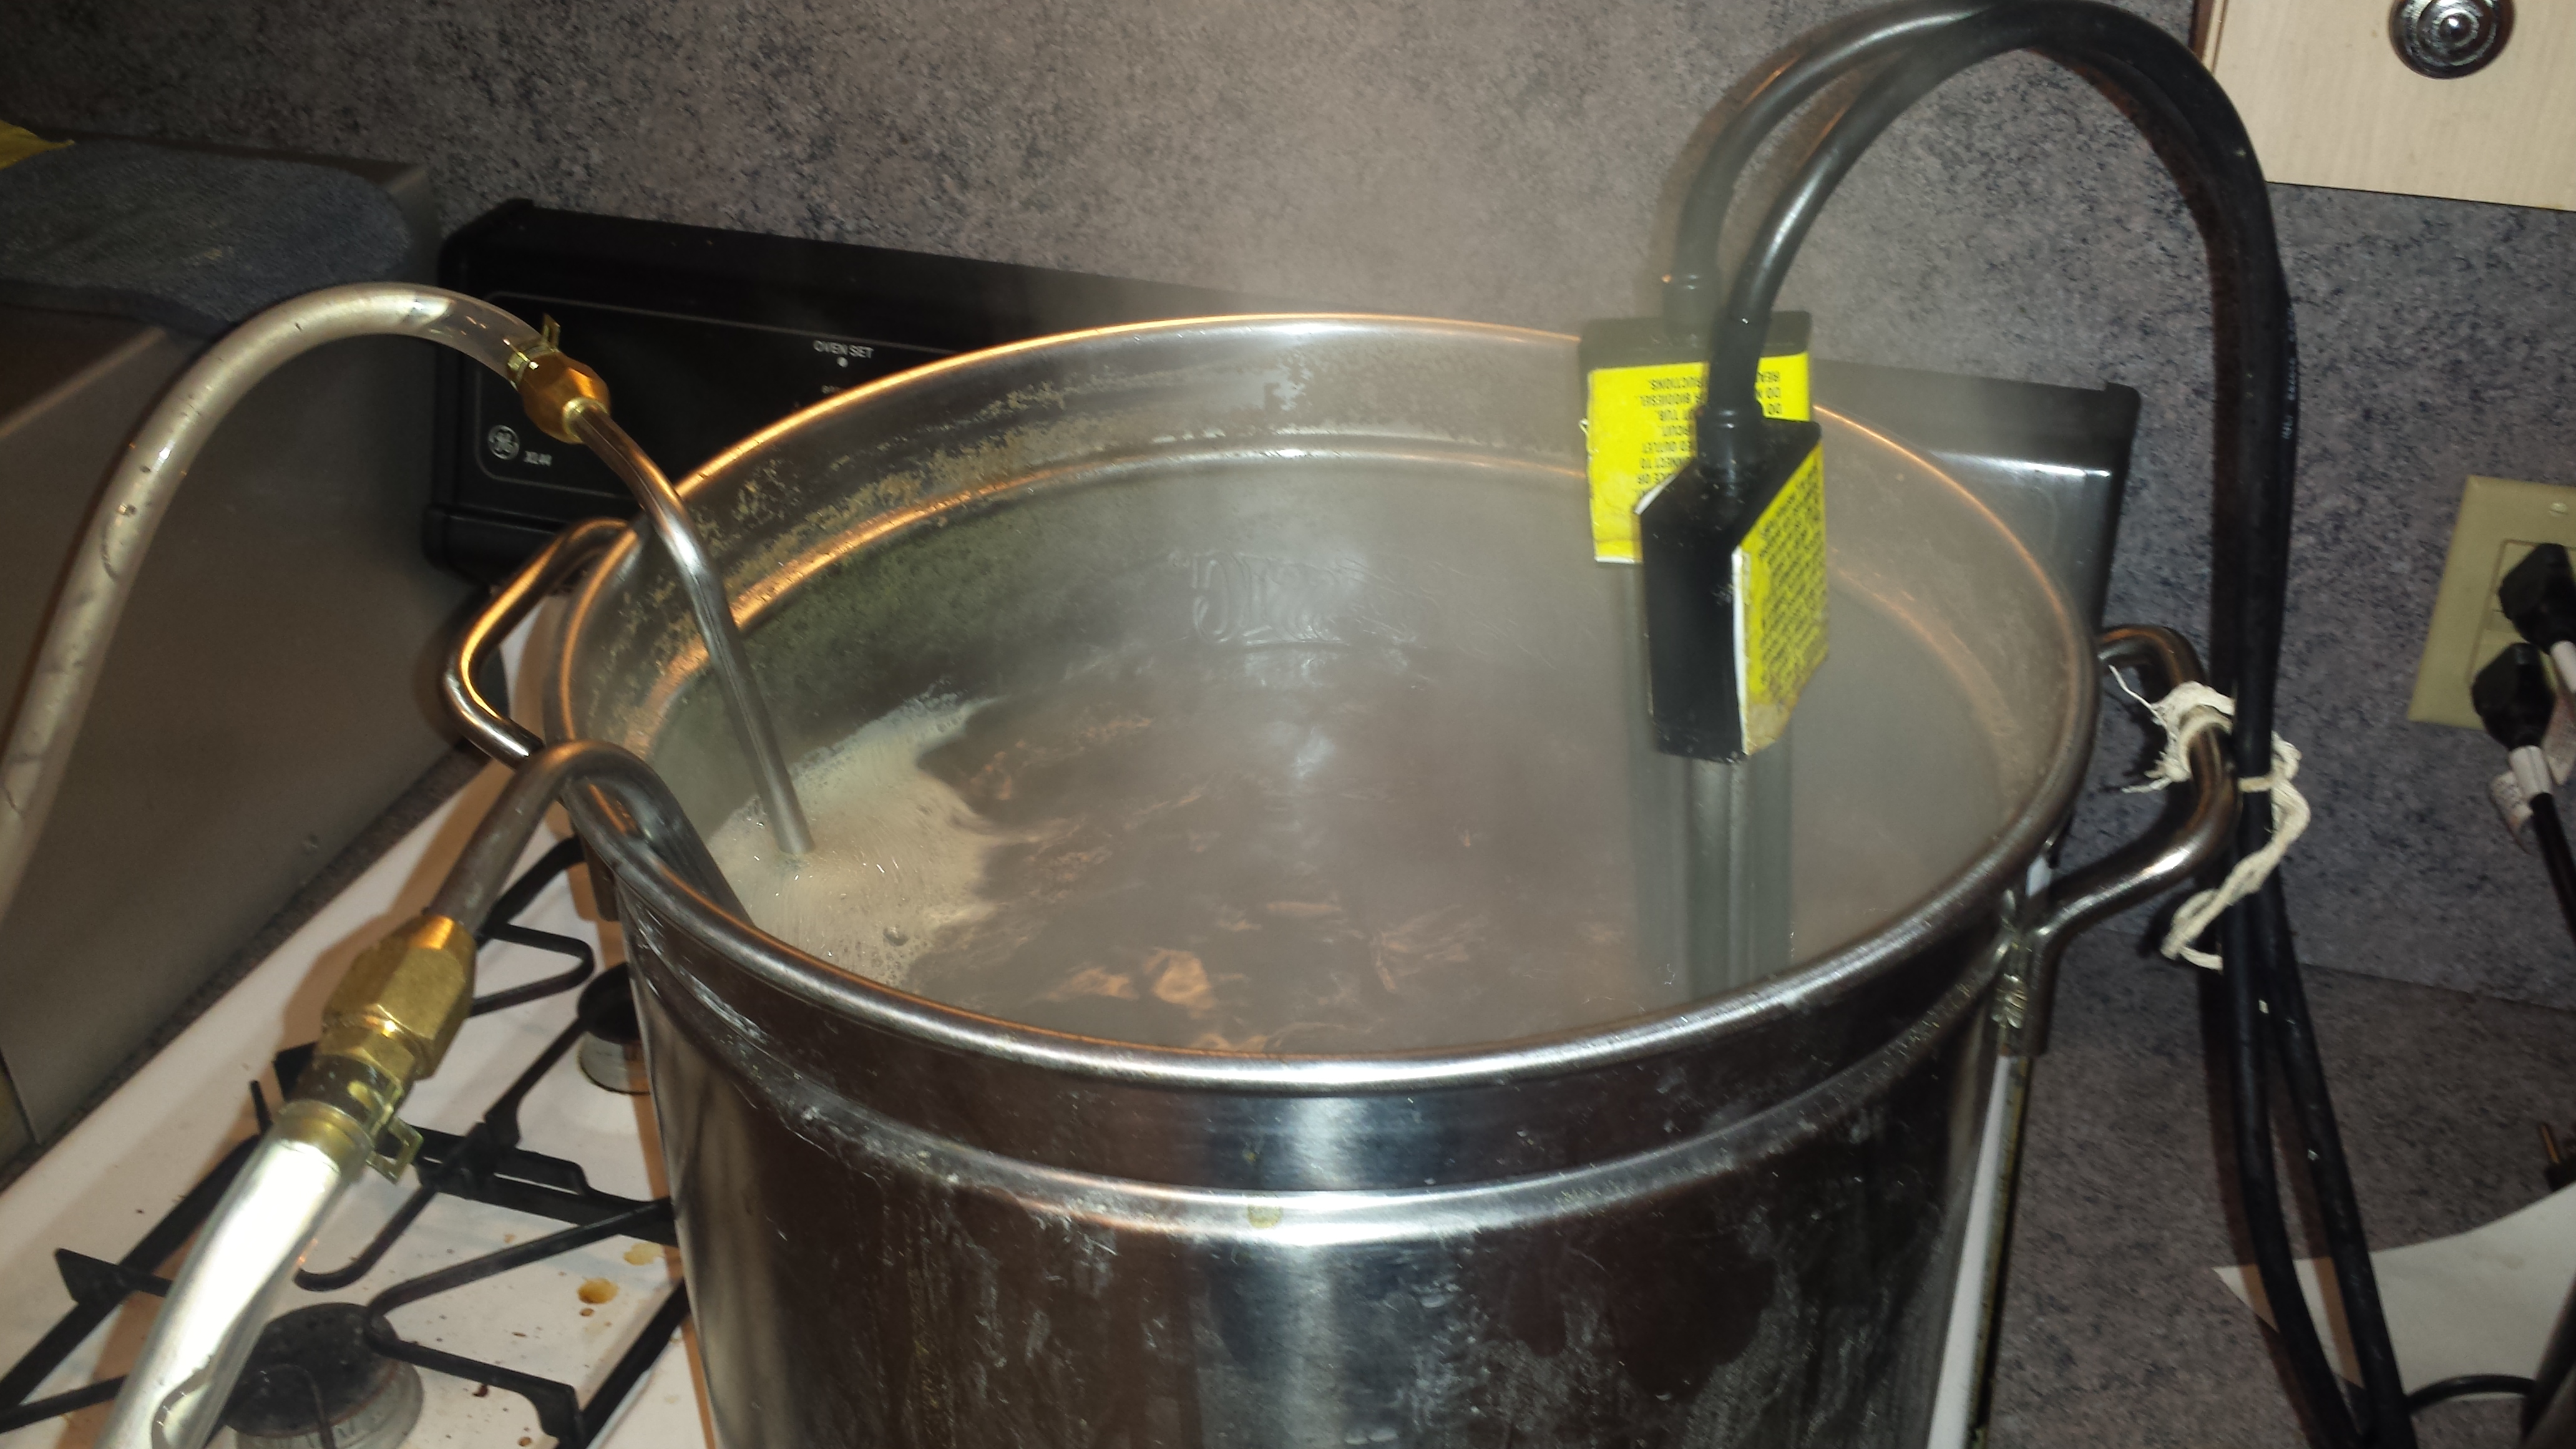
For this mash, I pulled my first decoction of about 6 quarts, which from experience is about what I’d need to hit 146 F when going up from 131 F. I just use a plastic 2 quart pitcher, reach in with that and stir up the mash a bit, so I am getting both wort as well as some grain, then fill the pitcher with a mix of the two. I put this directly into my boil kettle, and start heating it up. You can see this below, on the left. In the first picture you can see my boil kettle on the right stove burner, and on the left is my water, which I will heating to a boil to adjust my rest temperatures, if needed. Now, with this first decoction, I like to heat it to 158 F, and then let that rest for 20-30 minutes. This is because this wort has not yet hit a saccharification rest. Once this gets to that temperature, I turn off the heat, and cover the kettle. The temperature, over that rest, will drop a good 4-5 degrees, but shouldn’t be a problem. The key here is you want alpha amylase to convert that wort before you denature it by boiling it. This is shown below in the right picture.
Once this rest finishes, I begin heating the wort again. At this point you want to be stirring the wort fairly constantly so you don’t scorch the grain. Once the wort gets to boiling, hold it there for 15 minutes (for darker/richer beers, like doppelbock, you would want to boil longer). This is where you create that melanoidin character via Maillard reactions. These are reactions in which the carbonyl group from sugars combine with amino acids, and reduce to multiple compounds, including melanoidins. These compounds are what give traditional German lagers some of their unique, rich sweetness. The longer you boil, the more this reaction will occur. You can see the consistency of my decoction as it nears boiling below.

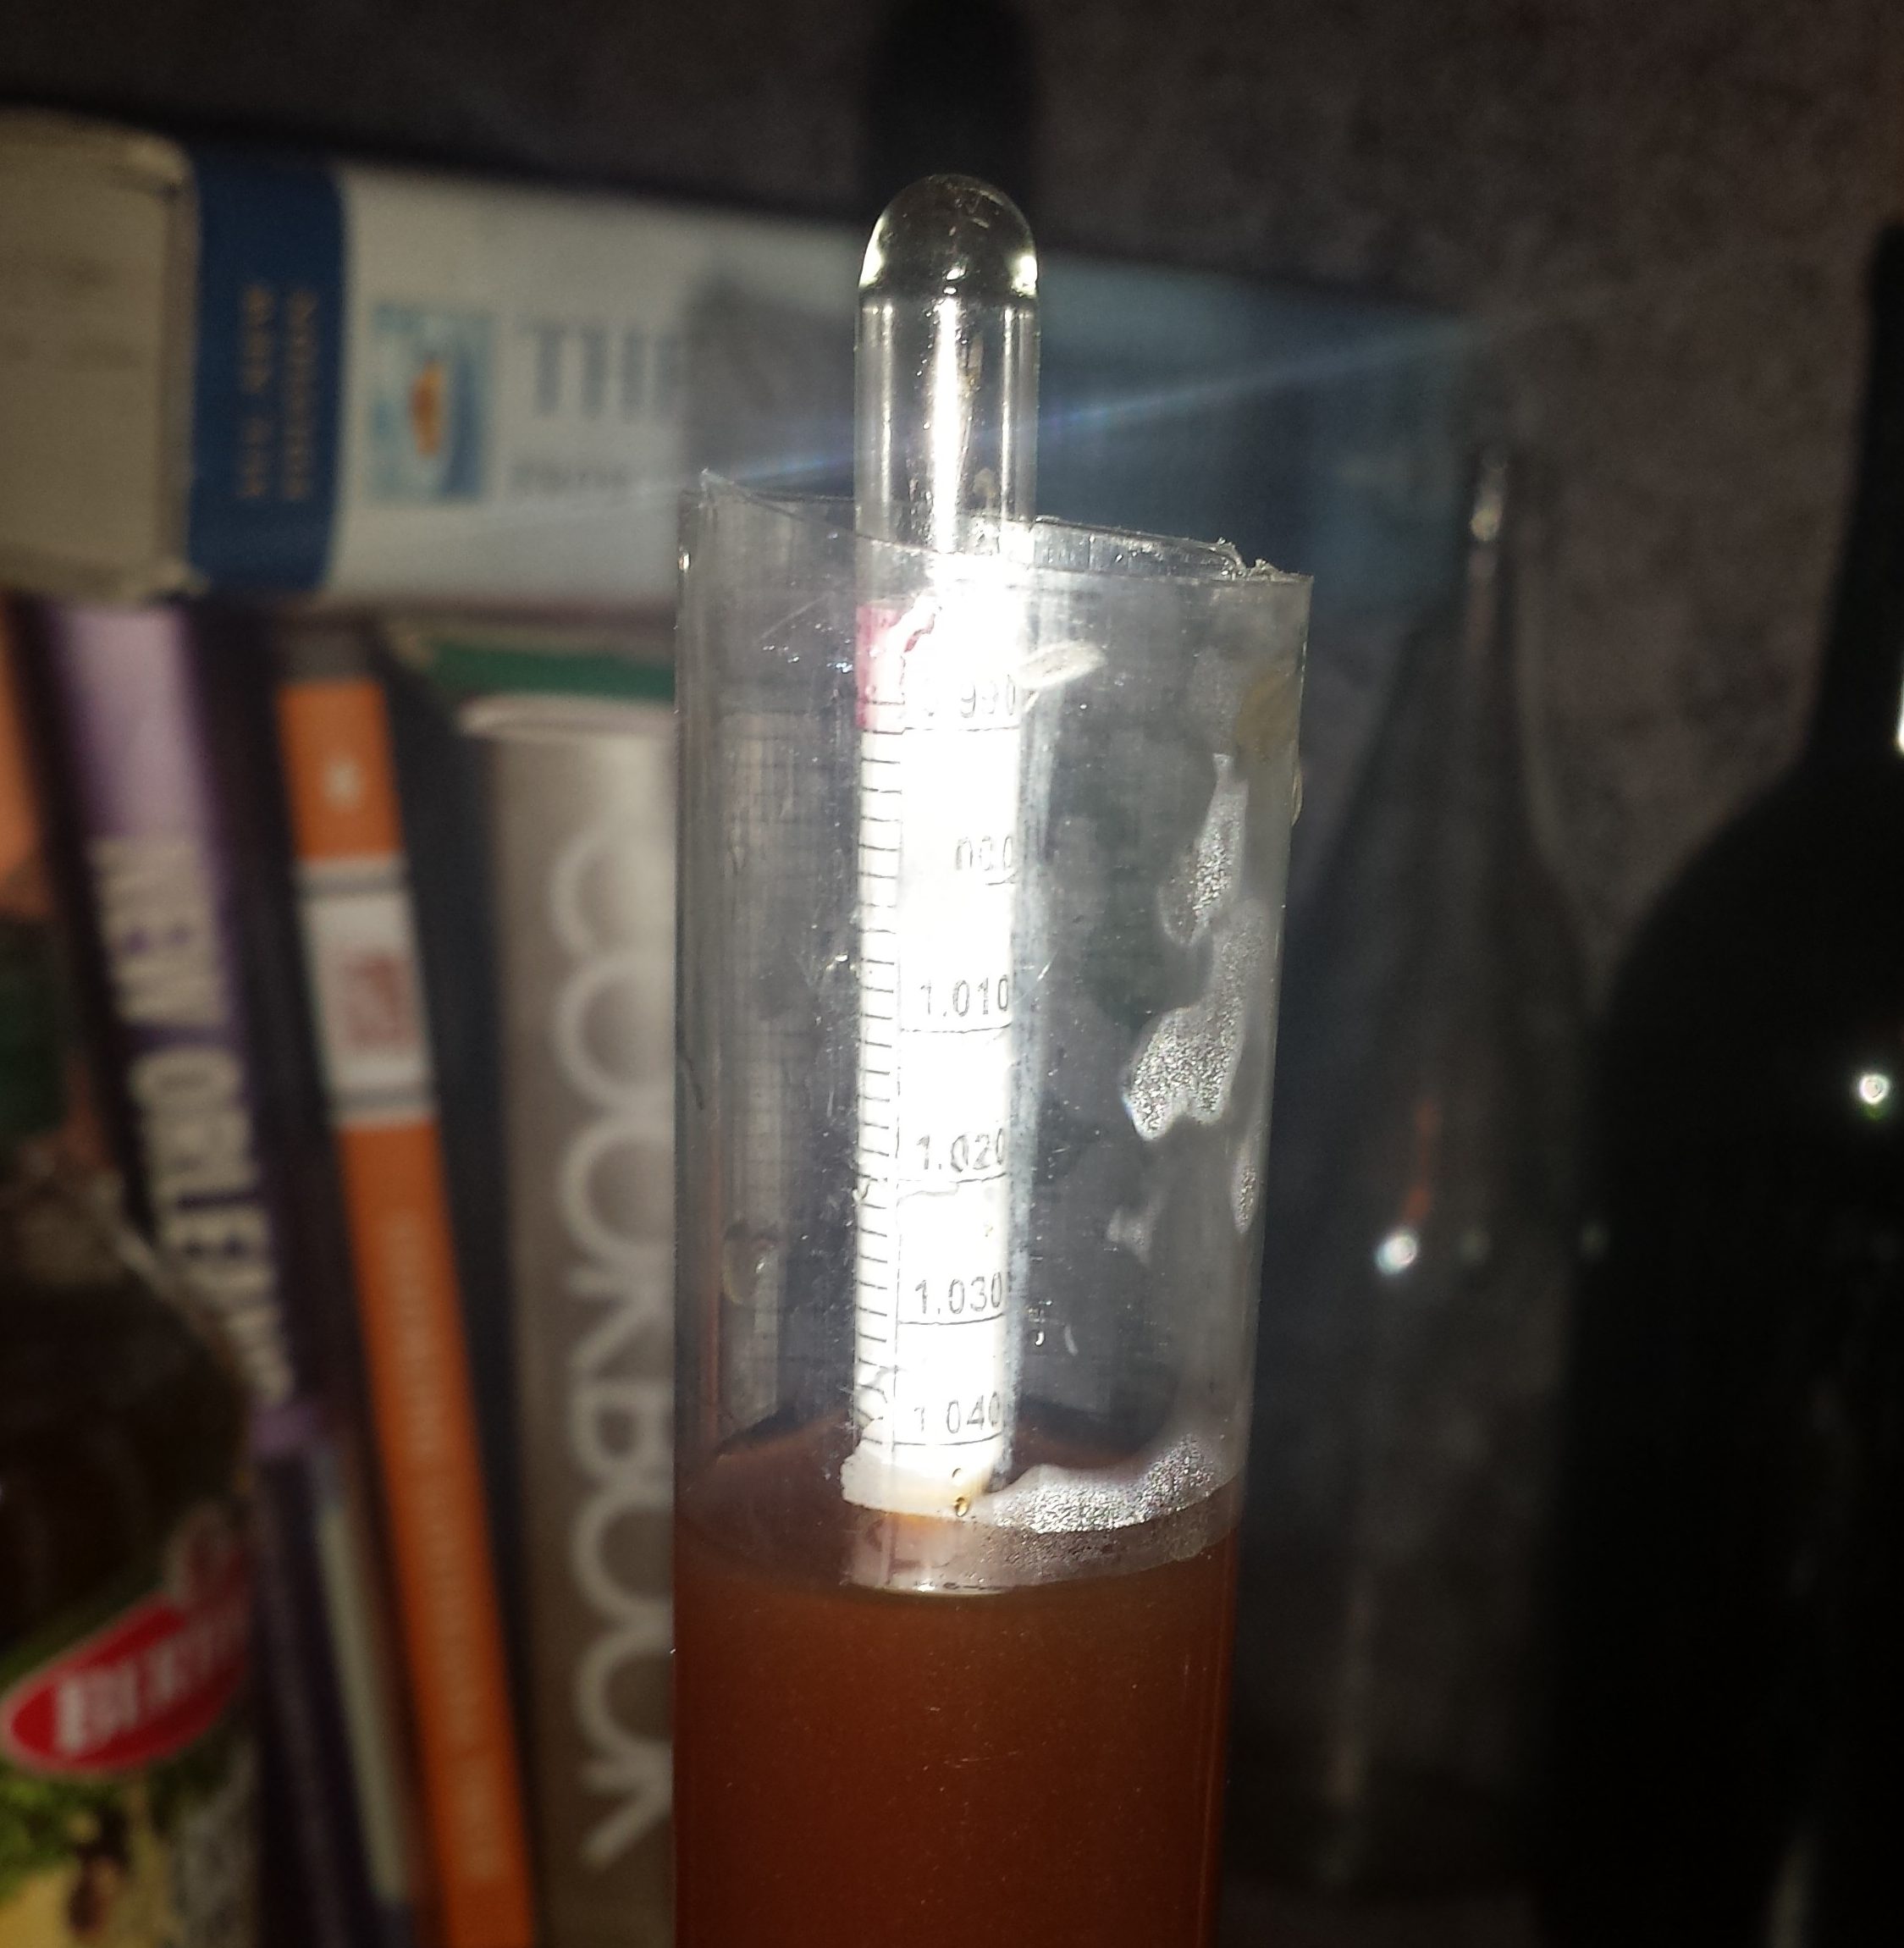
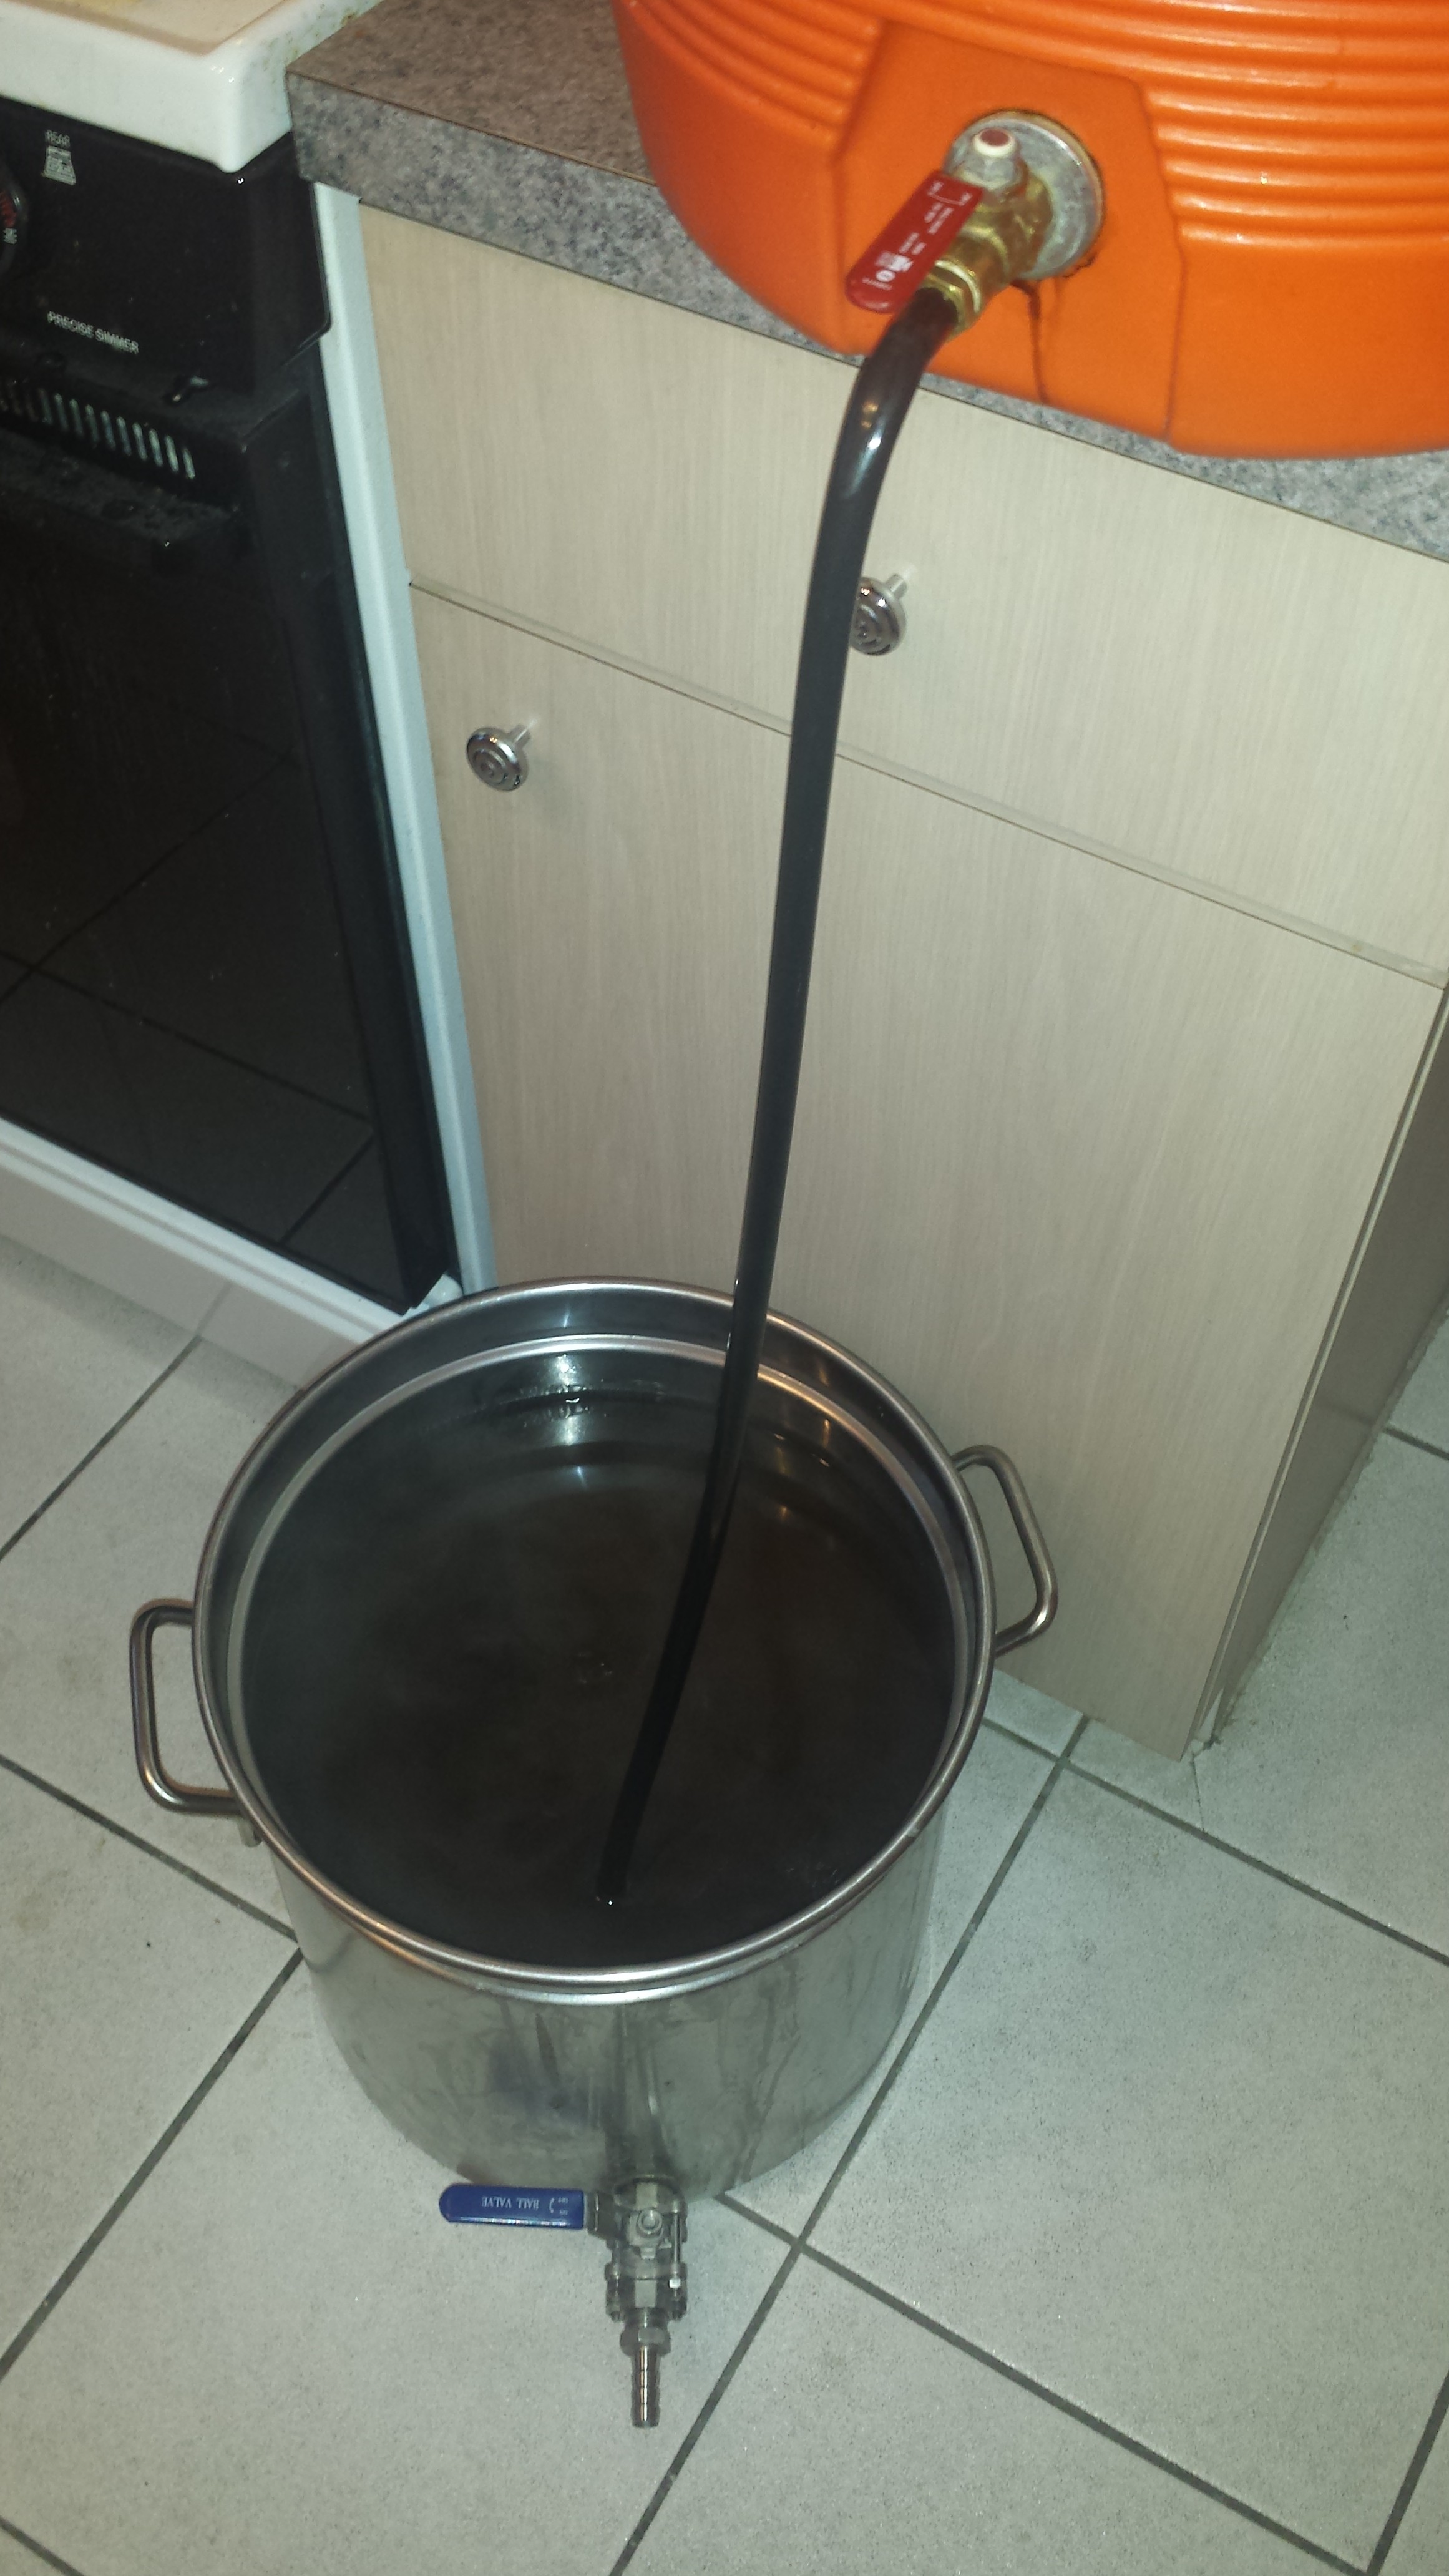
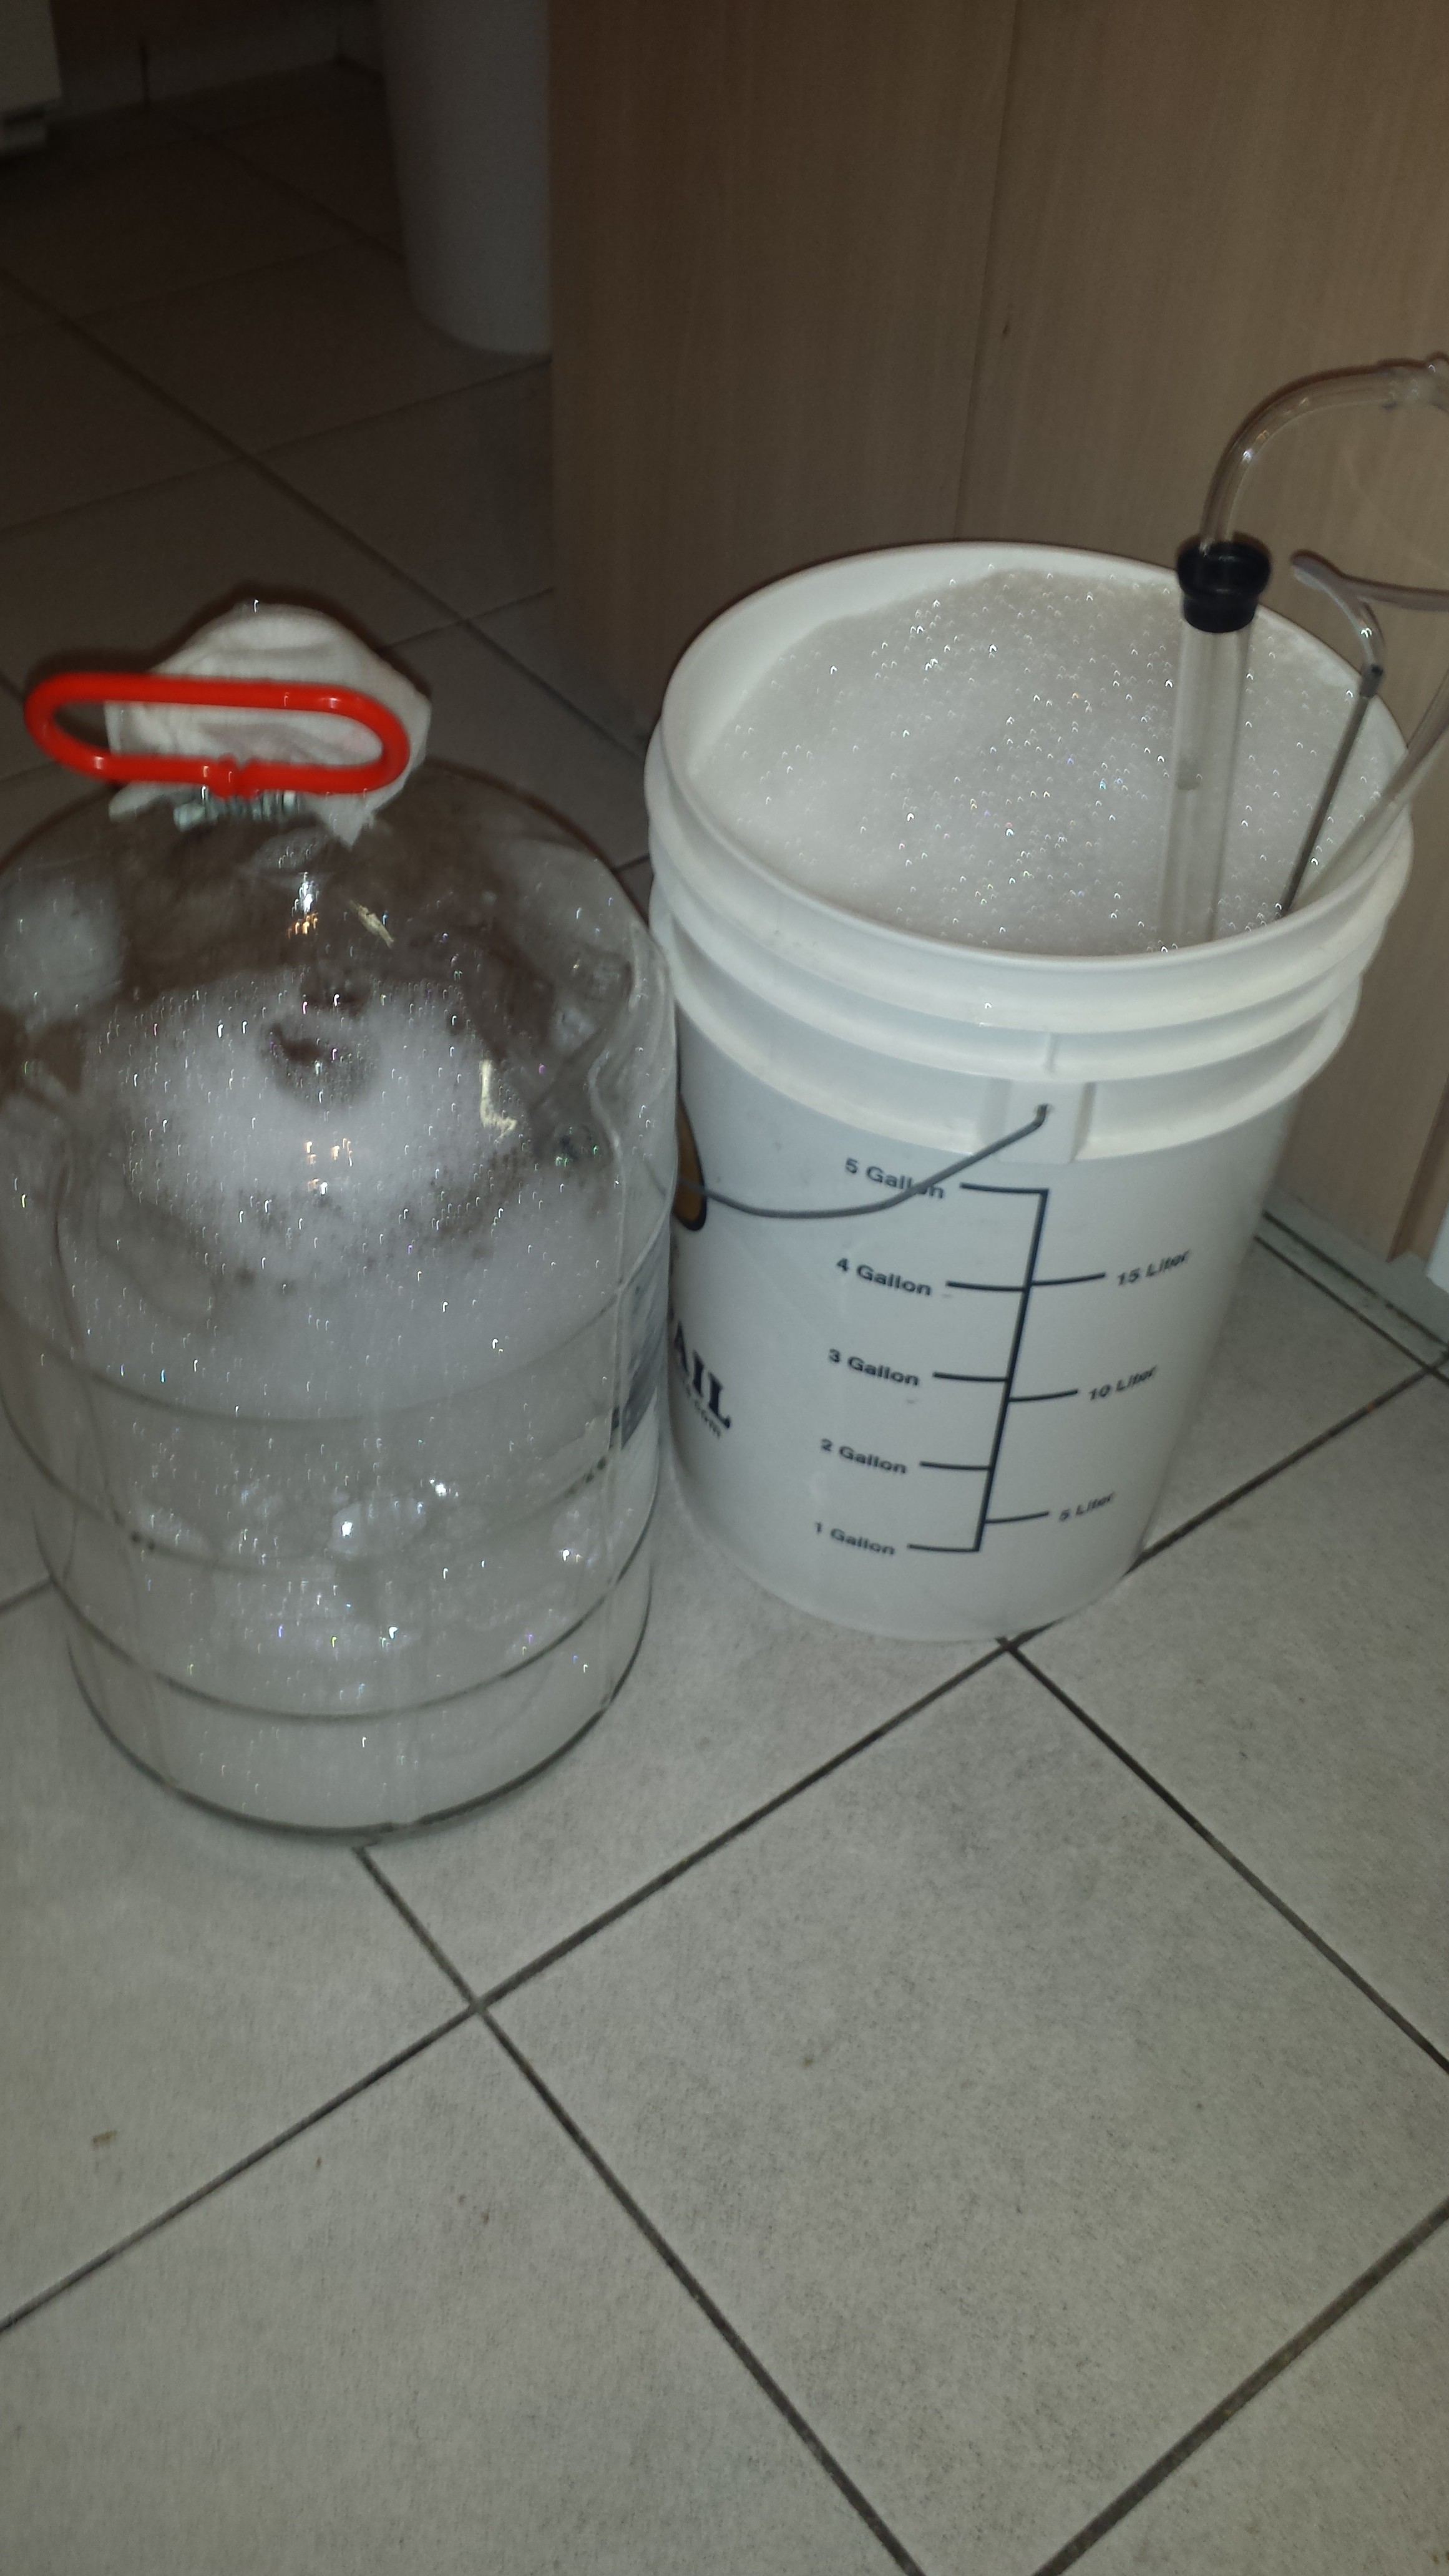
At this point brew day proceeds as normal. For me, this begins with batch sparging. I always start with a vorlauf followed by a measurement of both the gravity as well as the volume collected. To me, this is a critical step in the process, because this is a very accurate predictor of my overall efficiency. If my first runnings (total volume X points of specific) hit what Kai’s spreadsheet said they would, then my overall efficiency will be pretty close. Kai’s spreadsheet, in this case, predicted that (for 80% efficiency) I would lauter 3.8 gallons in my first runnings with an approximate gravity of 1.056. Thus the total gravity is 56 X 3.8, or 212.8 points. I pulled the first runnings into a testing cylinder, and used my hydrometer (which has a built-in thermometer) to get the measured temperature and specific gravity. While it’s hard to tell from the picture below, the measurement was 1.044 SG at 122 F. This translates to 1.055 at 60 F. Note that this is not an extremely accurate measurement, and shouldn’t be used for anything precise. Here, I’m just trying to ballpark by efficiency, so I find it works well. On top of that, I measure that I gathered off 4 gallons instead of 3.8, so my estimated gravity is 55 * 4, or 220, which is actually a little higher than expected. Further, I adjust the volume of my sparge water down by .2 gallons to hit my desired final volume since I collected more than expected here.
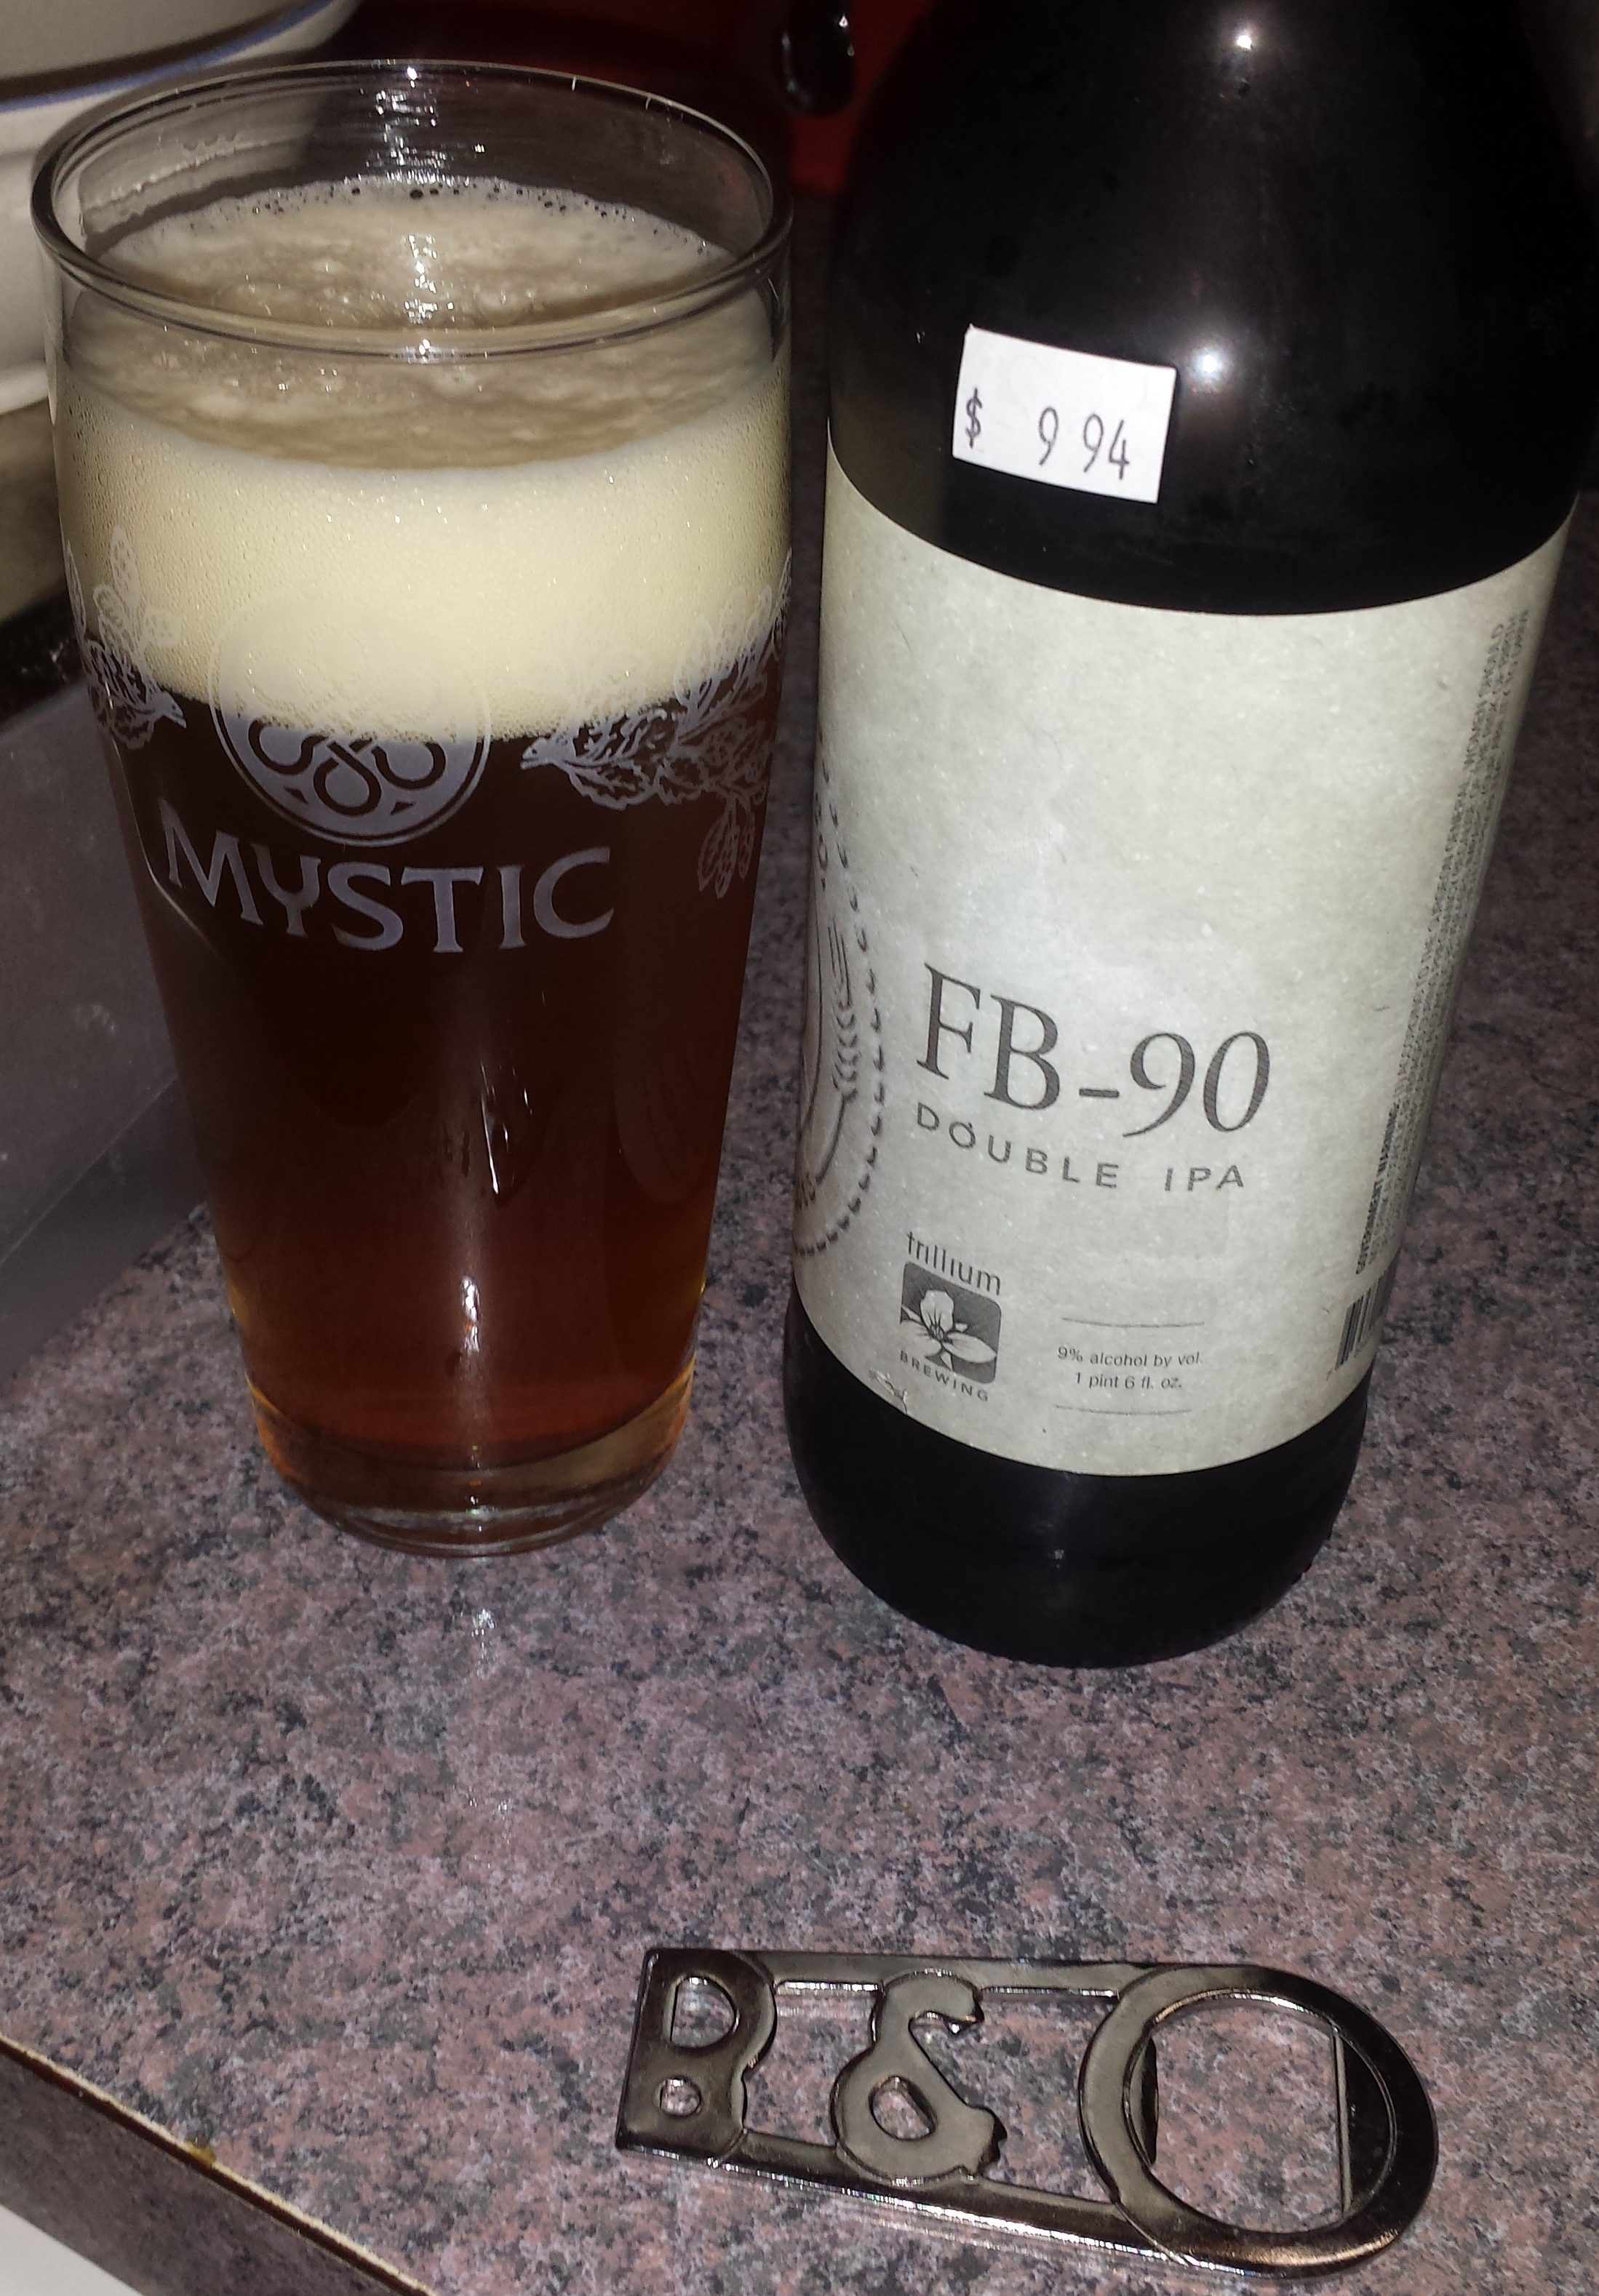
>Keck rule: do NOT have any beer until the boil is started. This has been the downfall of many a great homebrewed batch of beer at my place. I have finally reached a boil, so I get myself a taste. Shout out to ex-club-members-gone-pro.

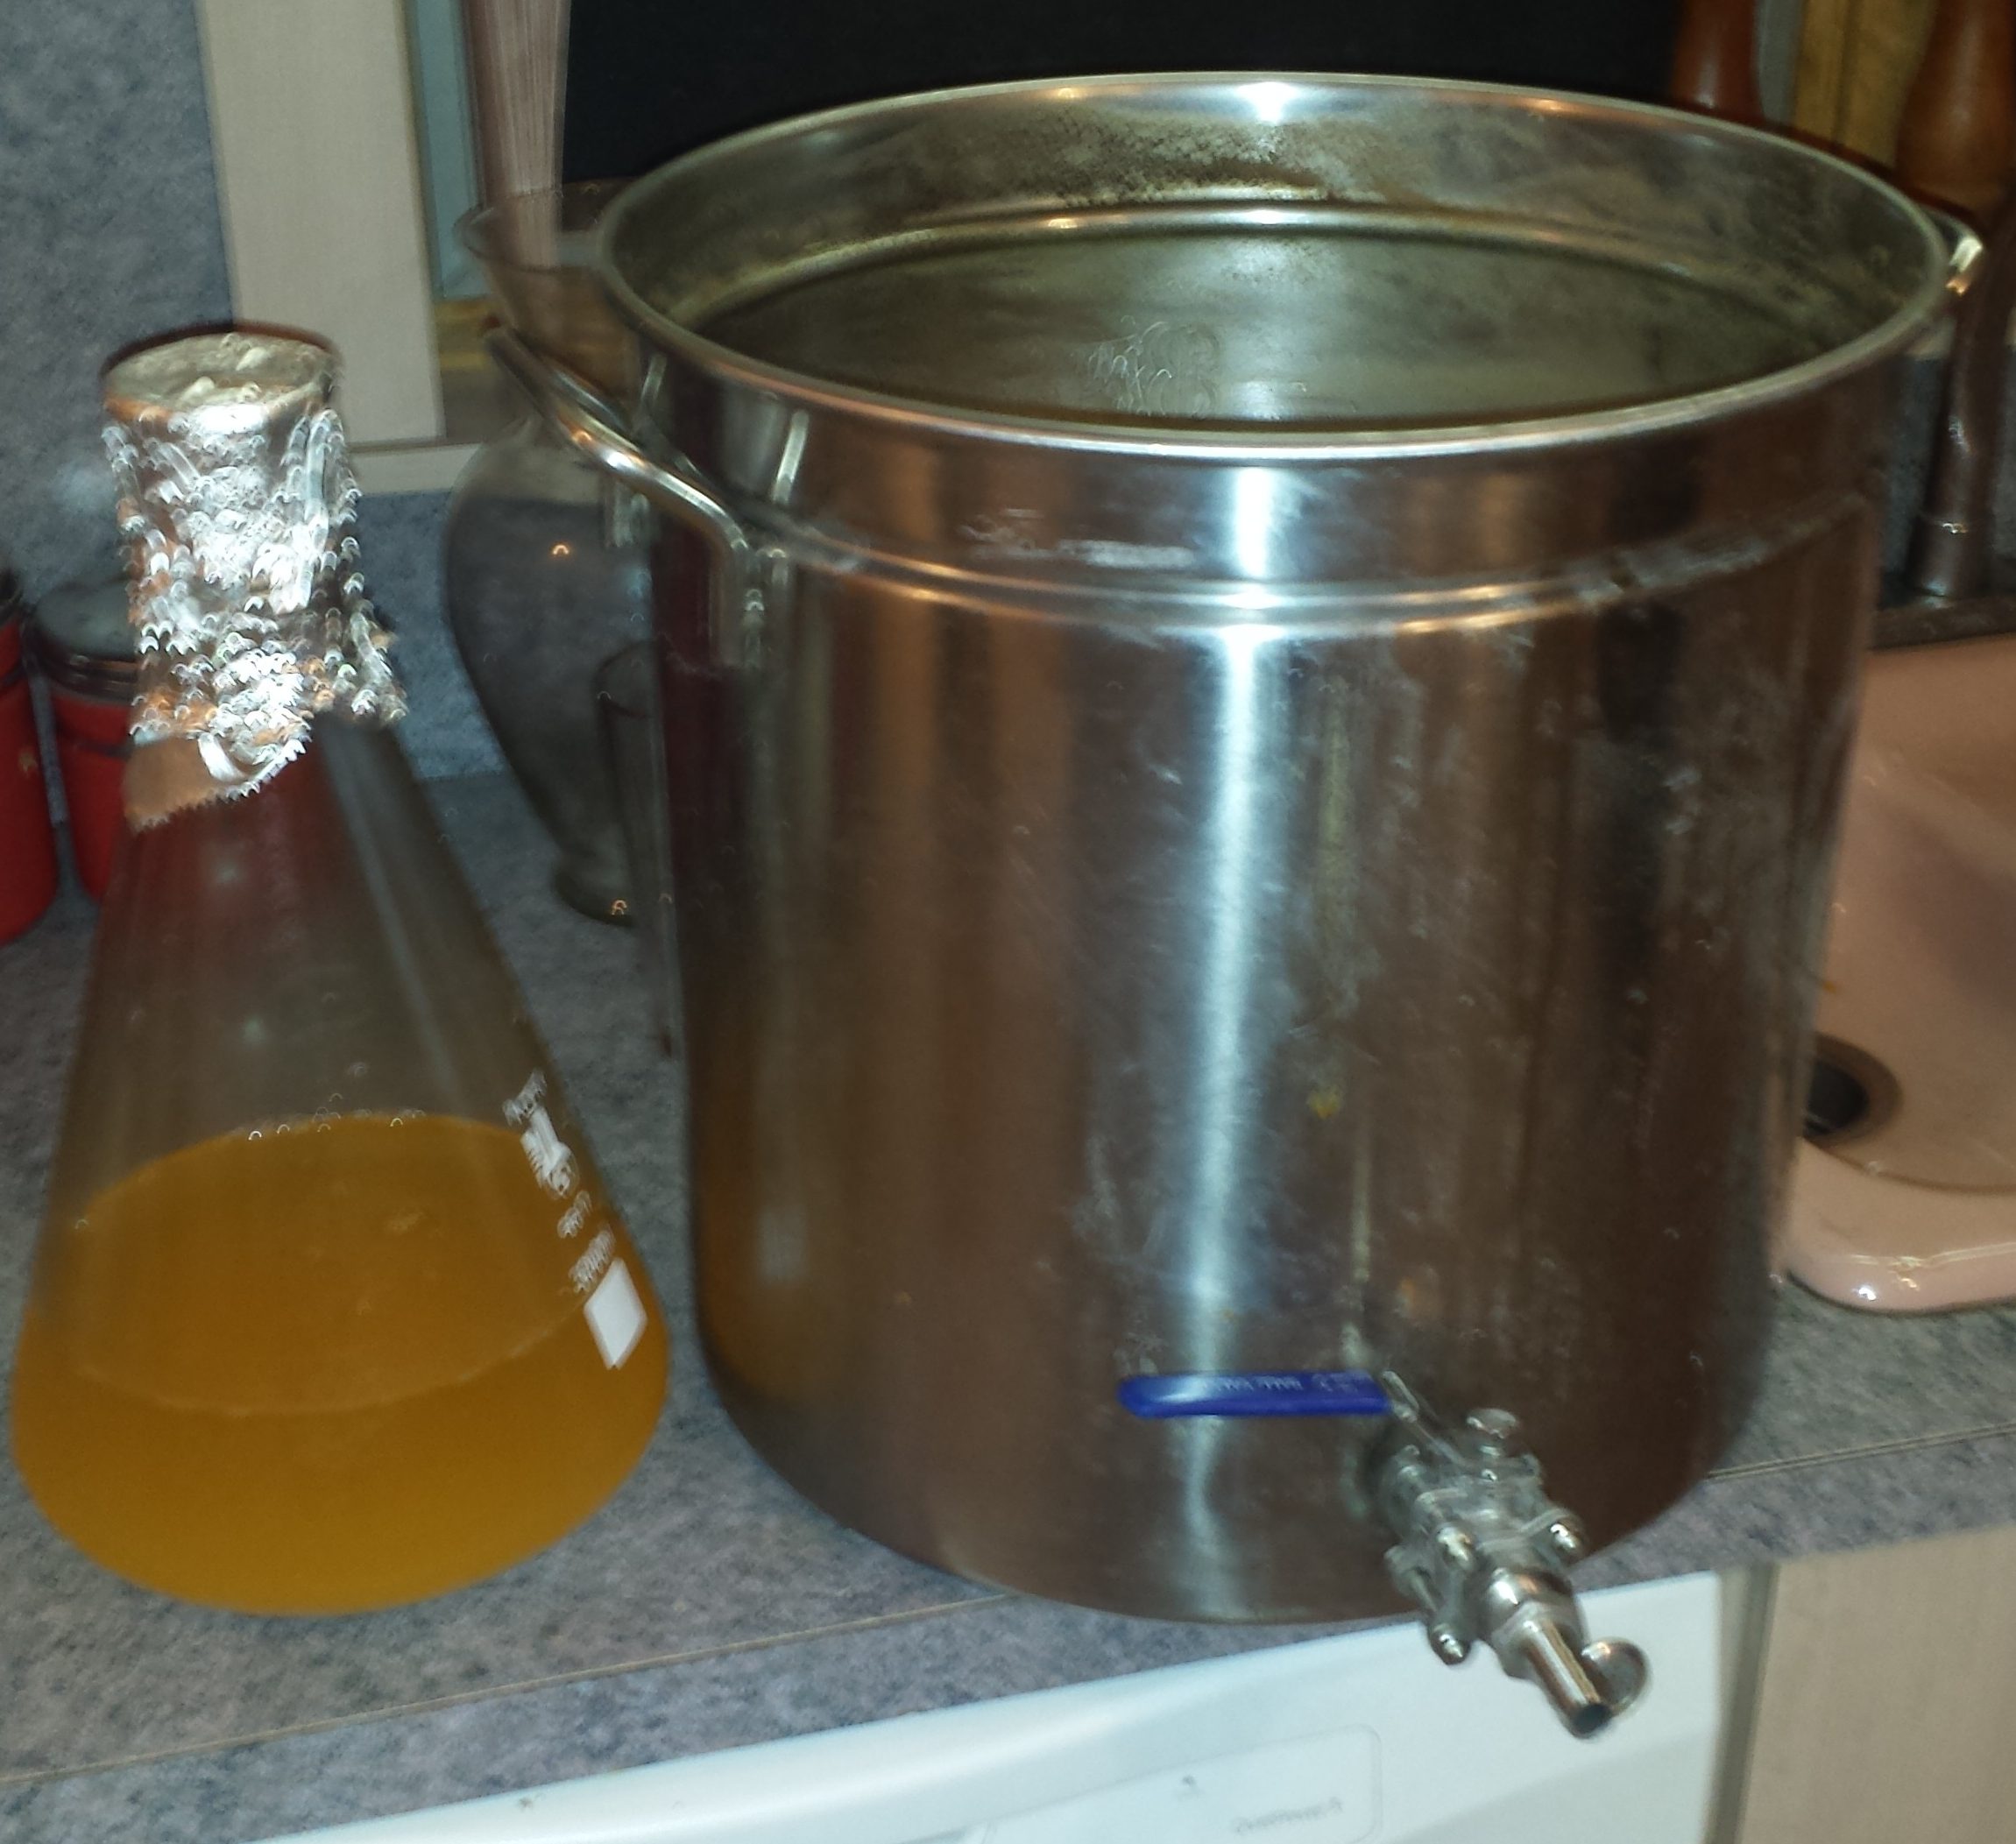
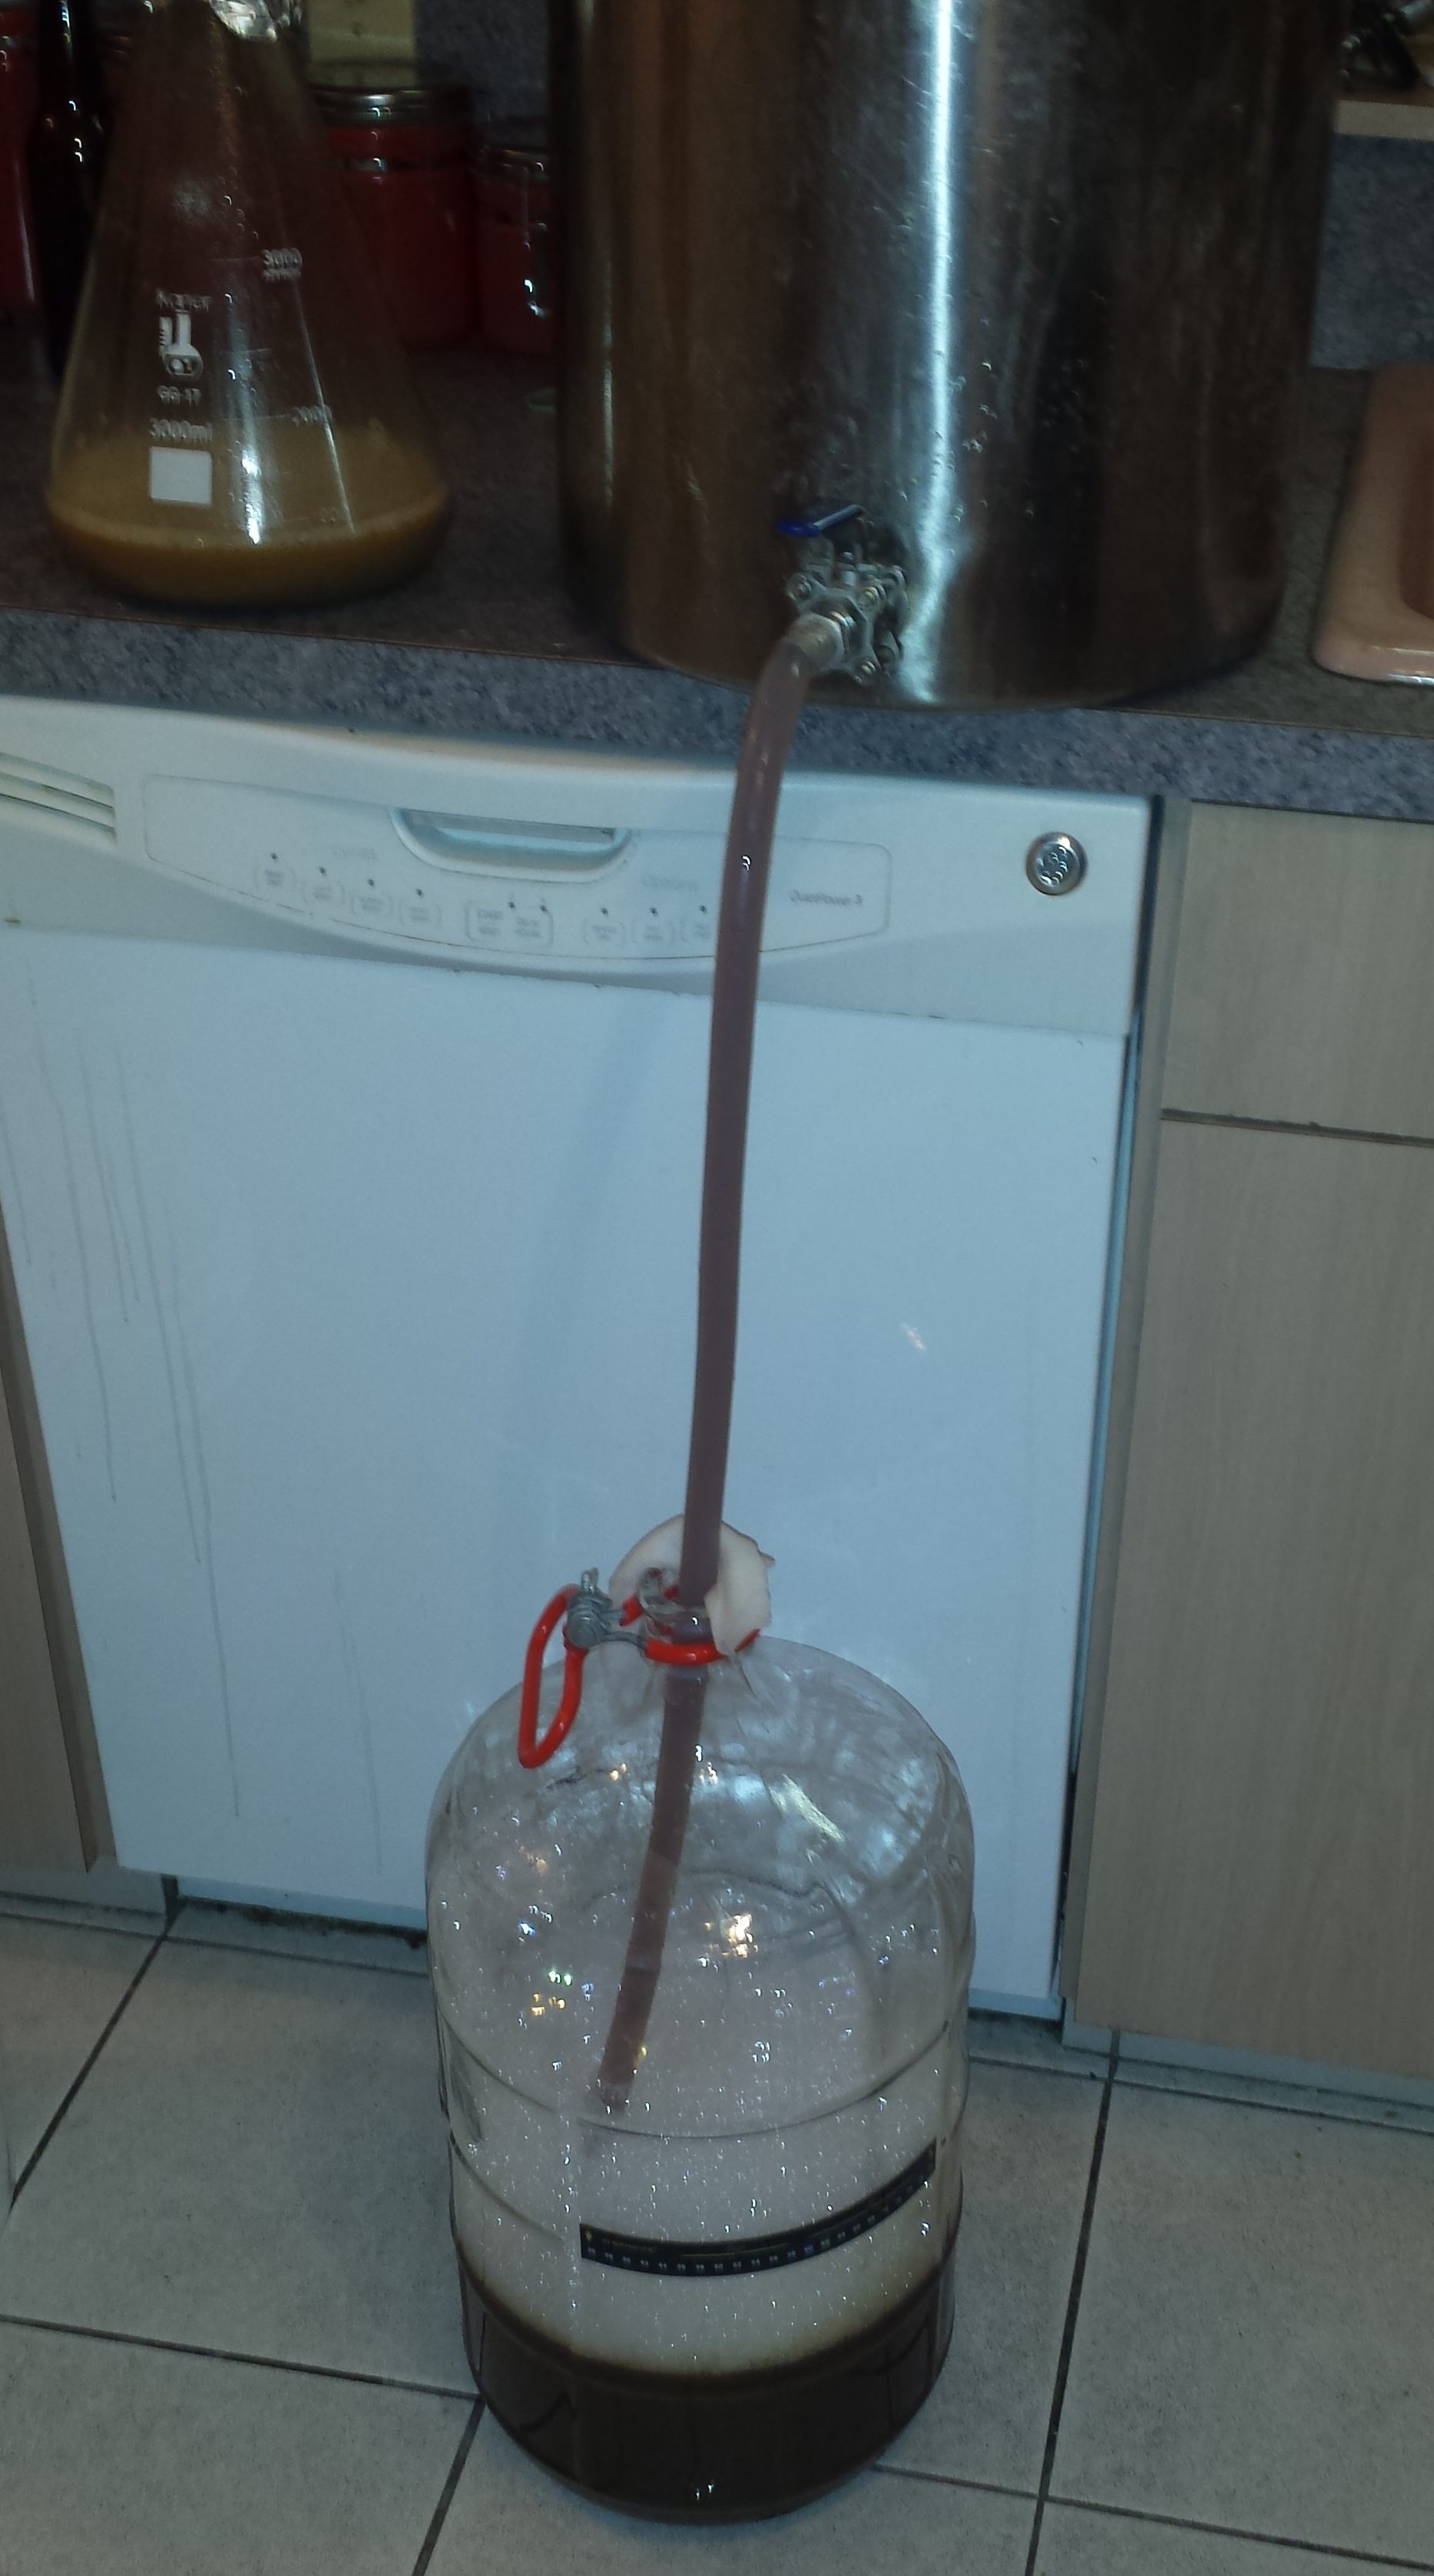
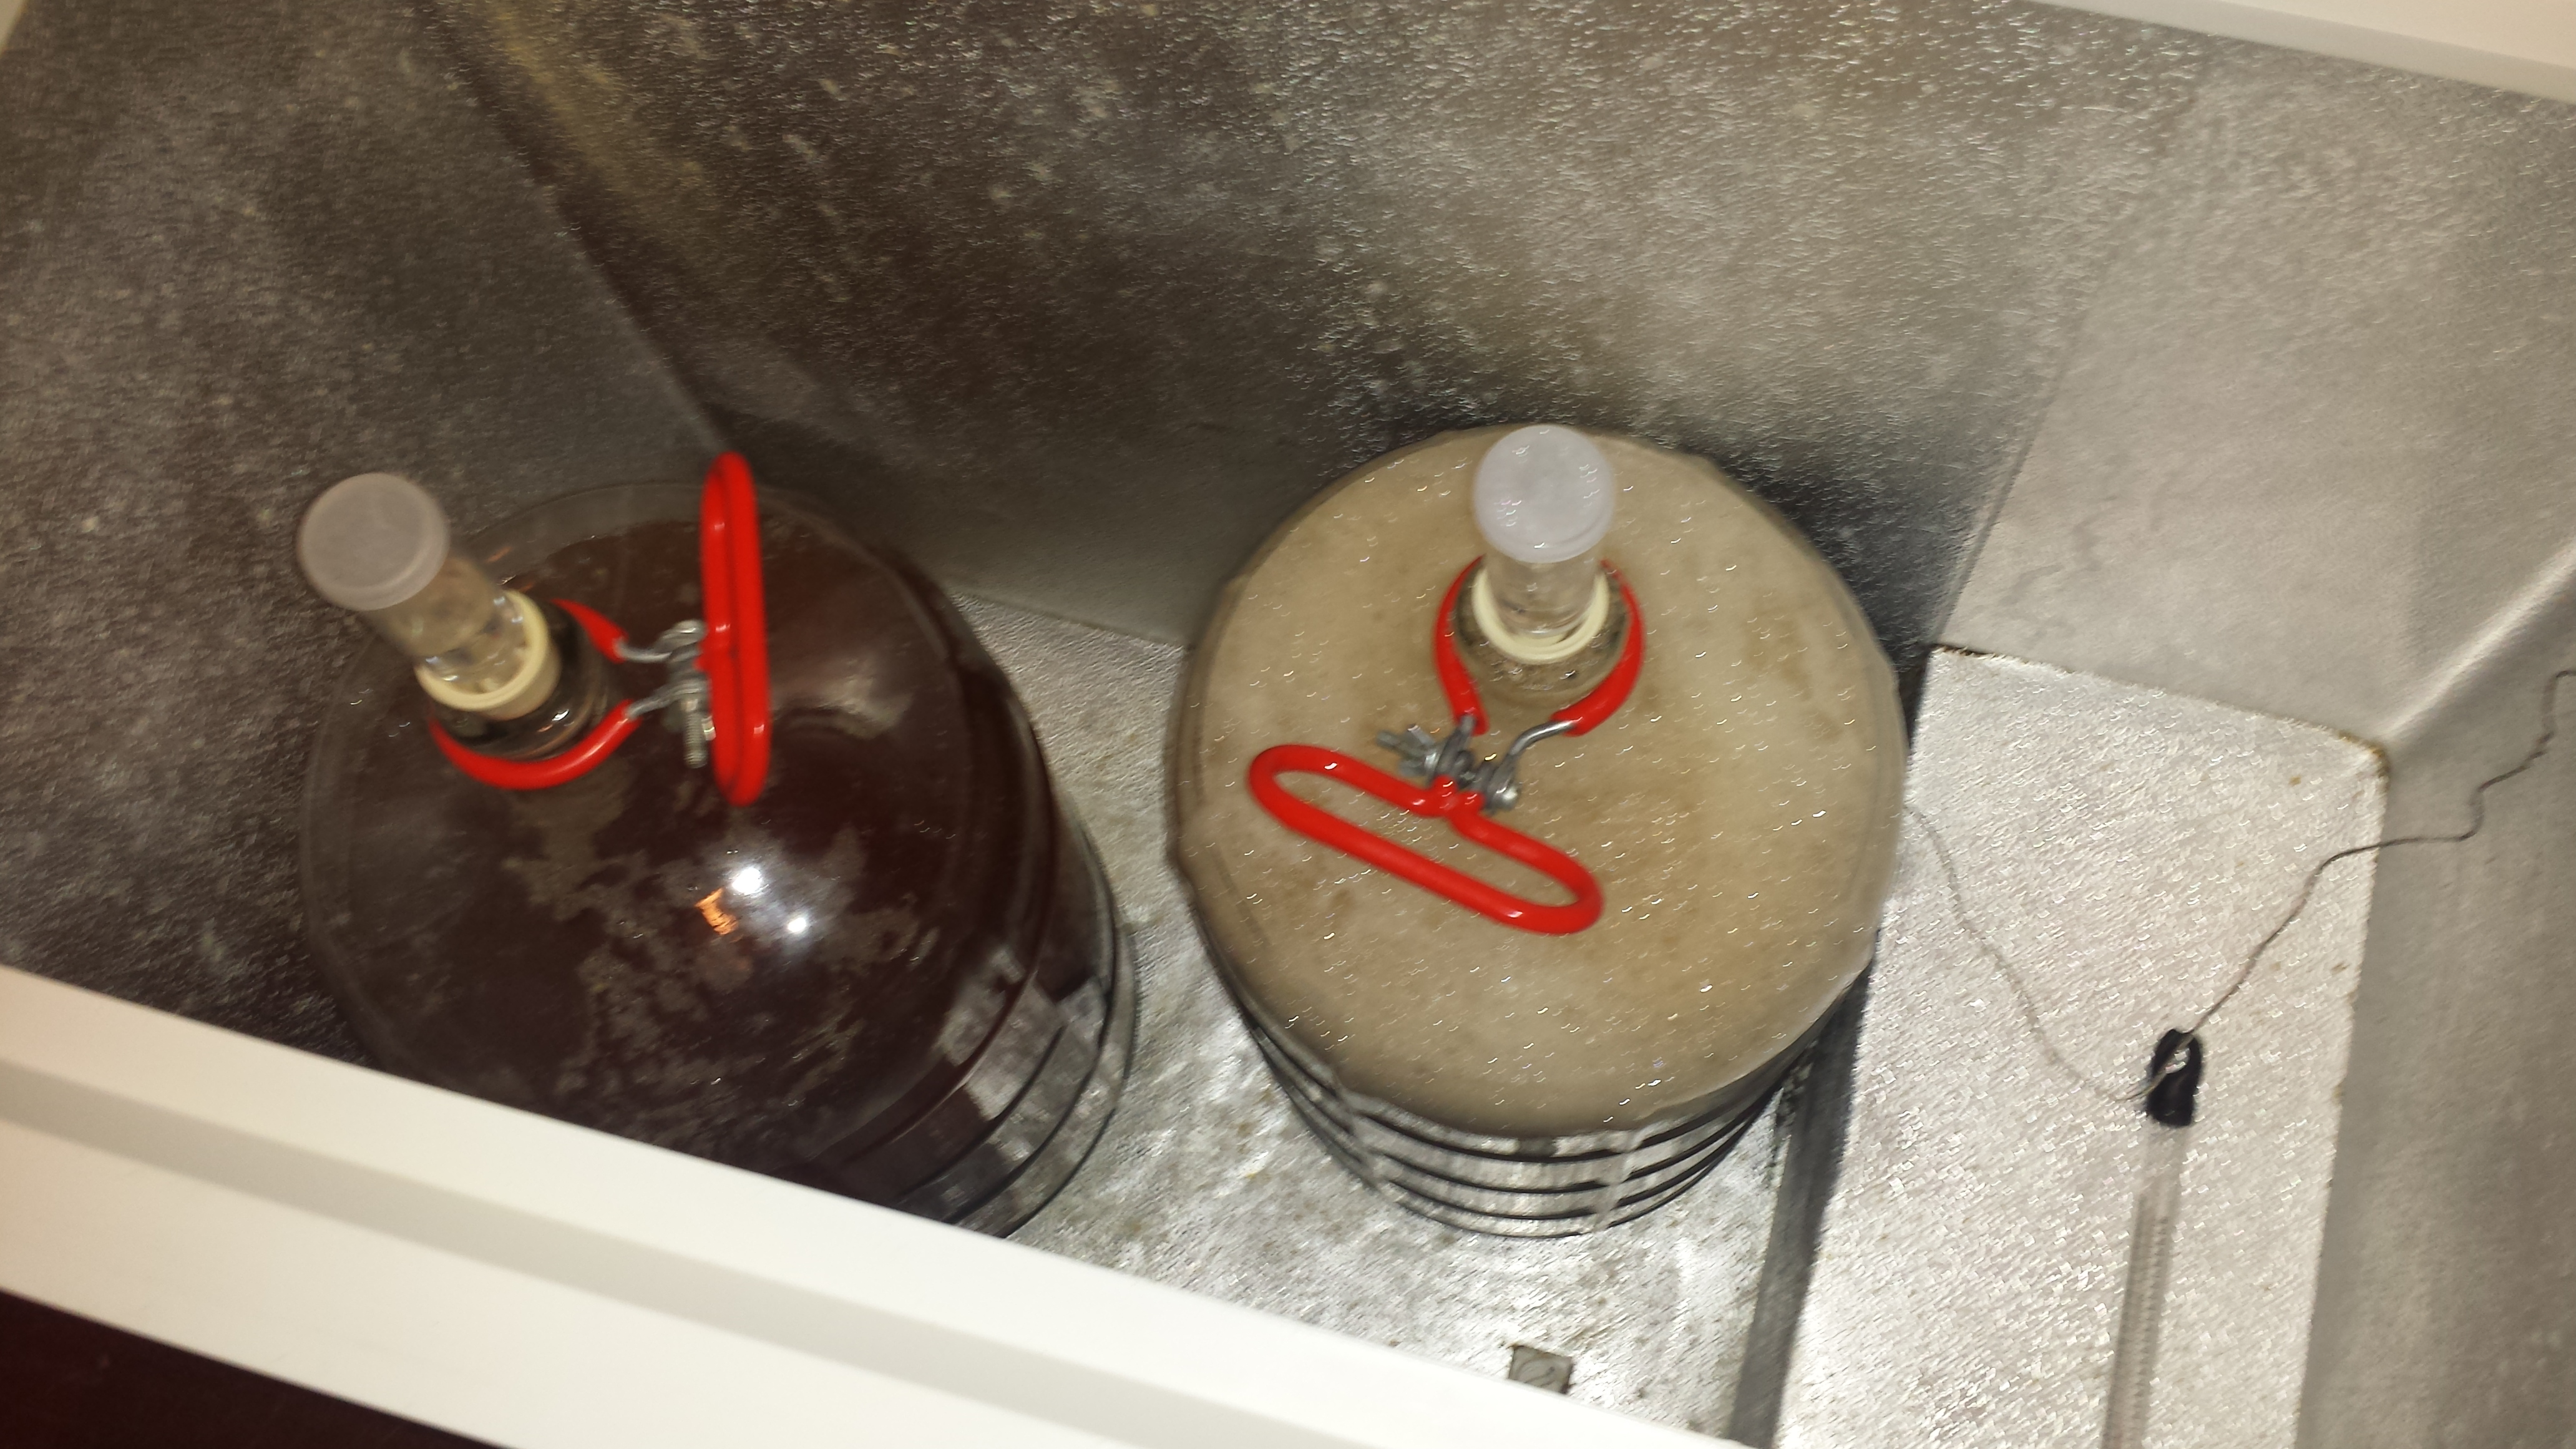
After aerating with pure oxygen for 30 seconds, I drop this into my fermentation chamber next to the German Pilsner I brewed the day before, and pitch the starter. I set the fermentation temp, clean up and tip back a couple of beers.